The e-wallet is a simple way to pay only for the messages and emails you send through the platform. Instead of limiting how many contacts you can have or how much you can communicate, the e-wallet lets you use as much as you want—you just pay for what you use. It's a fair and flexible system that gives you full control.
1. E-Wallet Tour
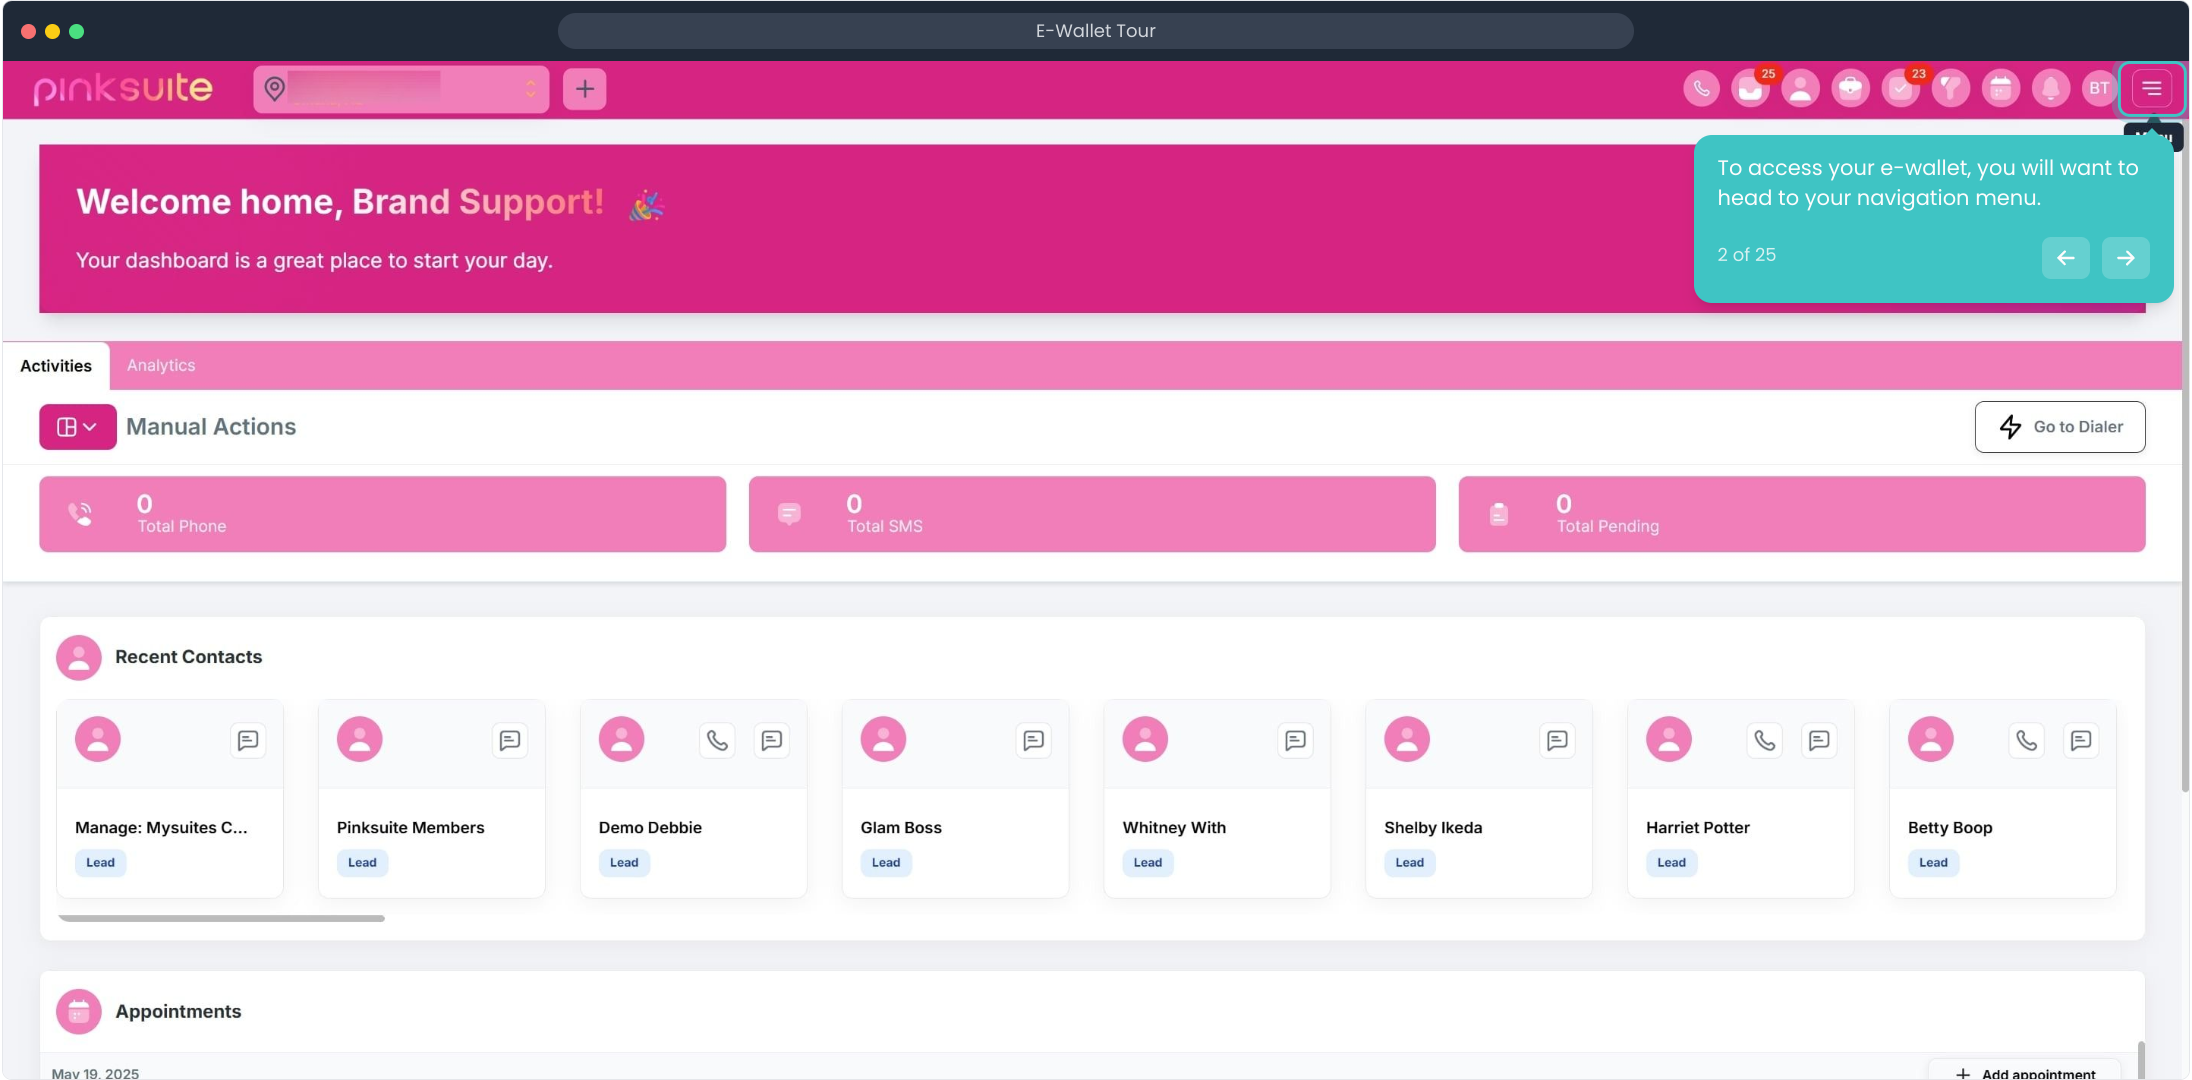
2. To access your e-wallet, you will want to head to your navigation menu.
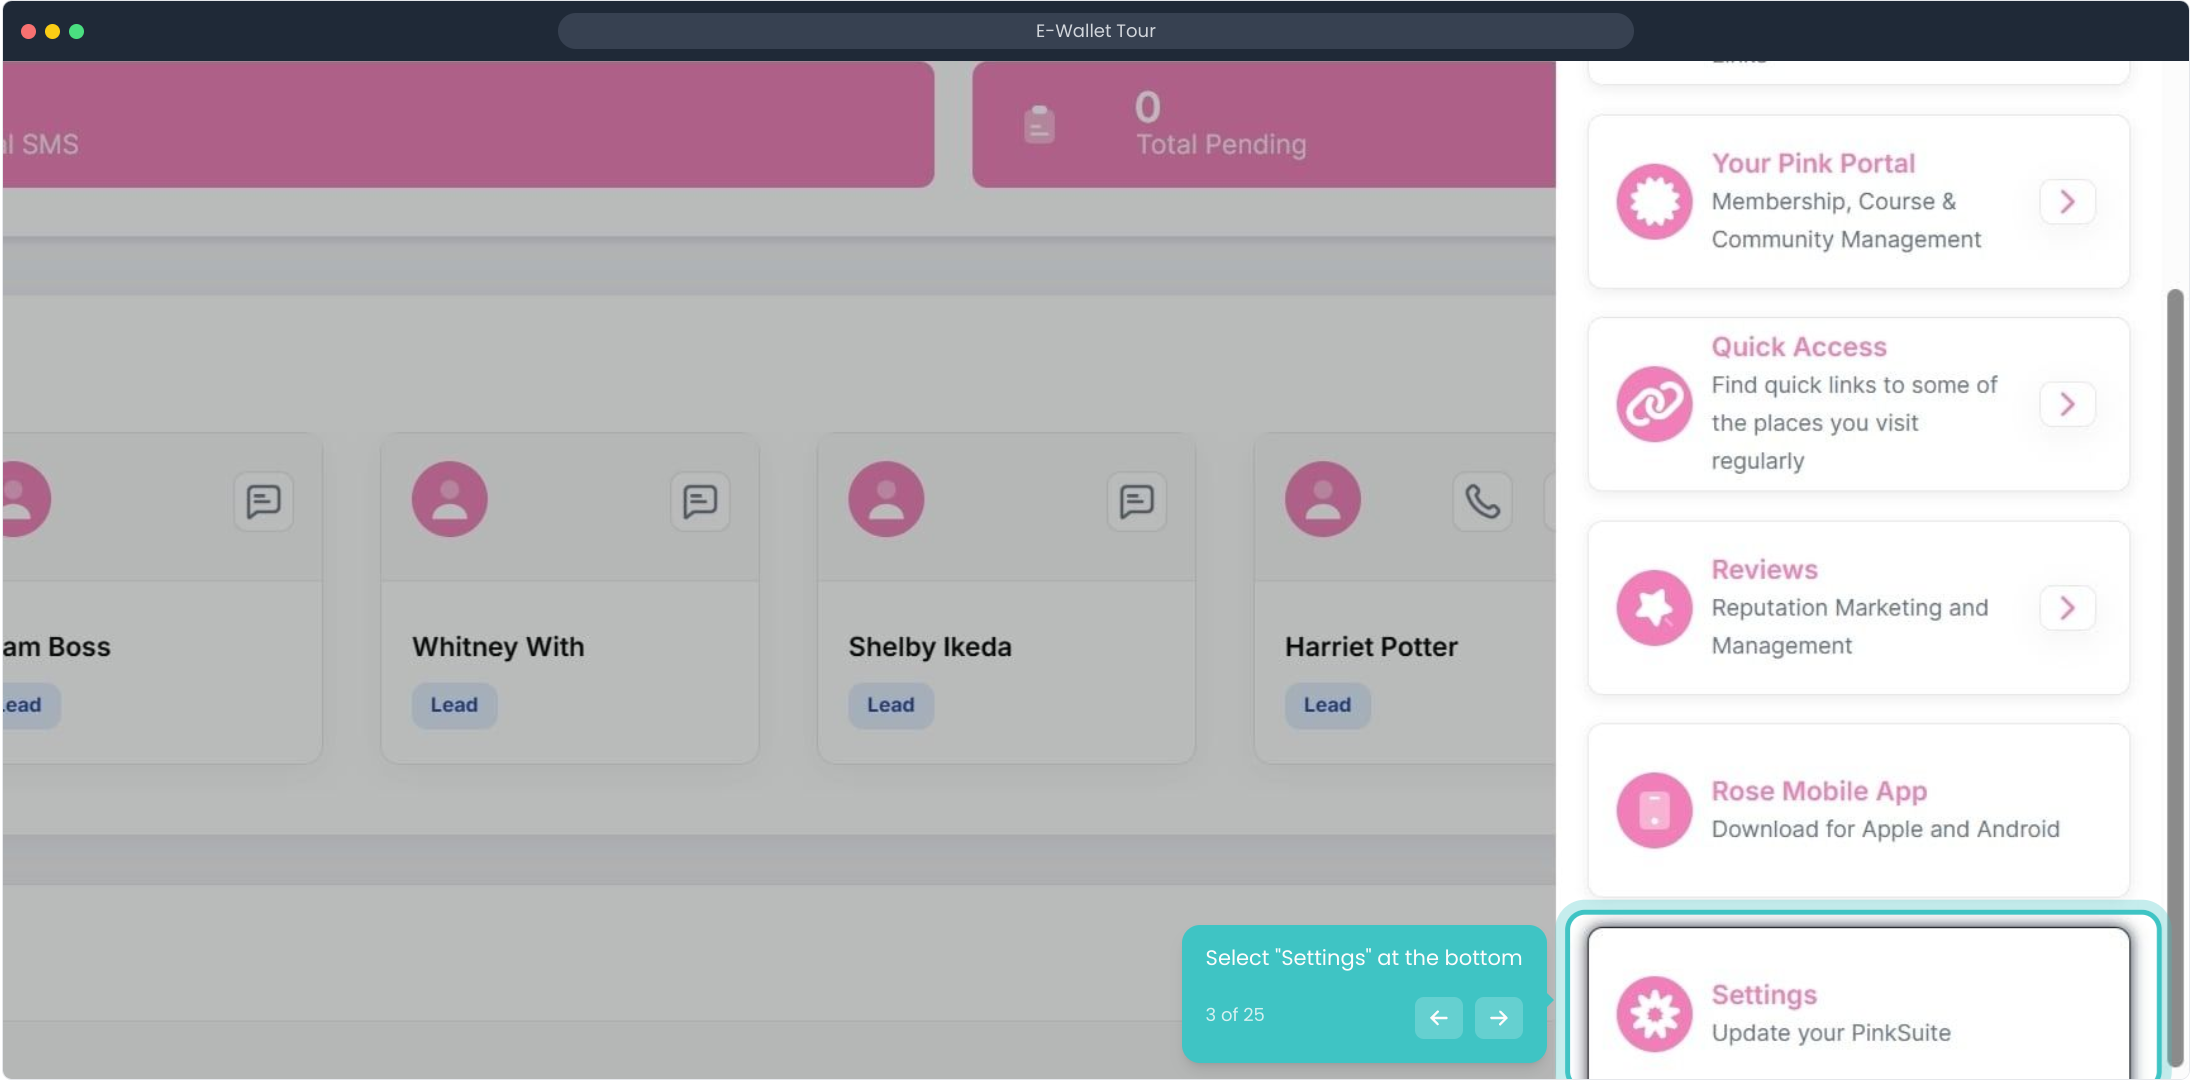
3. Select "Settings" at the bottom
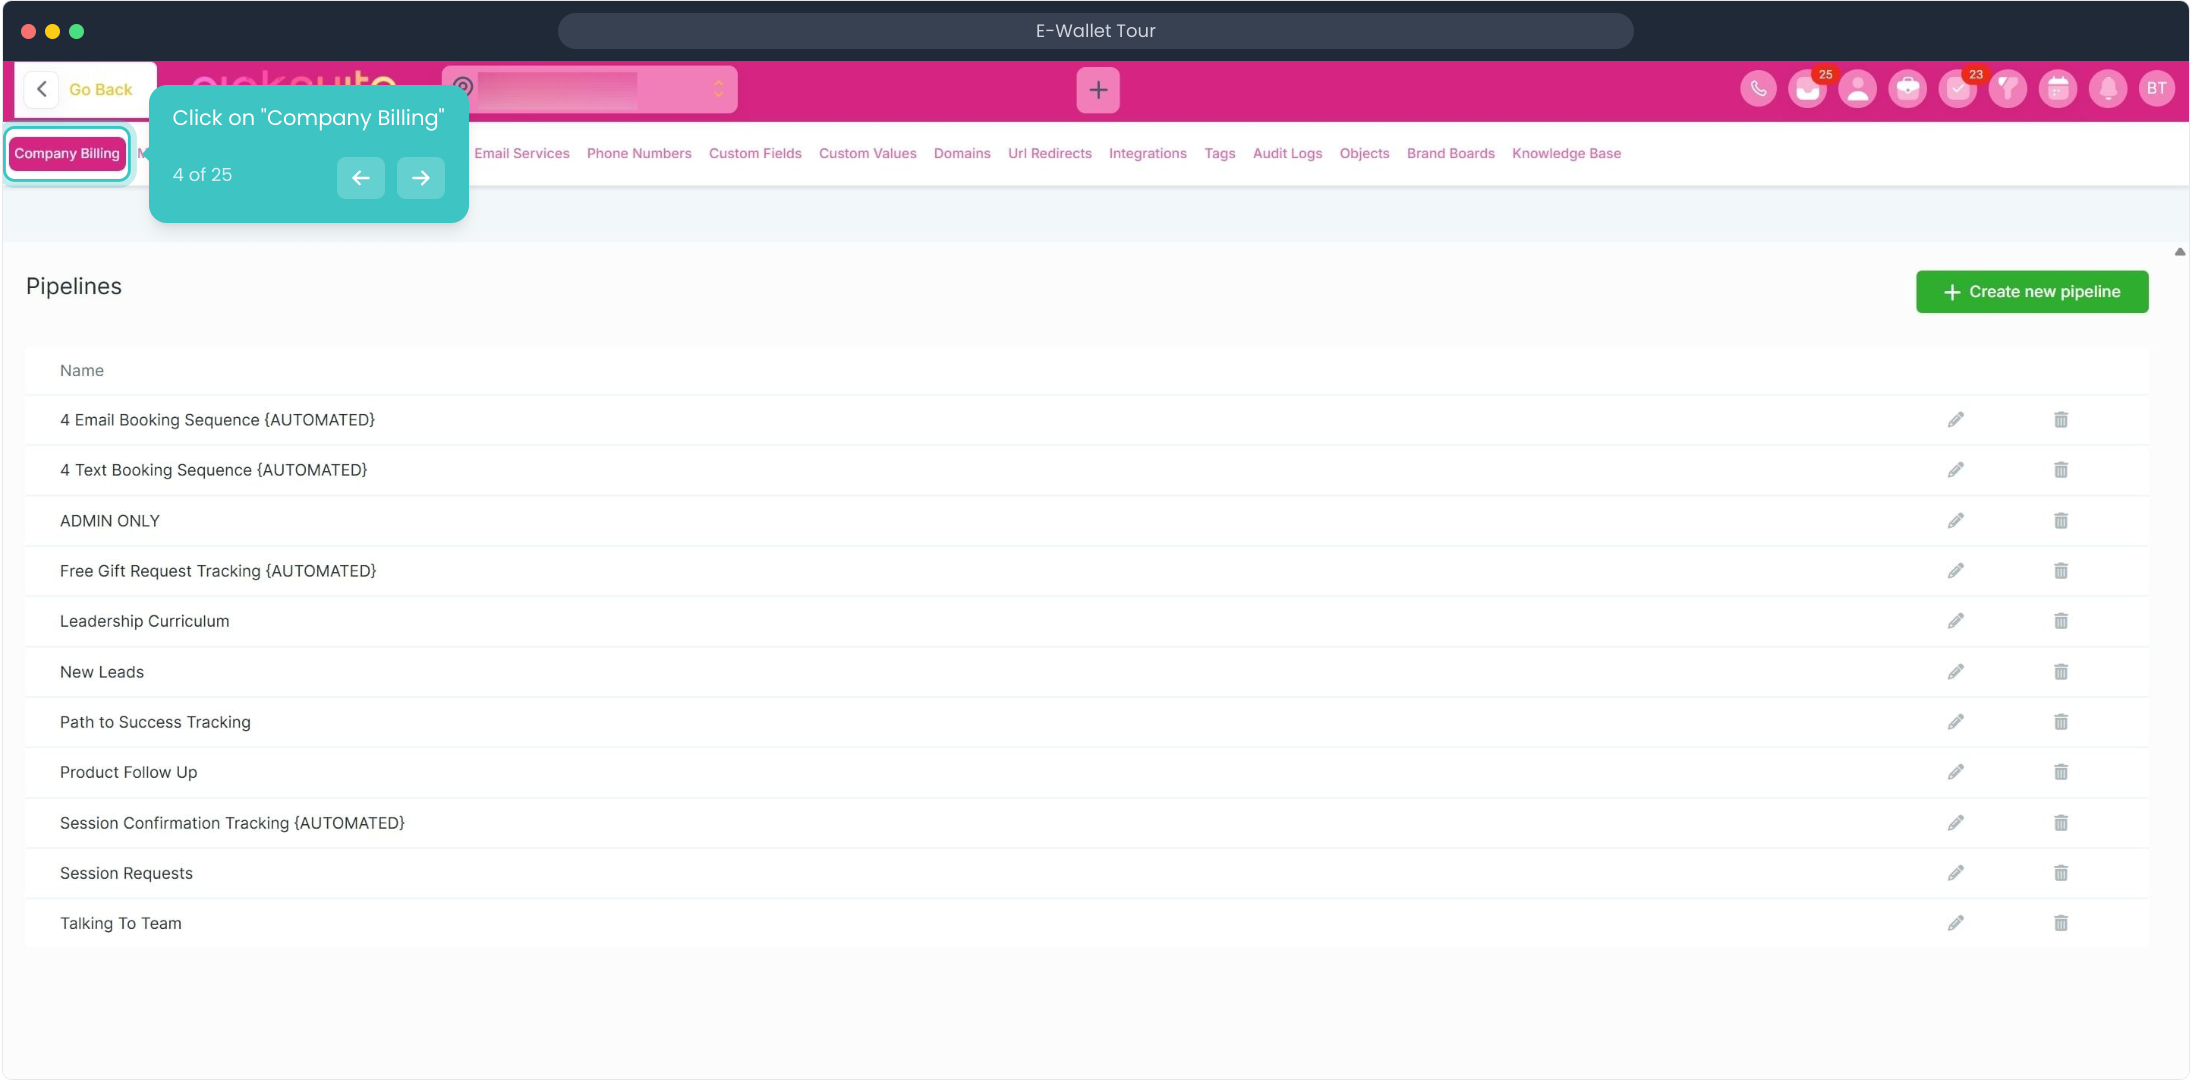
4. Click on "Company Billing"
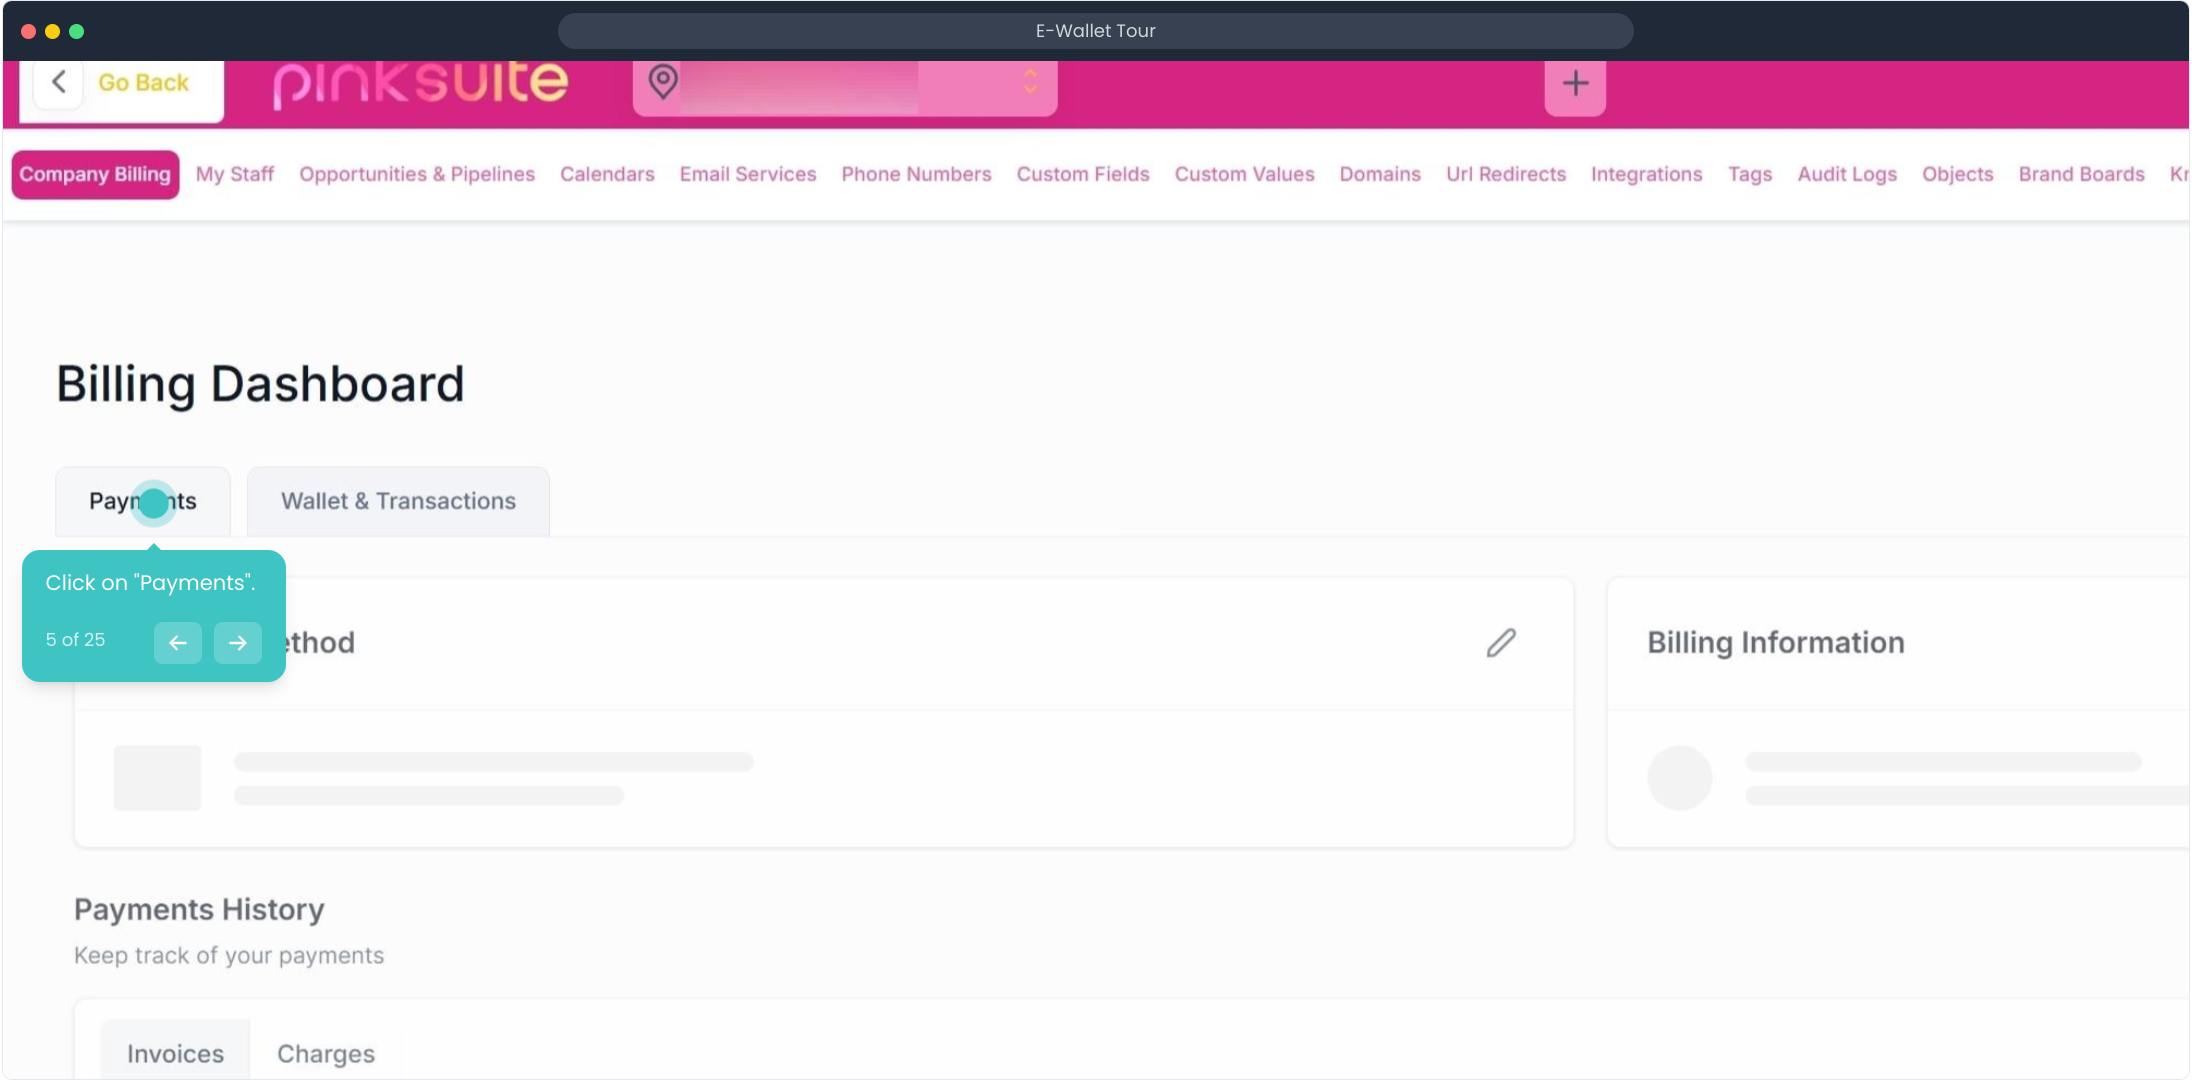
5. Click on "Payments".
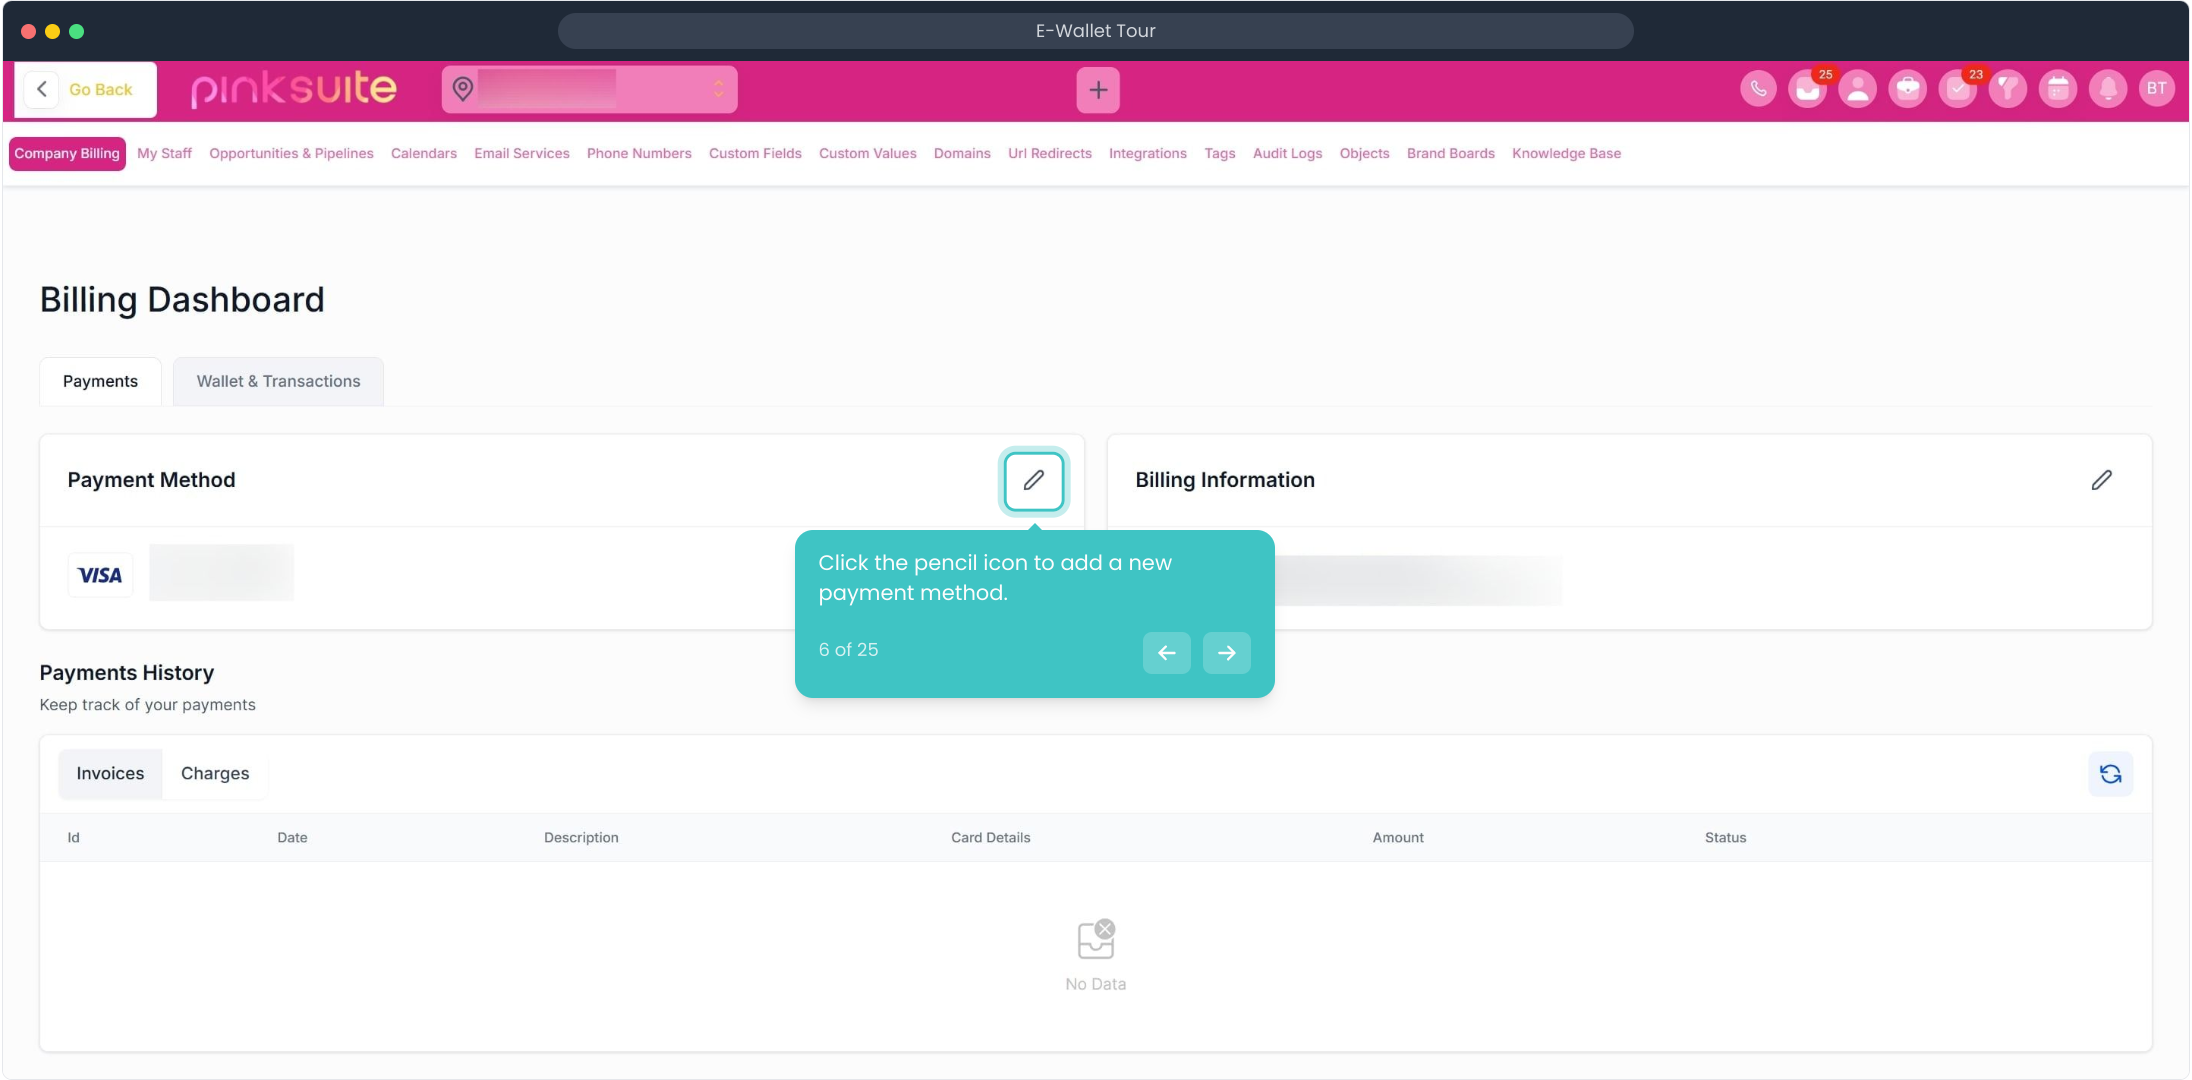
6. Click the pencil icon to add a new payment method.
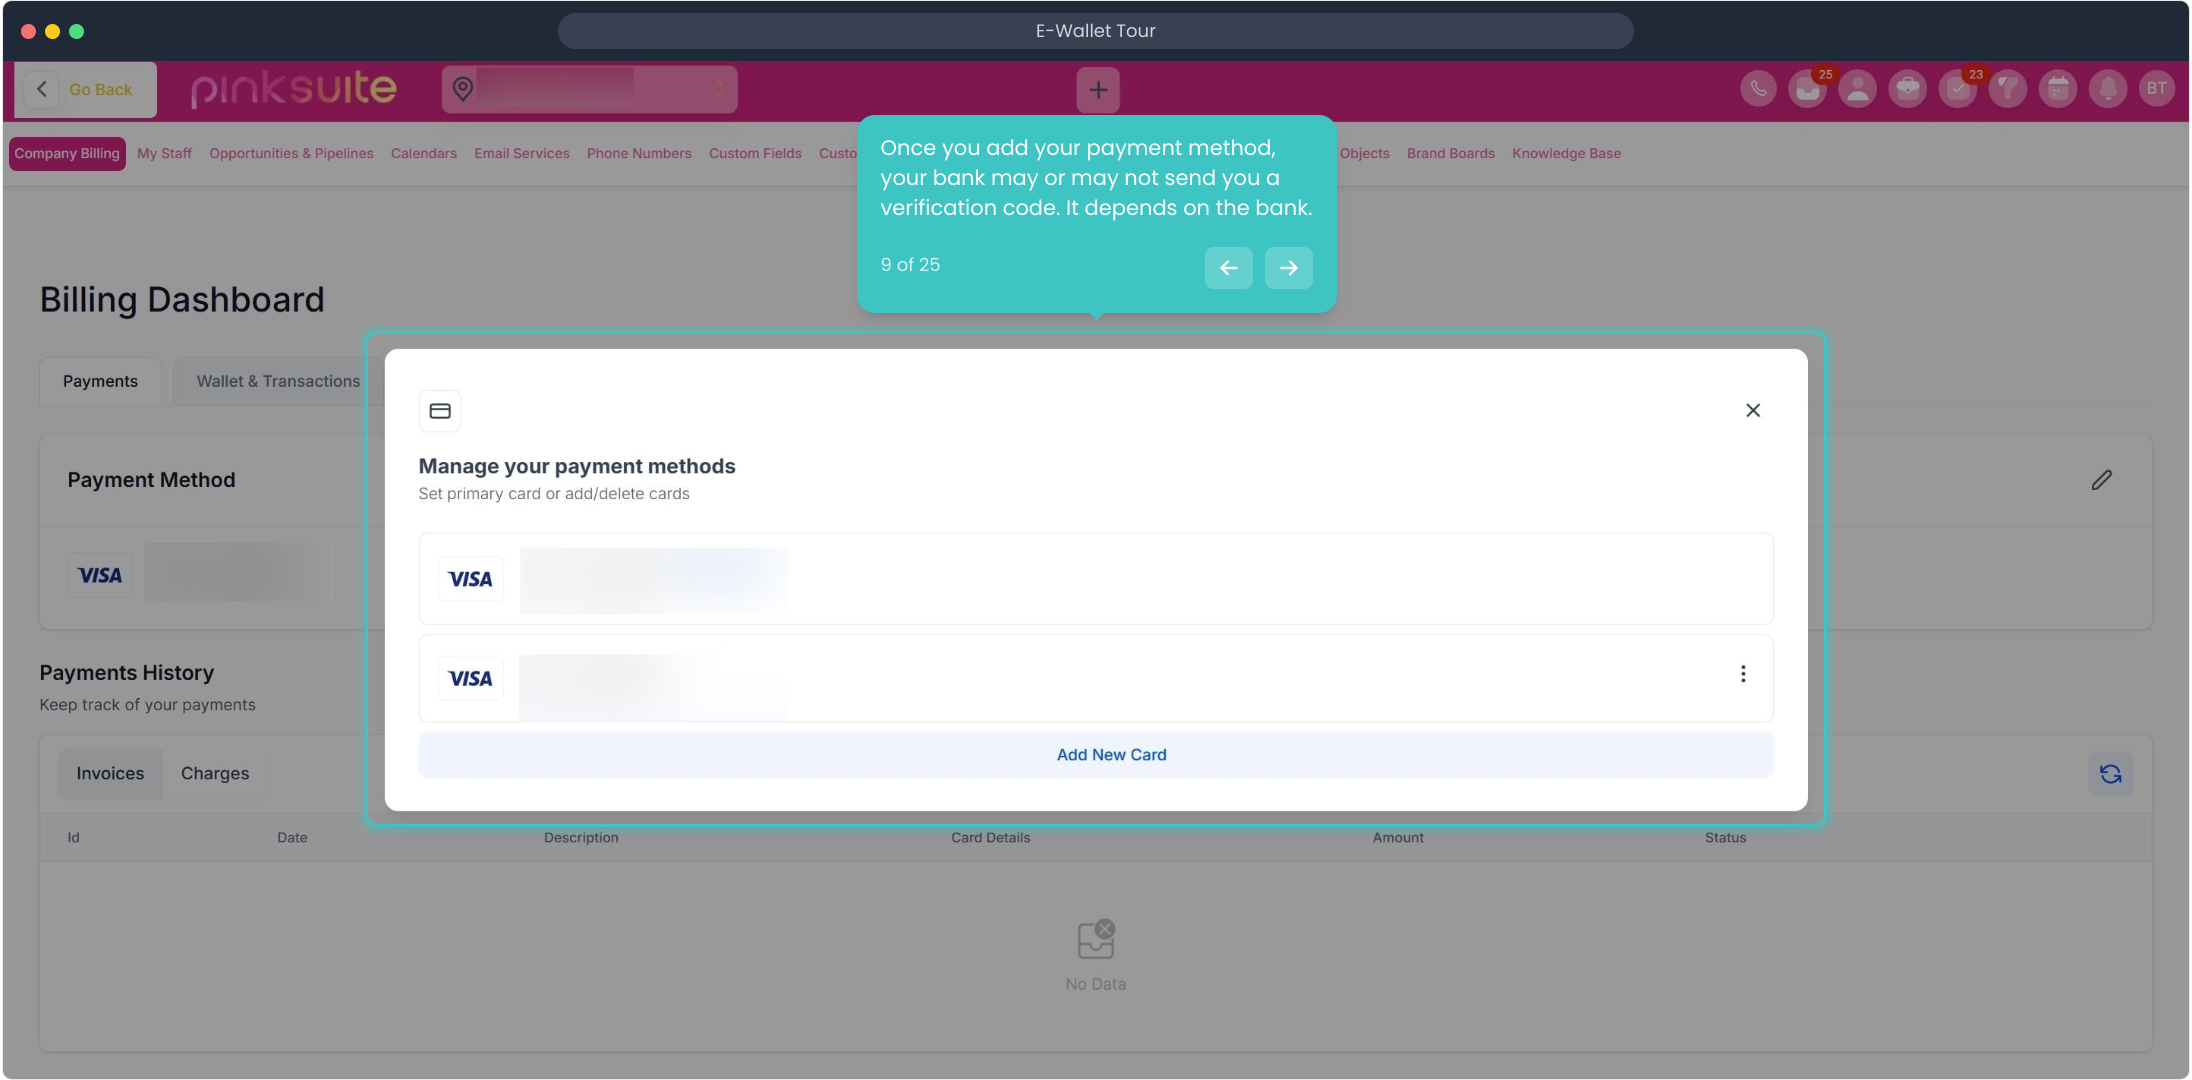
7. Click on "Add New Card".
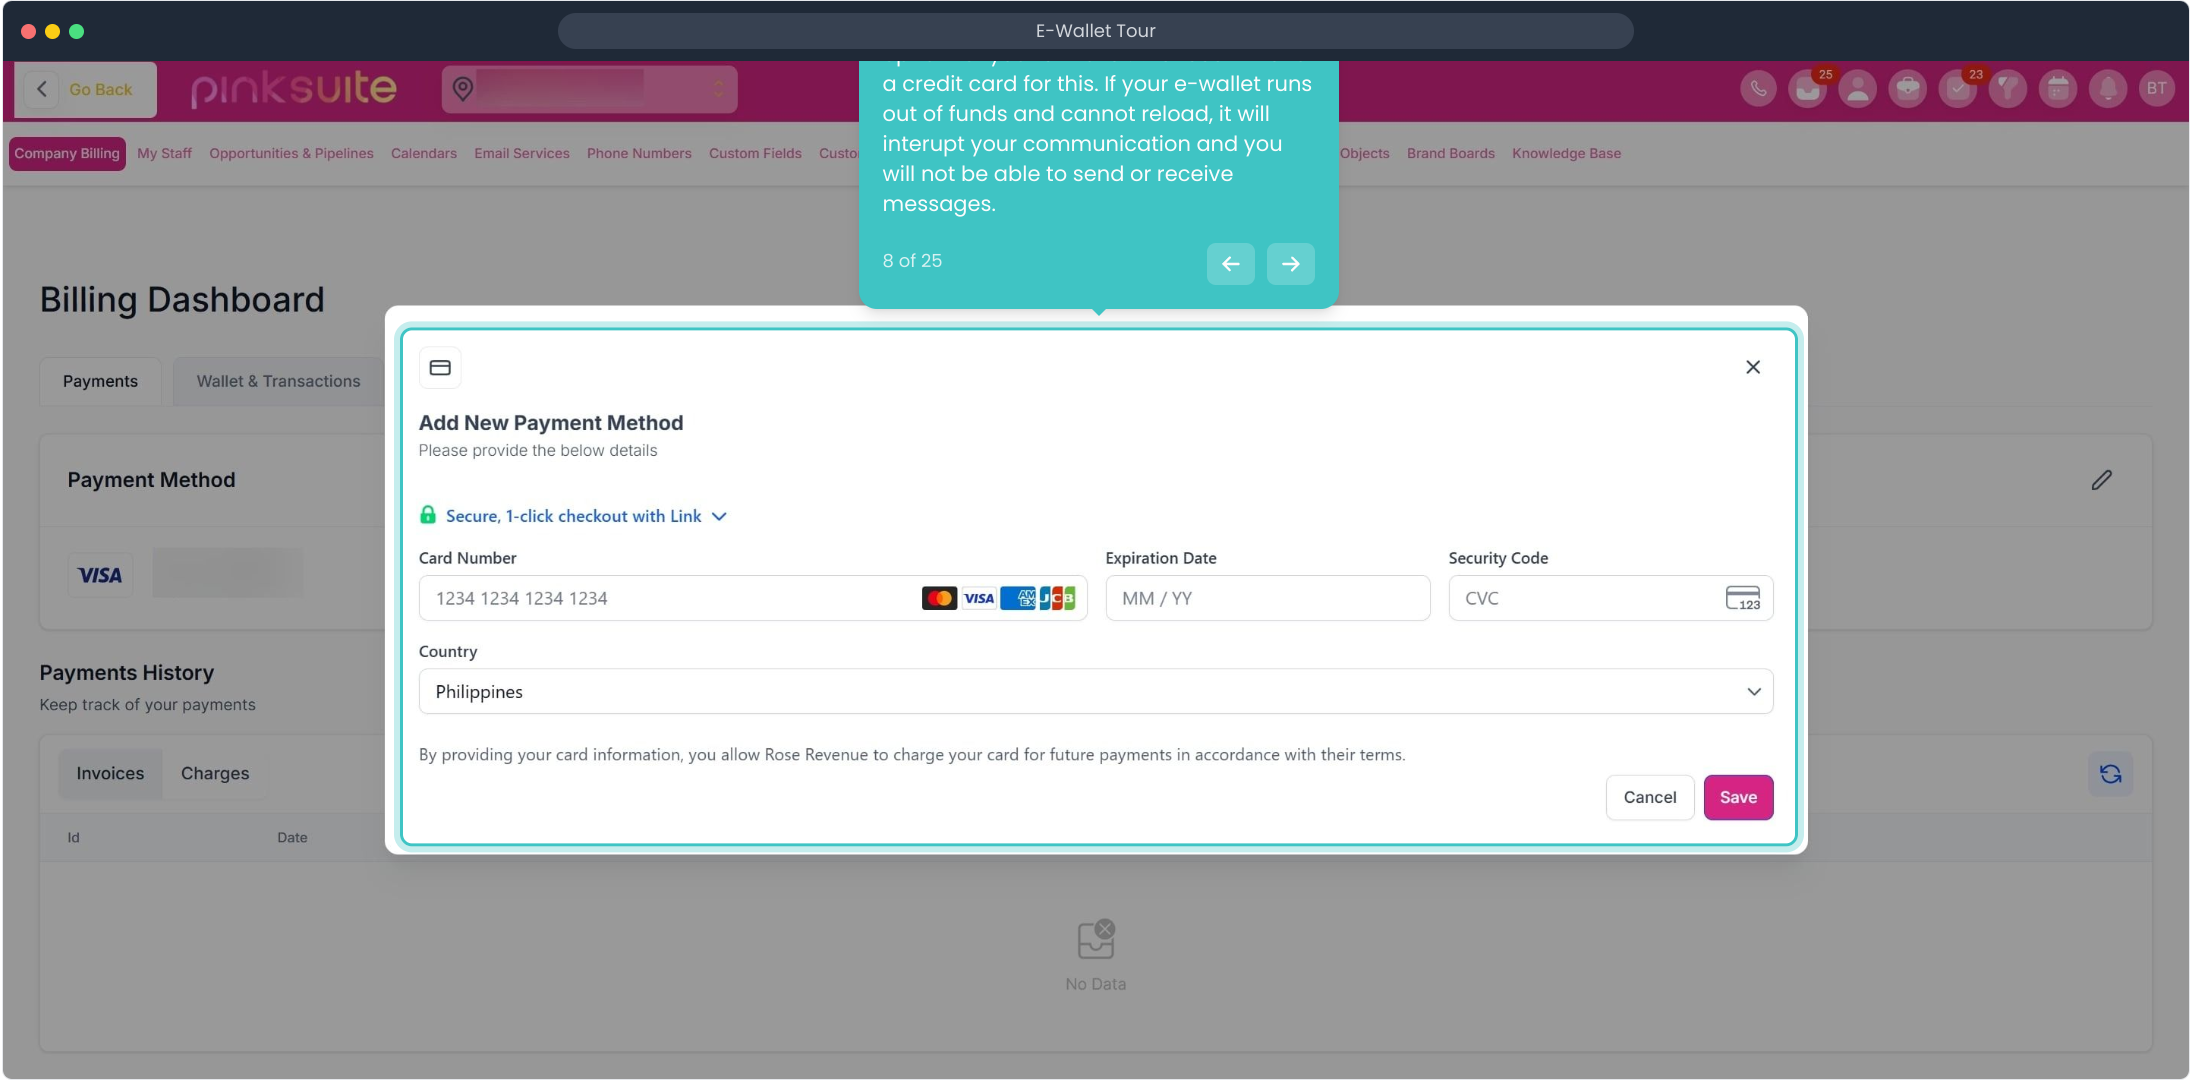
8. Add your payment method here. Prepaid cards and debit cards are not the best option for your e-wallet. We recommend a credit card for this. If your e-wallet runs out of funds and cannot reload, it will interupt your communication and you will not be able to send or receive messages.
9. Once you add your payment method, your bank may or may not send you a verification code. It depends on the bank.
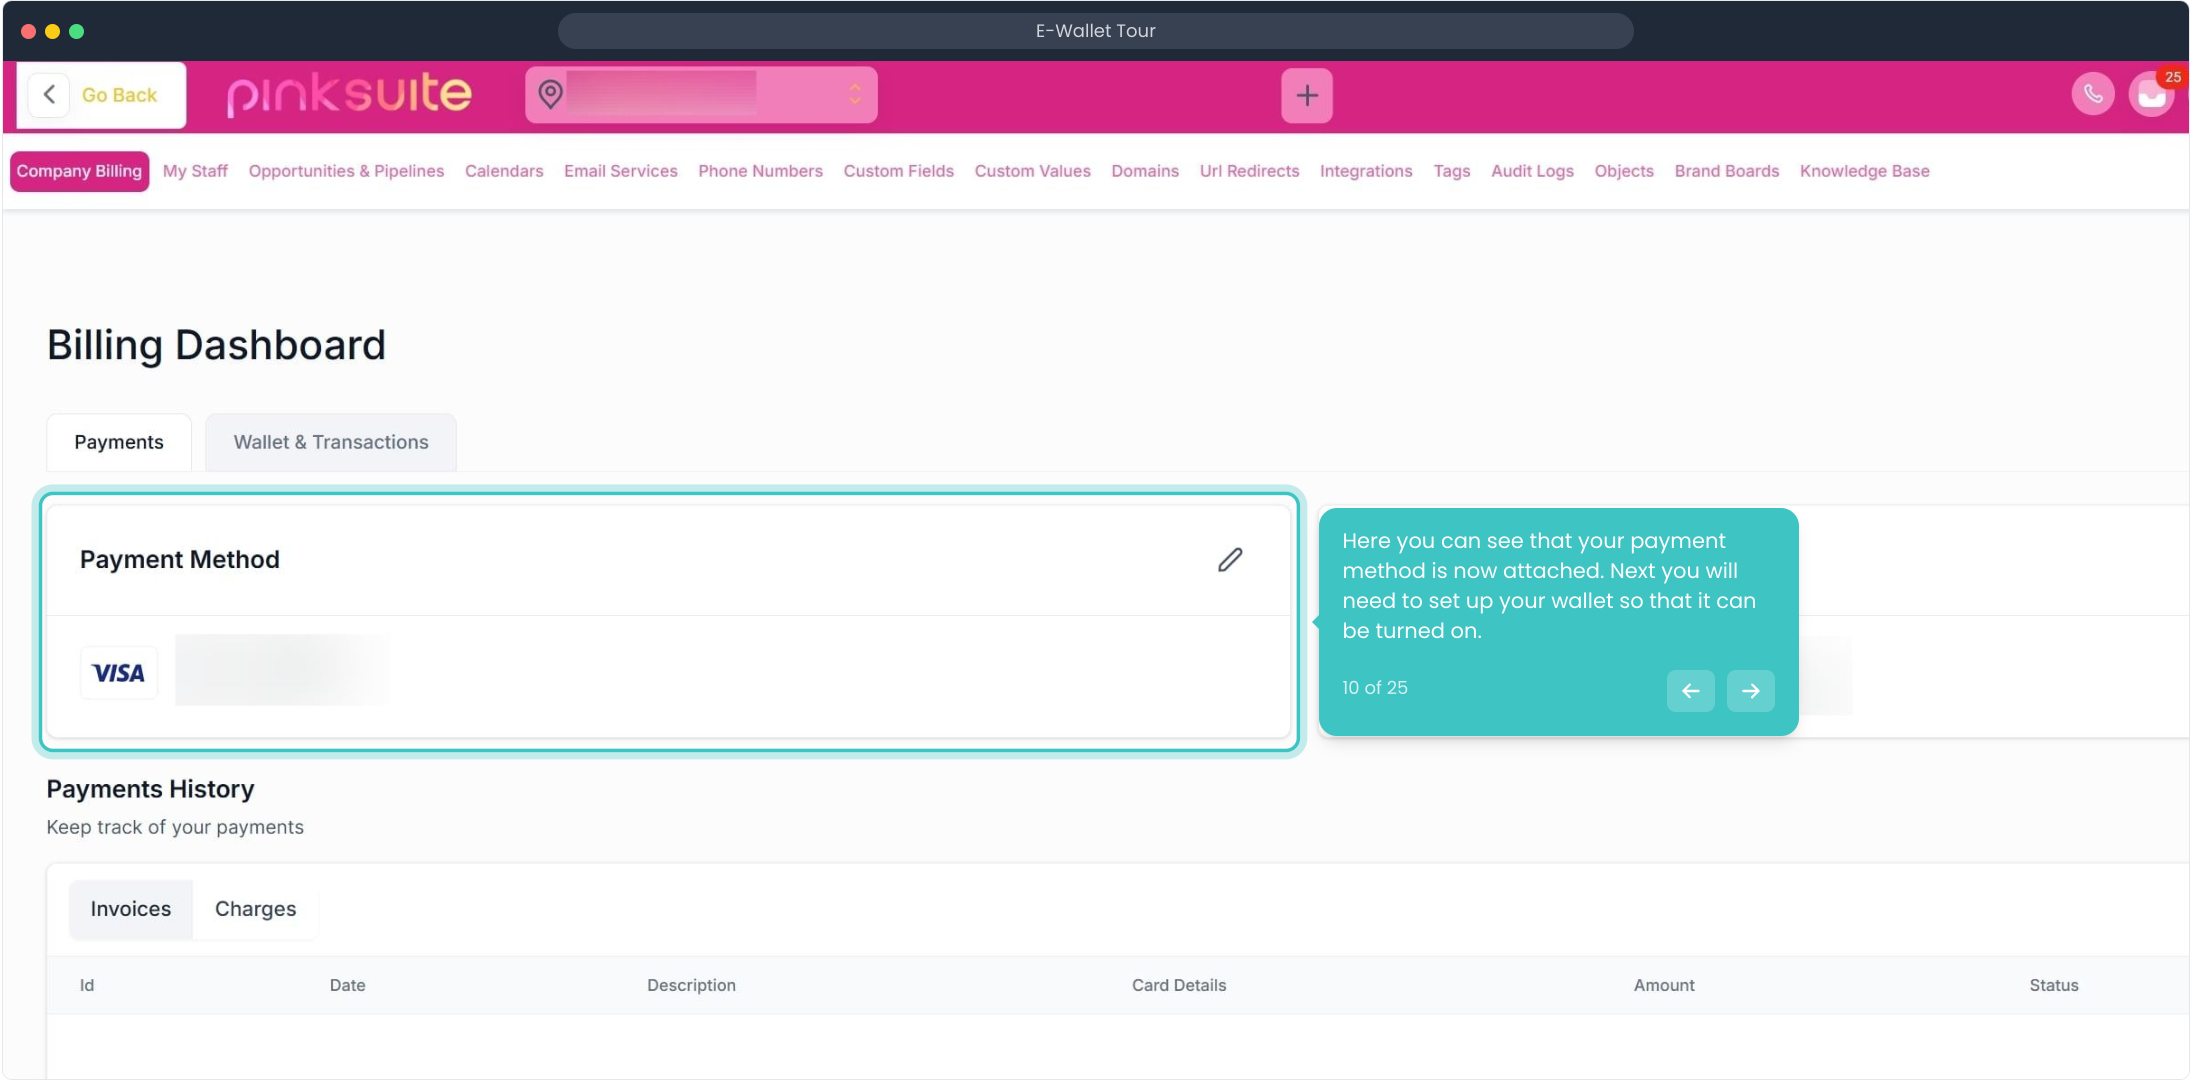
10. Here you can see that your payment method is now attached. Next you will need to set up your wallet so that it can be turned on.
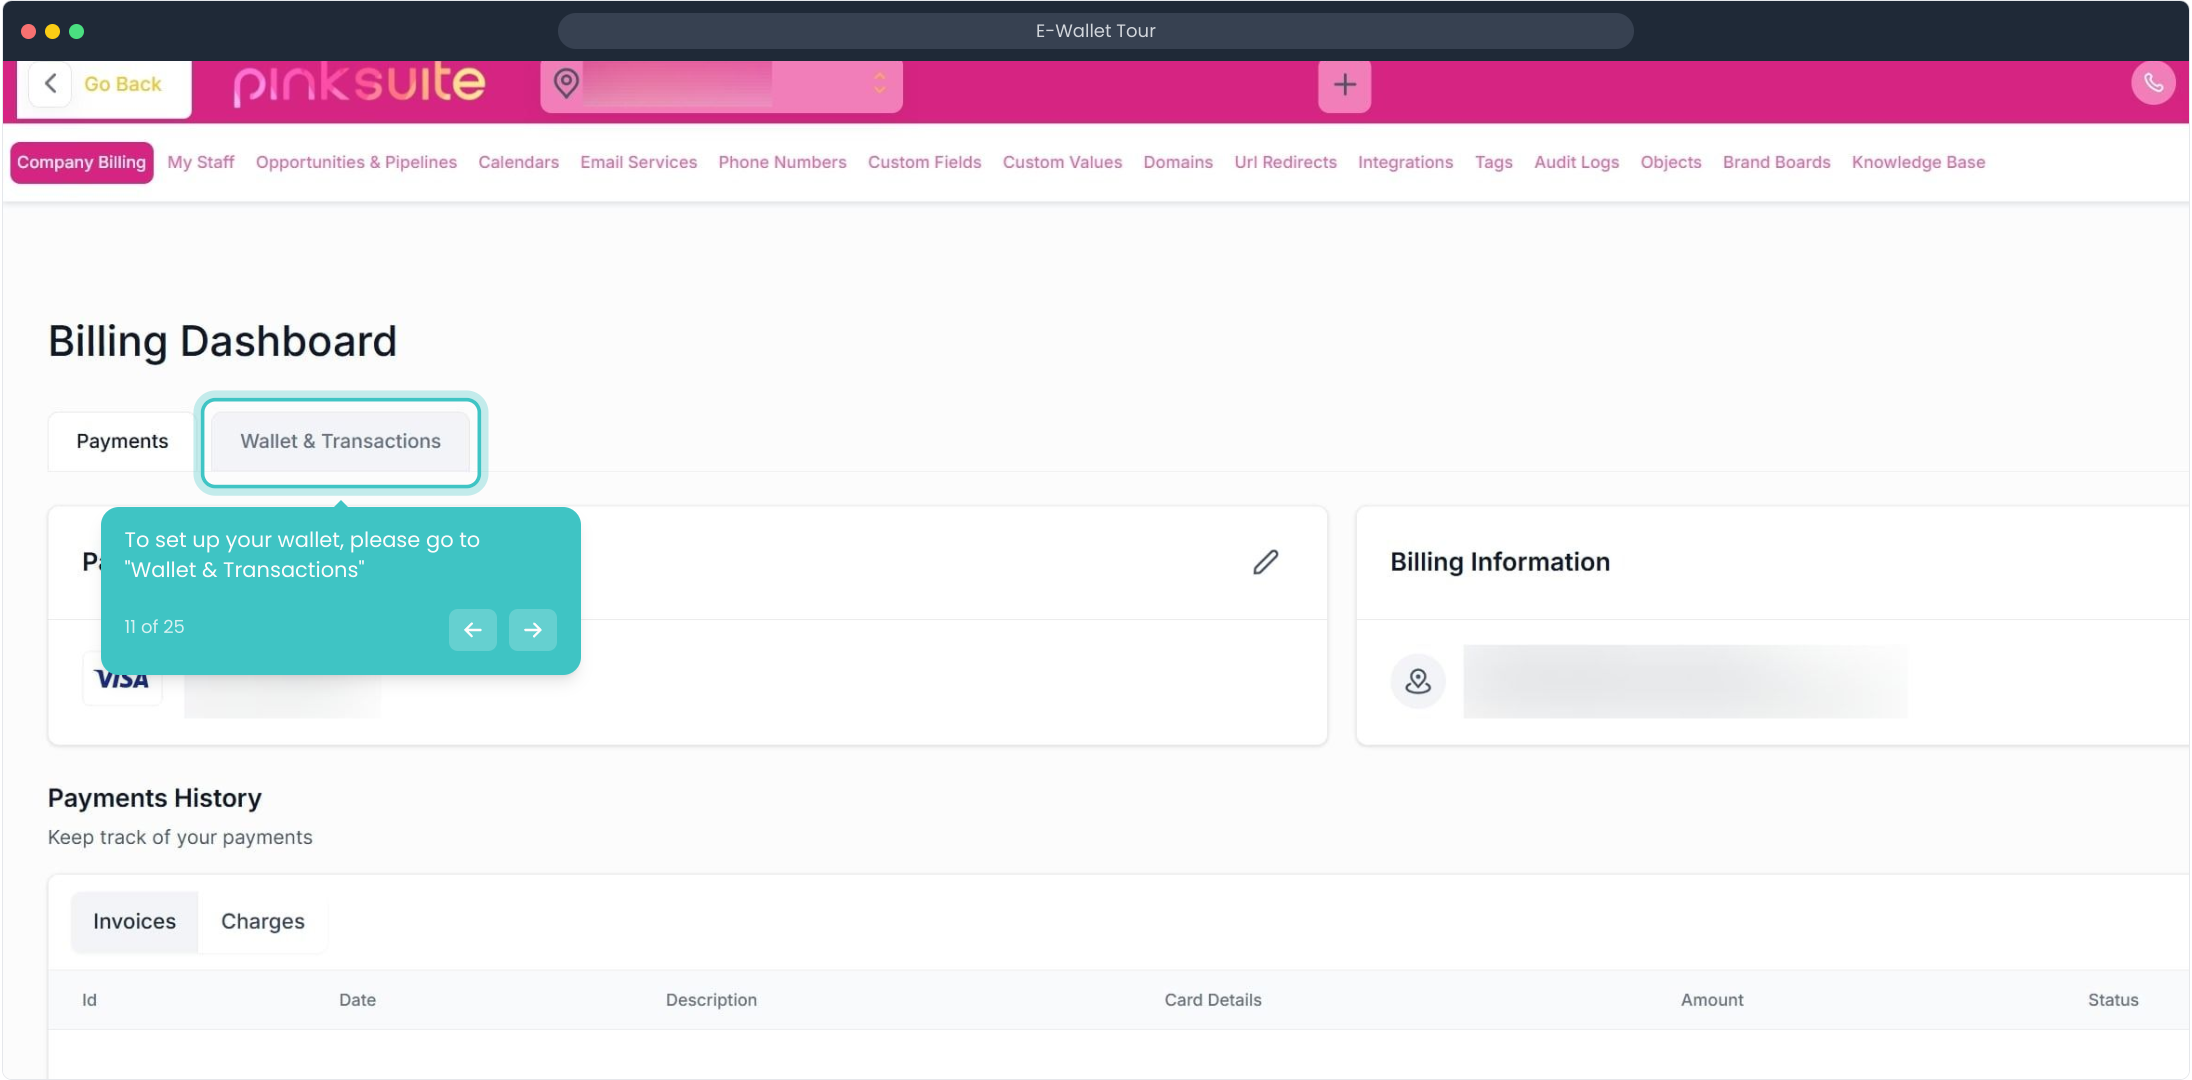
11. To set up your wallet, please go to "Wallet & Transactions"
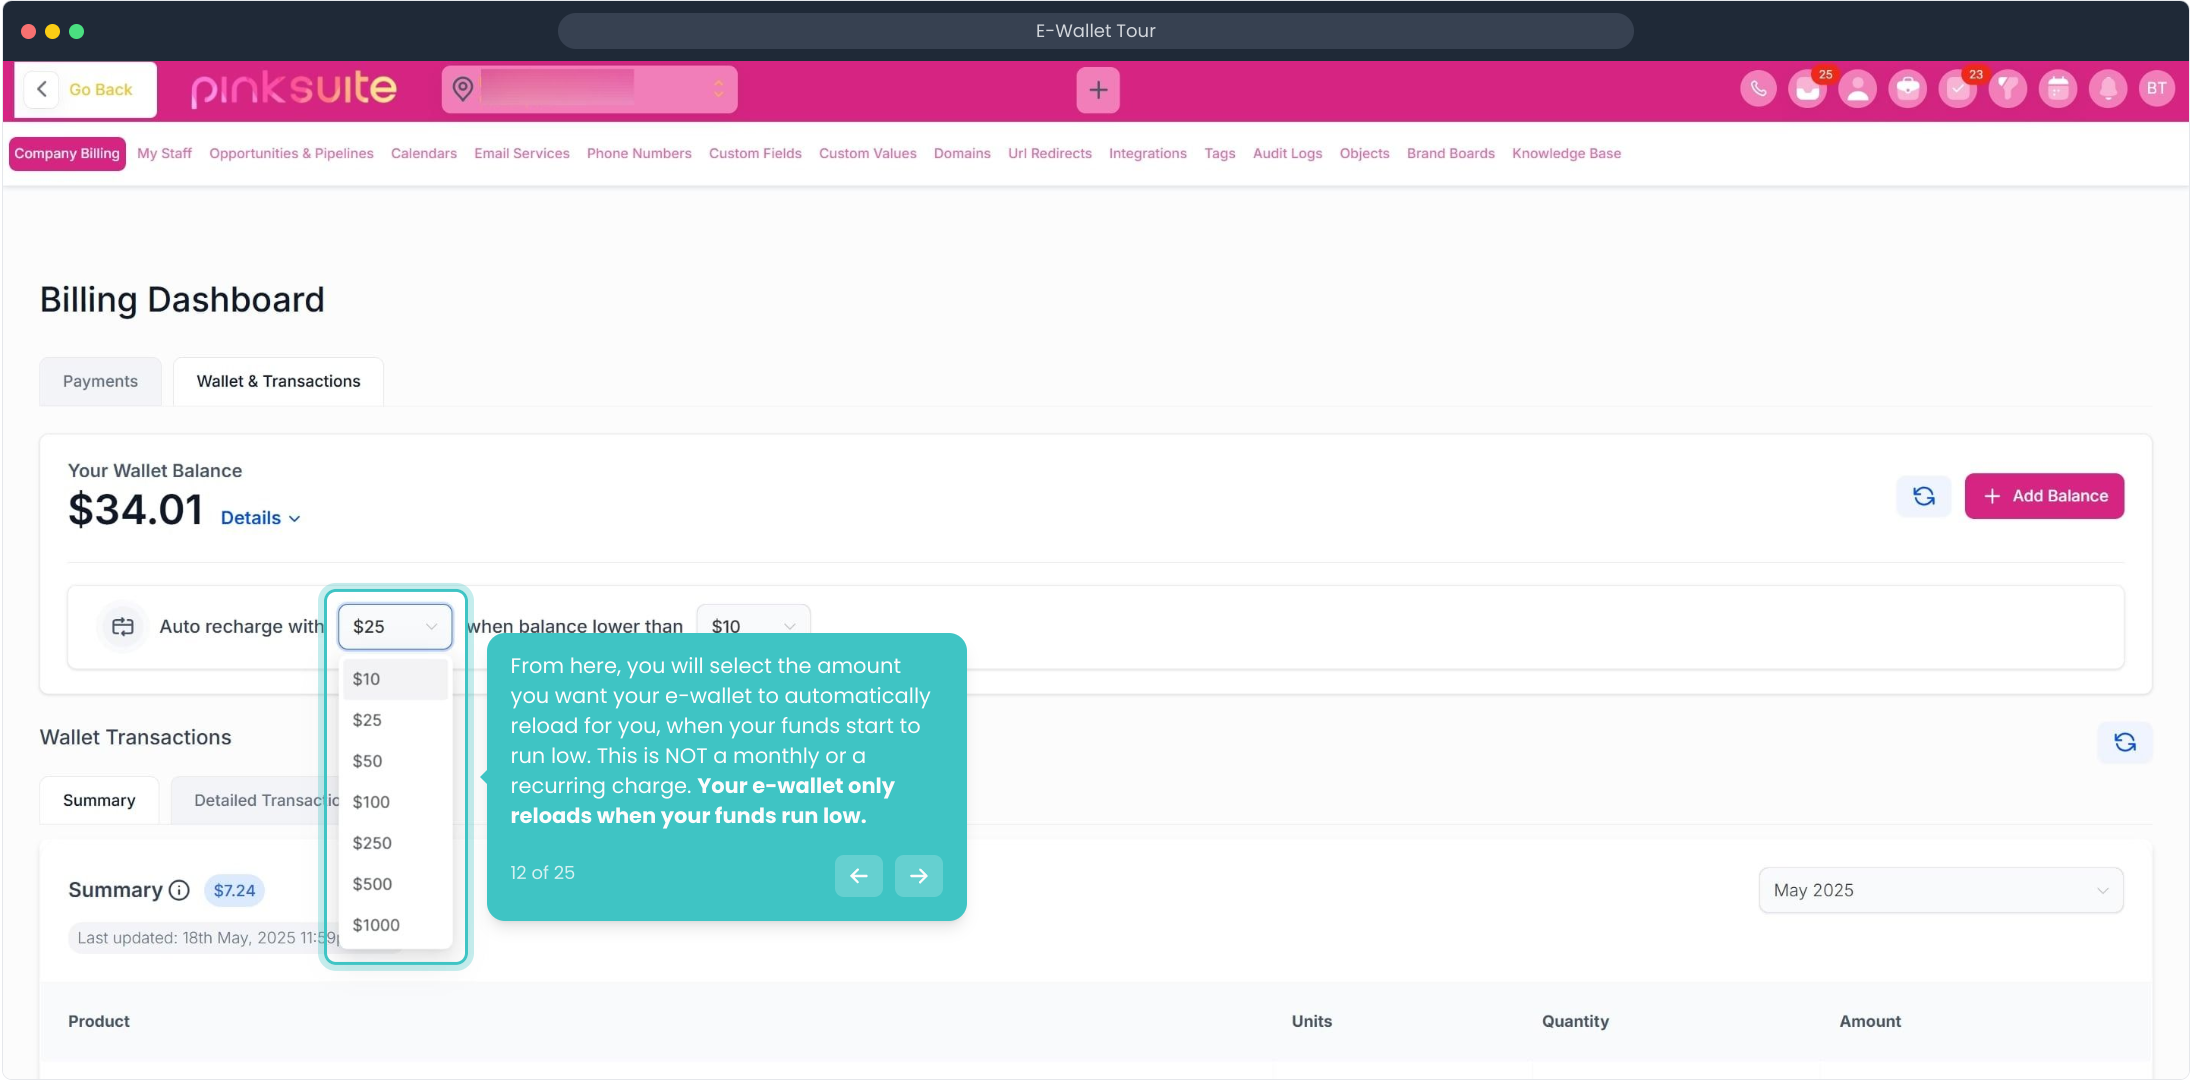
12. From here, you will select the amount you want your e-wallet to automatically reload for you, when your funds start to run low. This is NOT a monthly or a recurring charge. Your e-wallet only reloads when your funds run low.
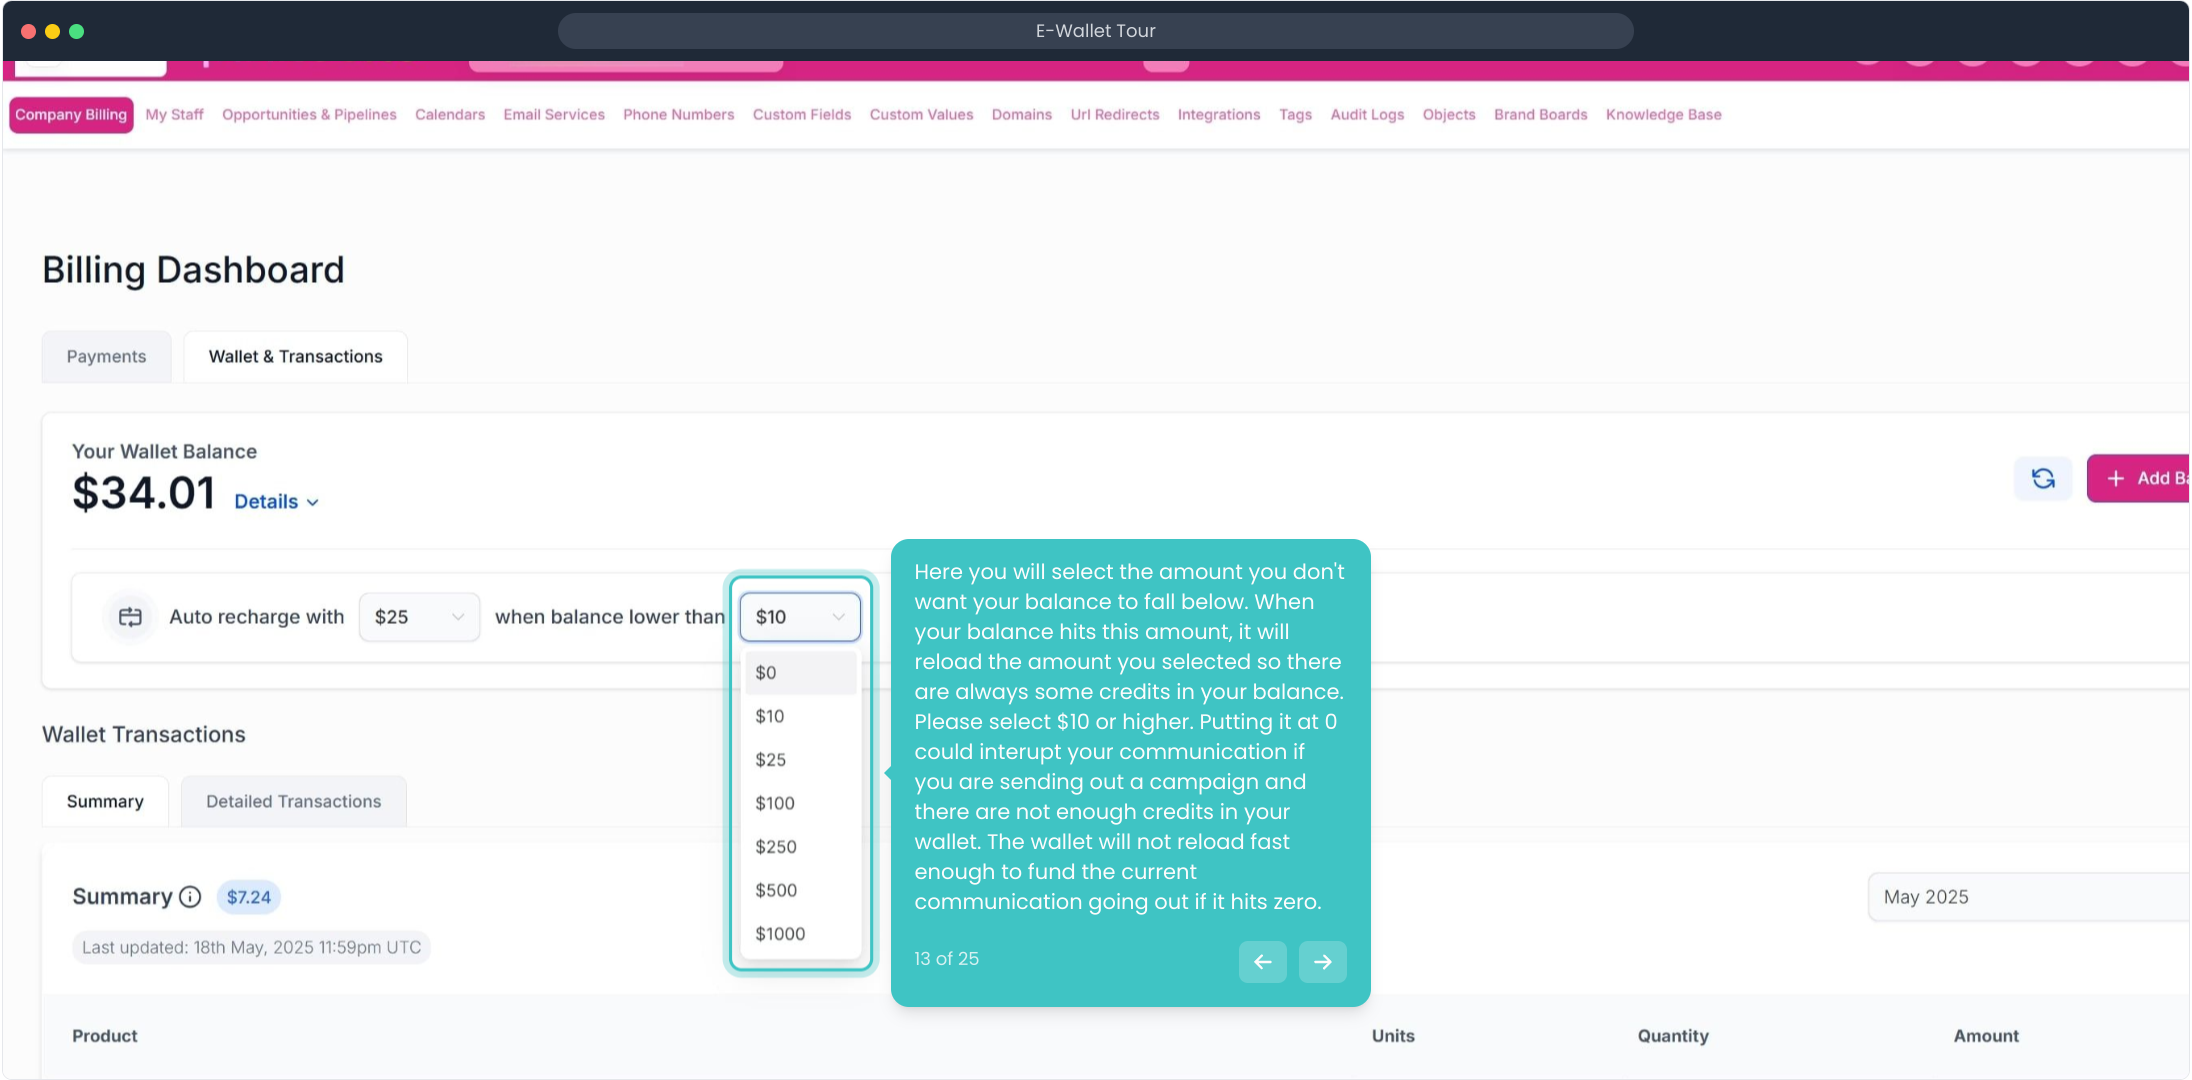
13. Here you will select the amount you don't want your balance to fall below. When your balance hits this amount, it will reload the amount you selected so there are always some credits in your balance. Please select $10 or higher. Putting it at 0 could interupt your communication if you are sending out a campaign and there are not enough credits in your wallet. The wallet will not reload fast enough to fund the current communication going out if it hits zero.
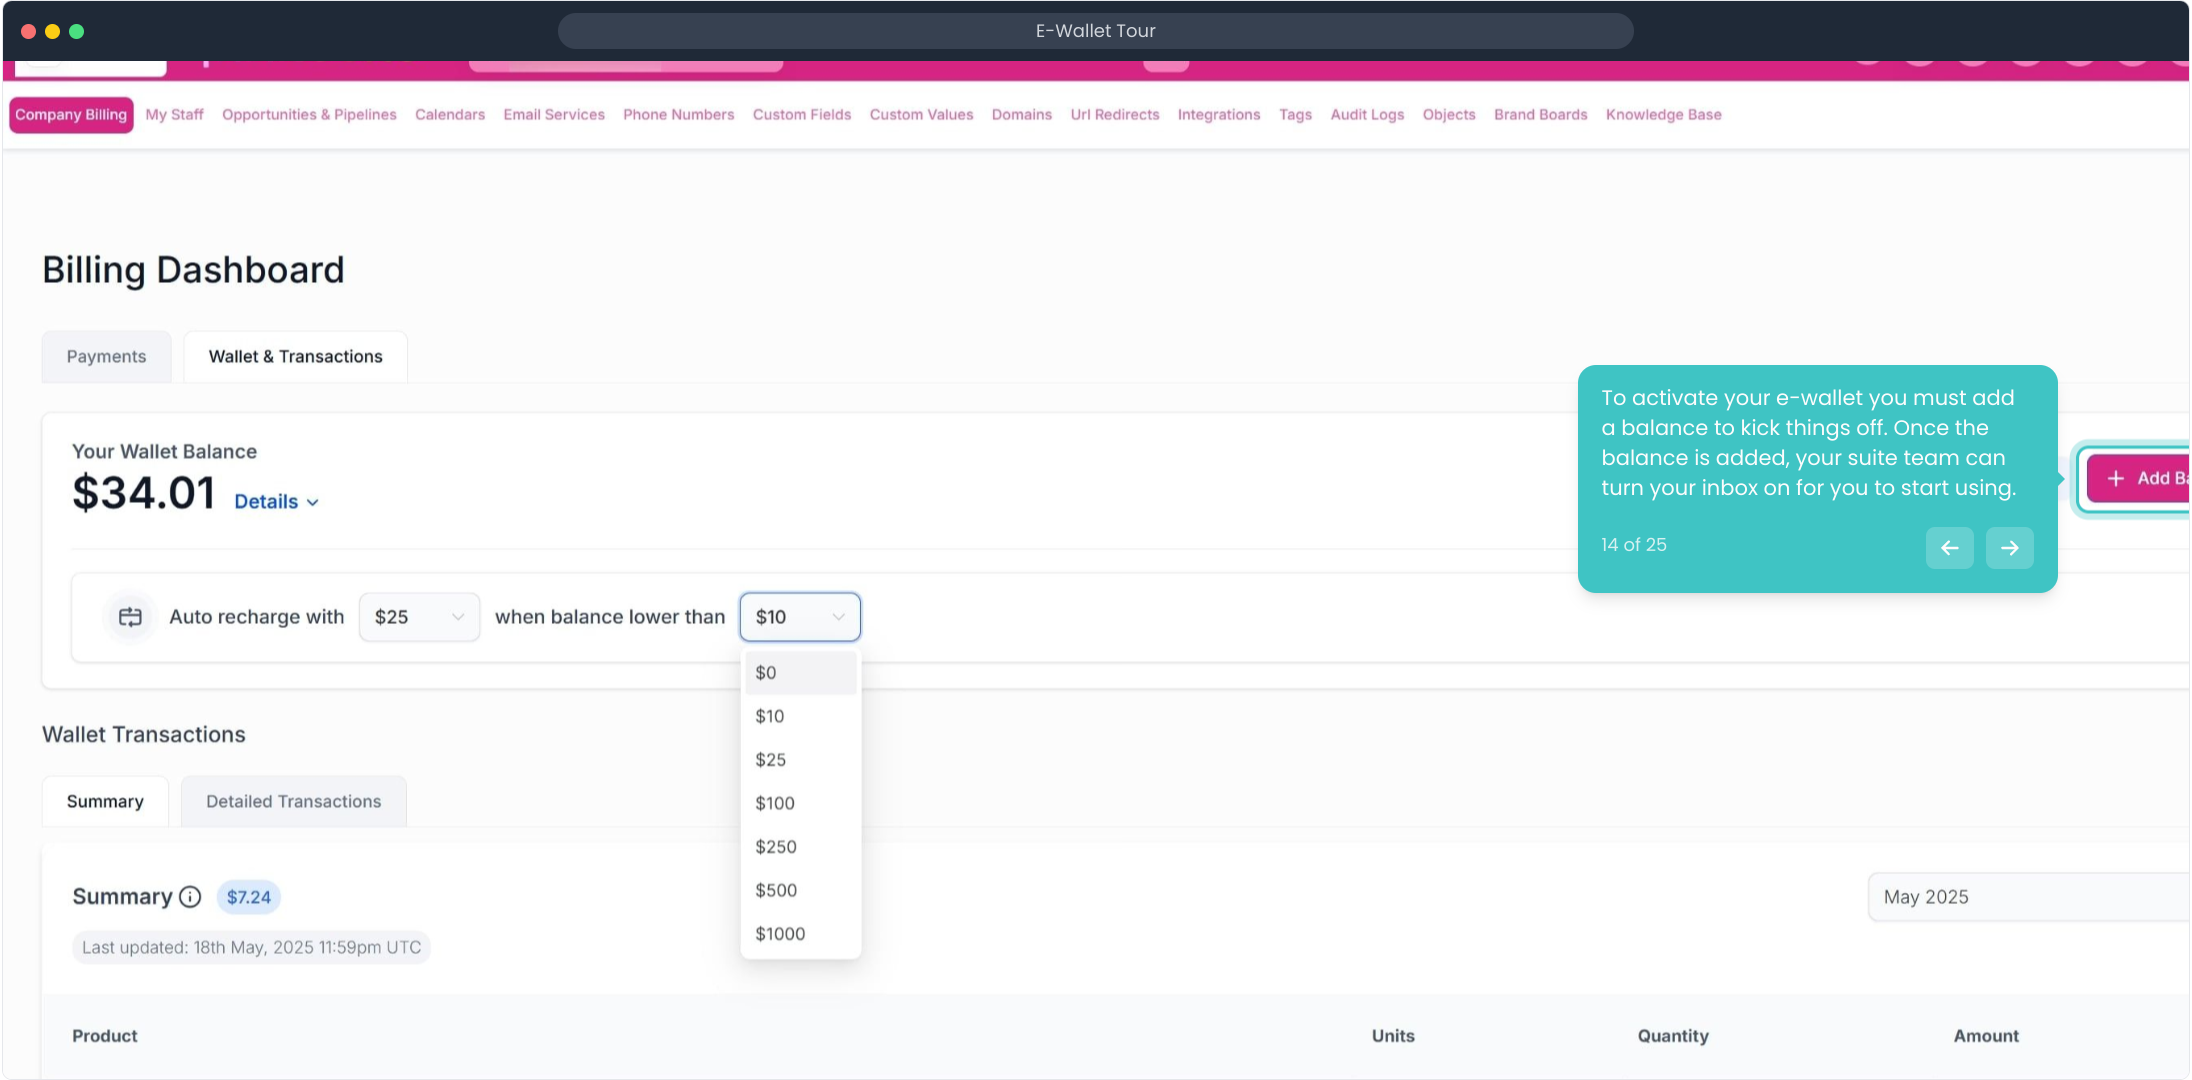
14. To activate your e-wallet you must add a balance to kick things off. Once the balance is added, your suite team can turn your inbox on for you to start using.
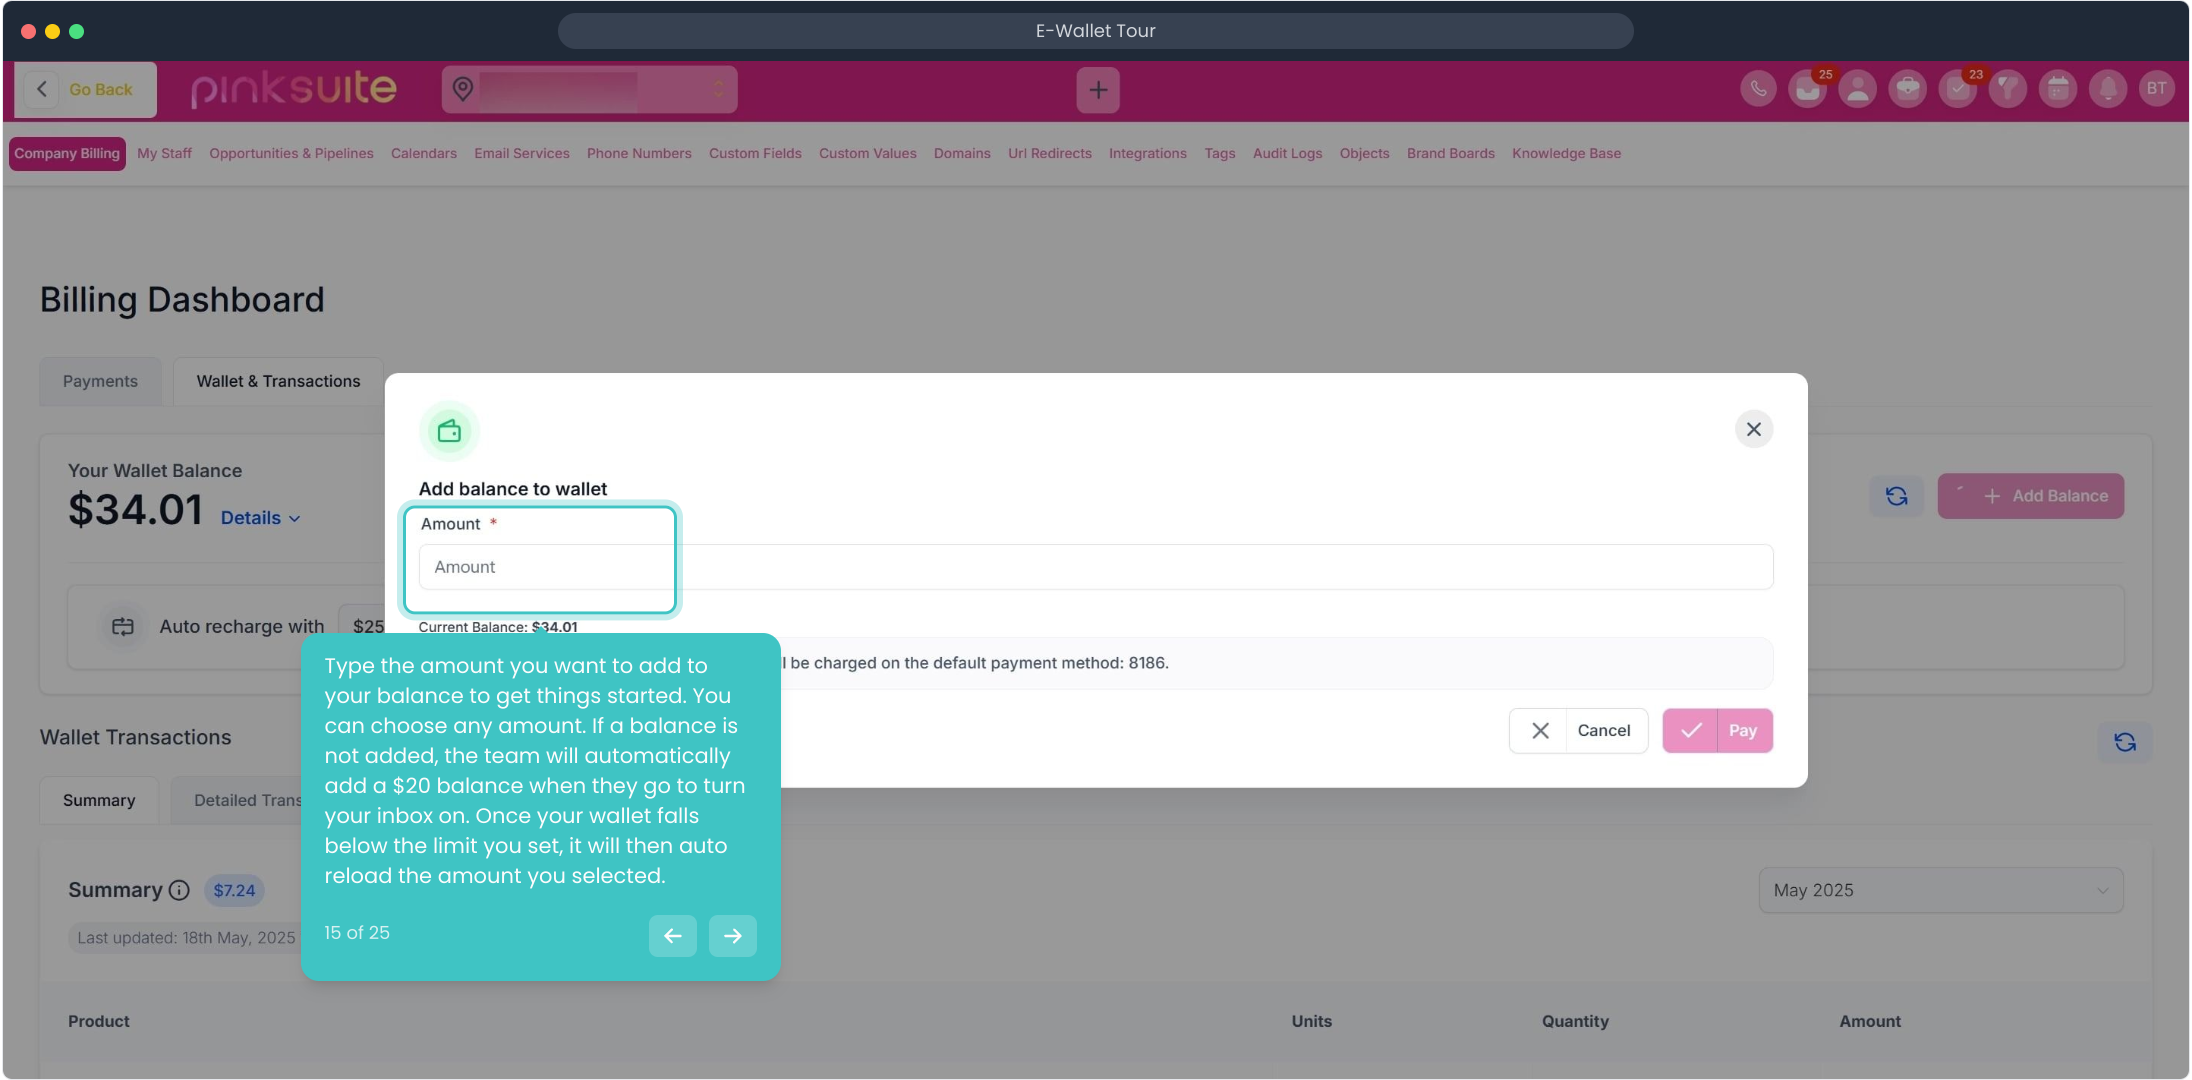
15. Type the amount you want to add to your balance to get things started. You can choose any amount. If a balance is not added, the team will automatically add a $20 balance when they go to turn your inbox on. Once your wallet falls below the limit you set, it will then auto reload the amount you selected.
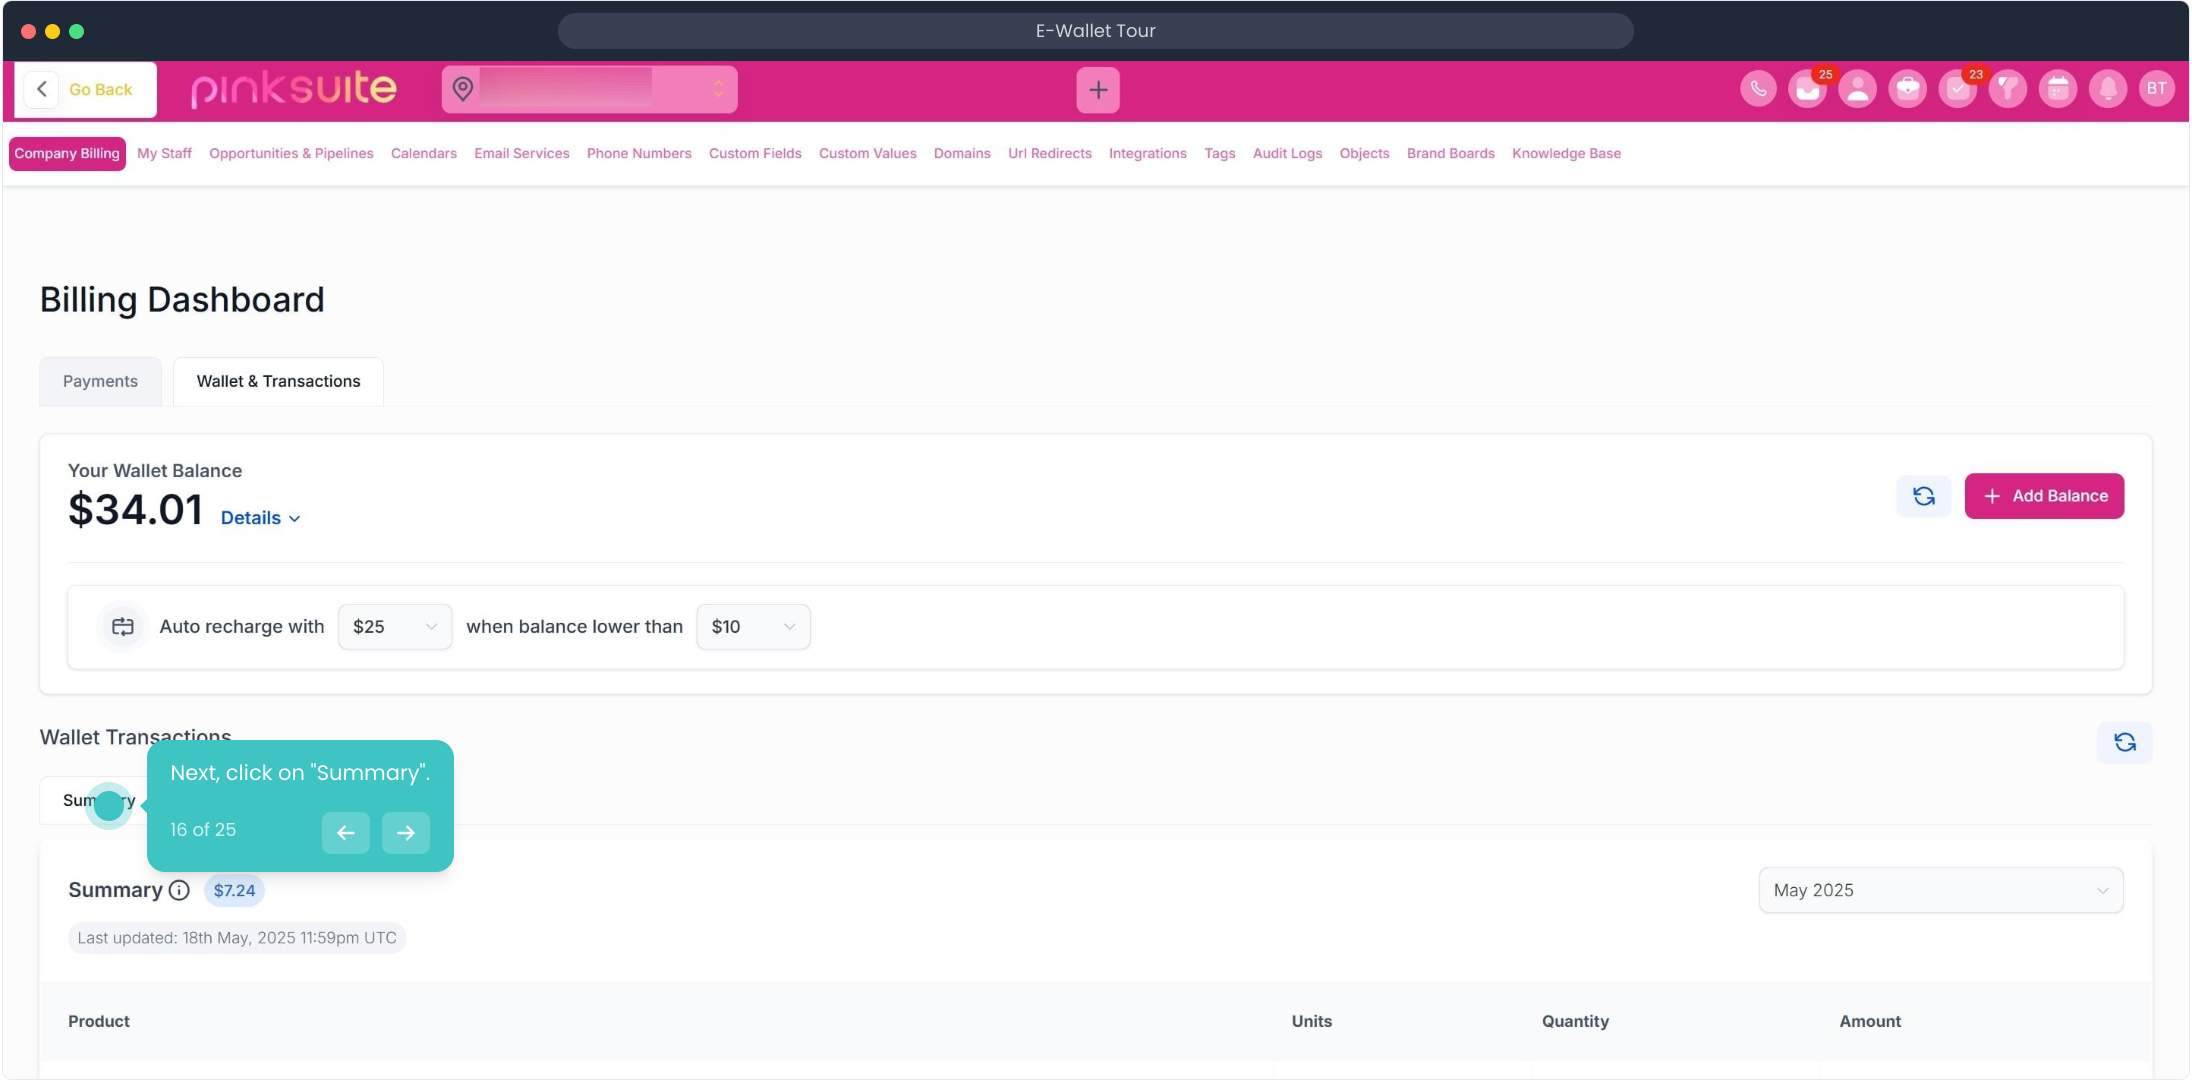
16. Next, click on "Summary".
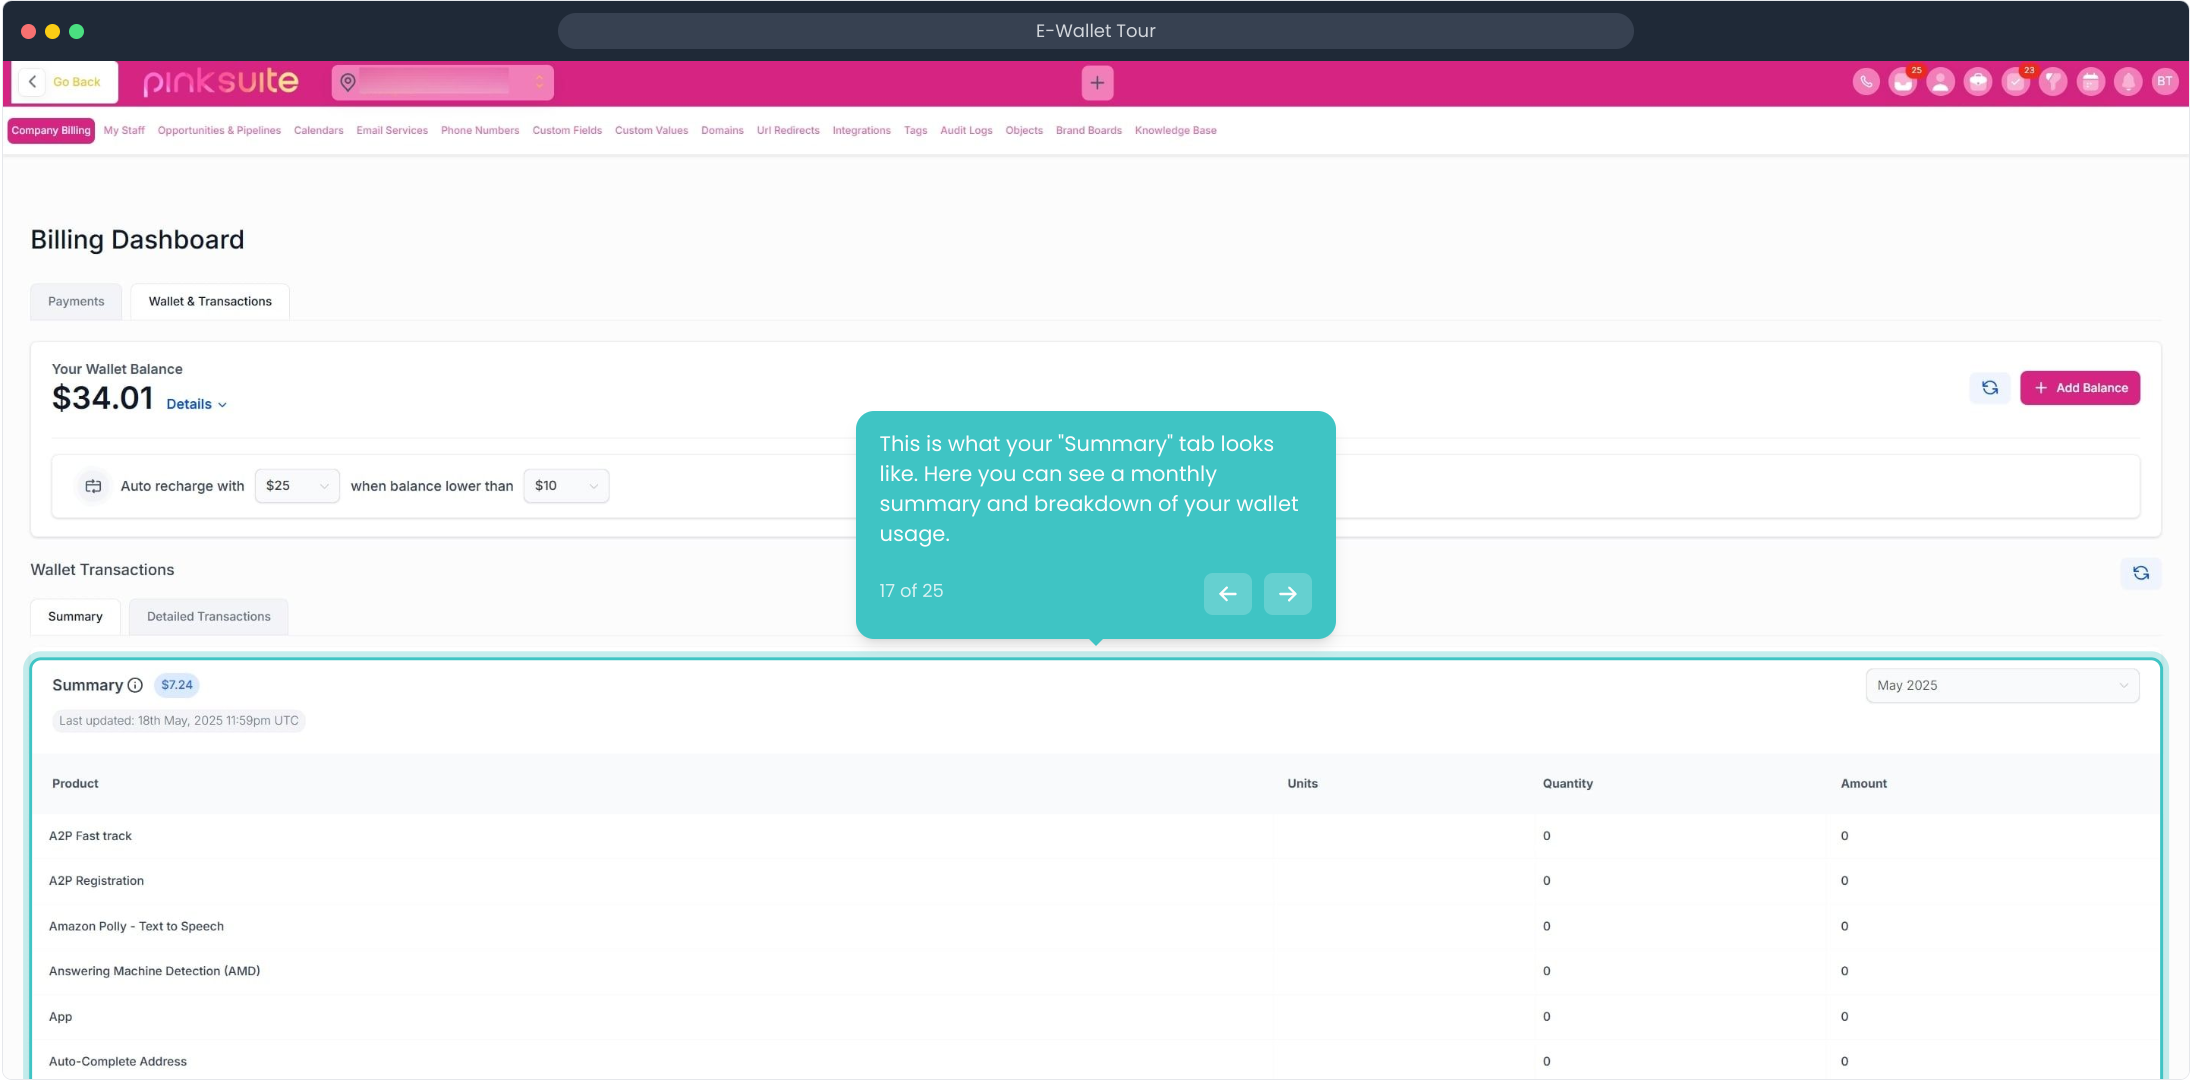
17. This is what your "Summary" tab looks like. Here you can see a monthly summary and breakdown of your wallet usage.
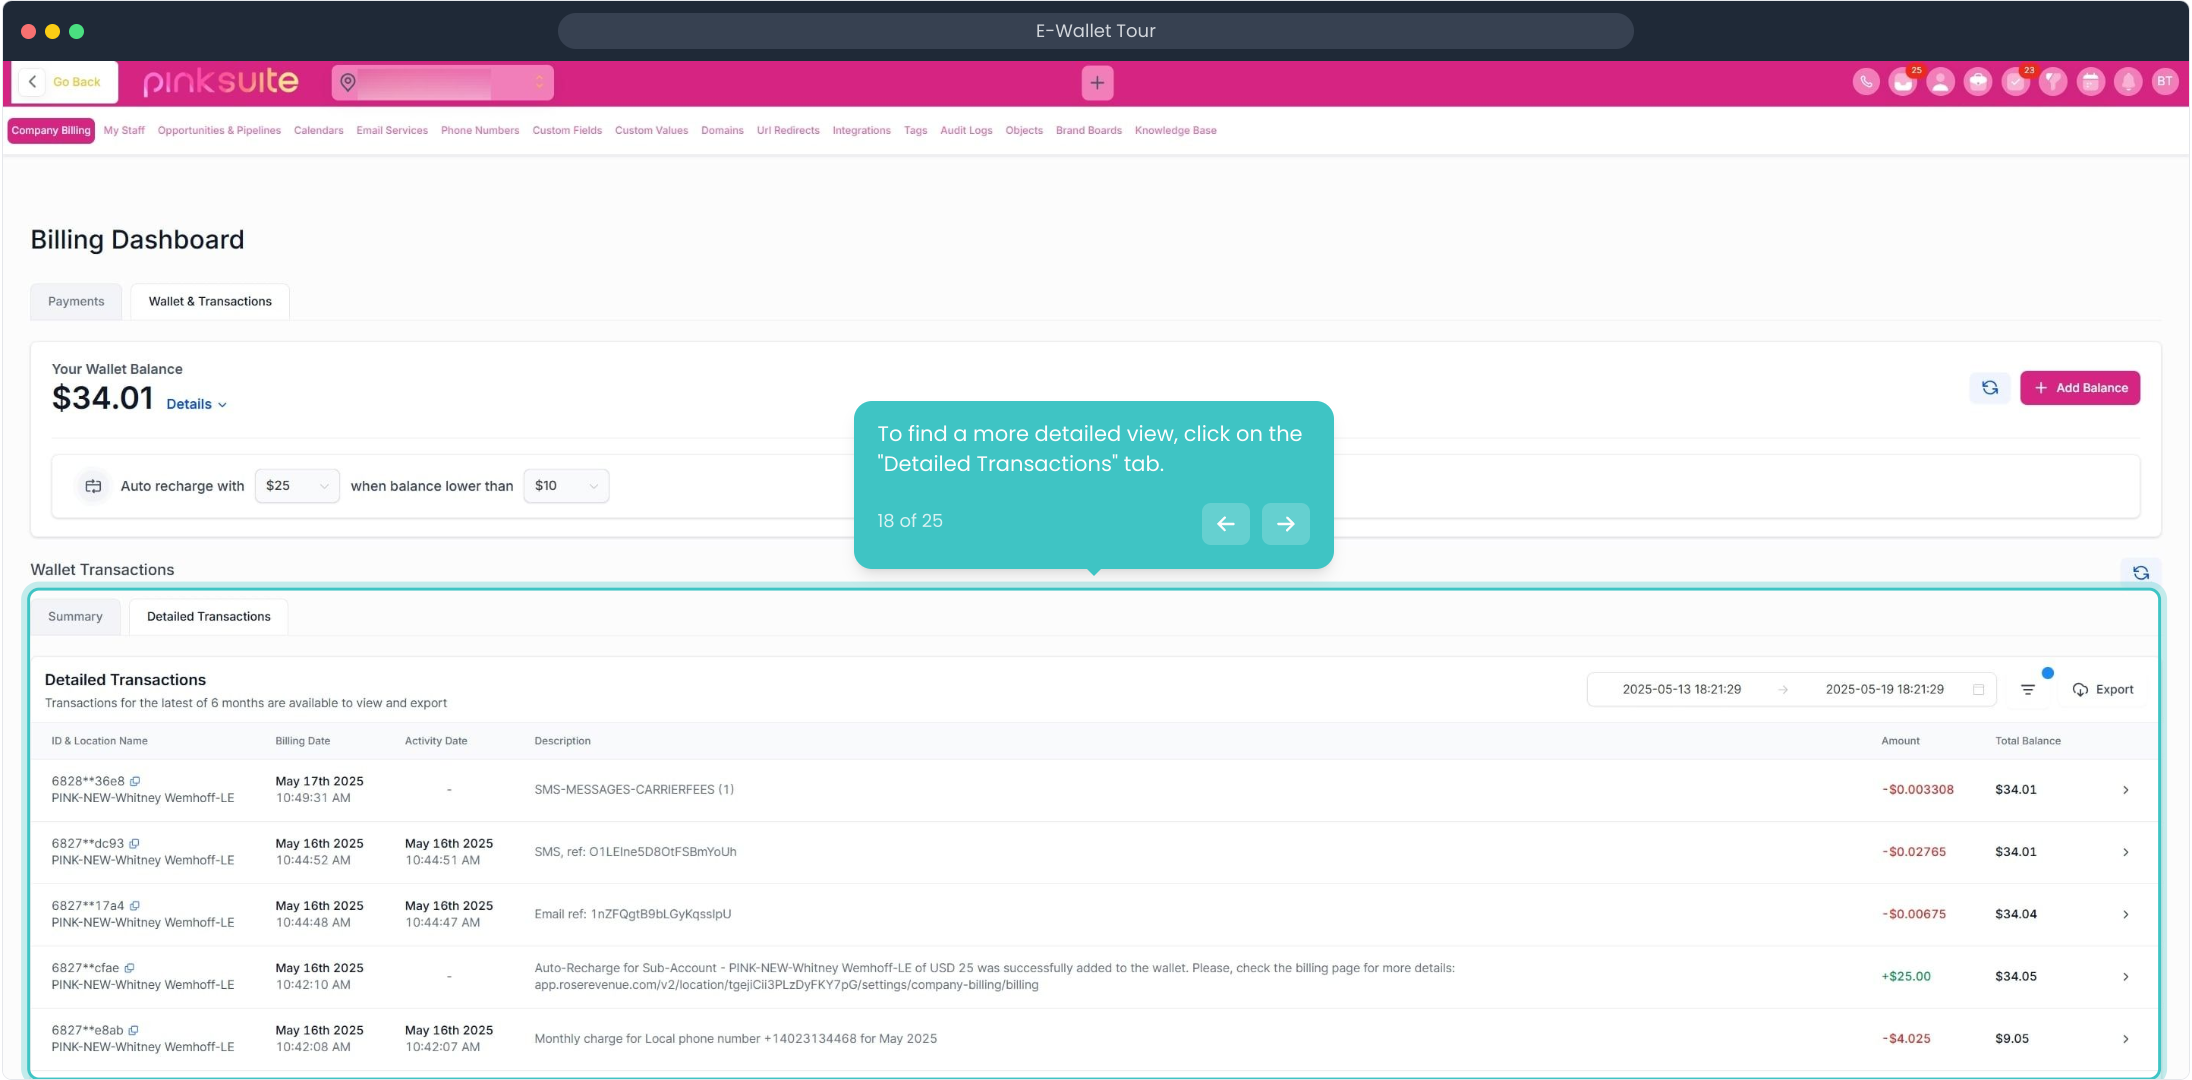
18. To find a more detailed view, click on the "Detailed Transactions" tab.
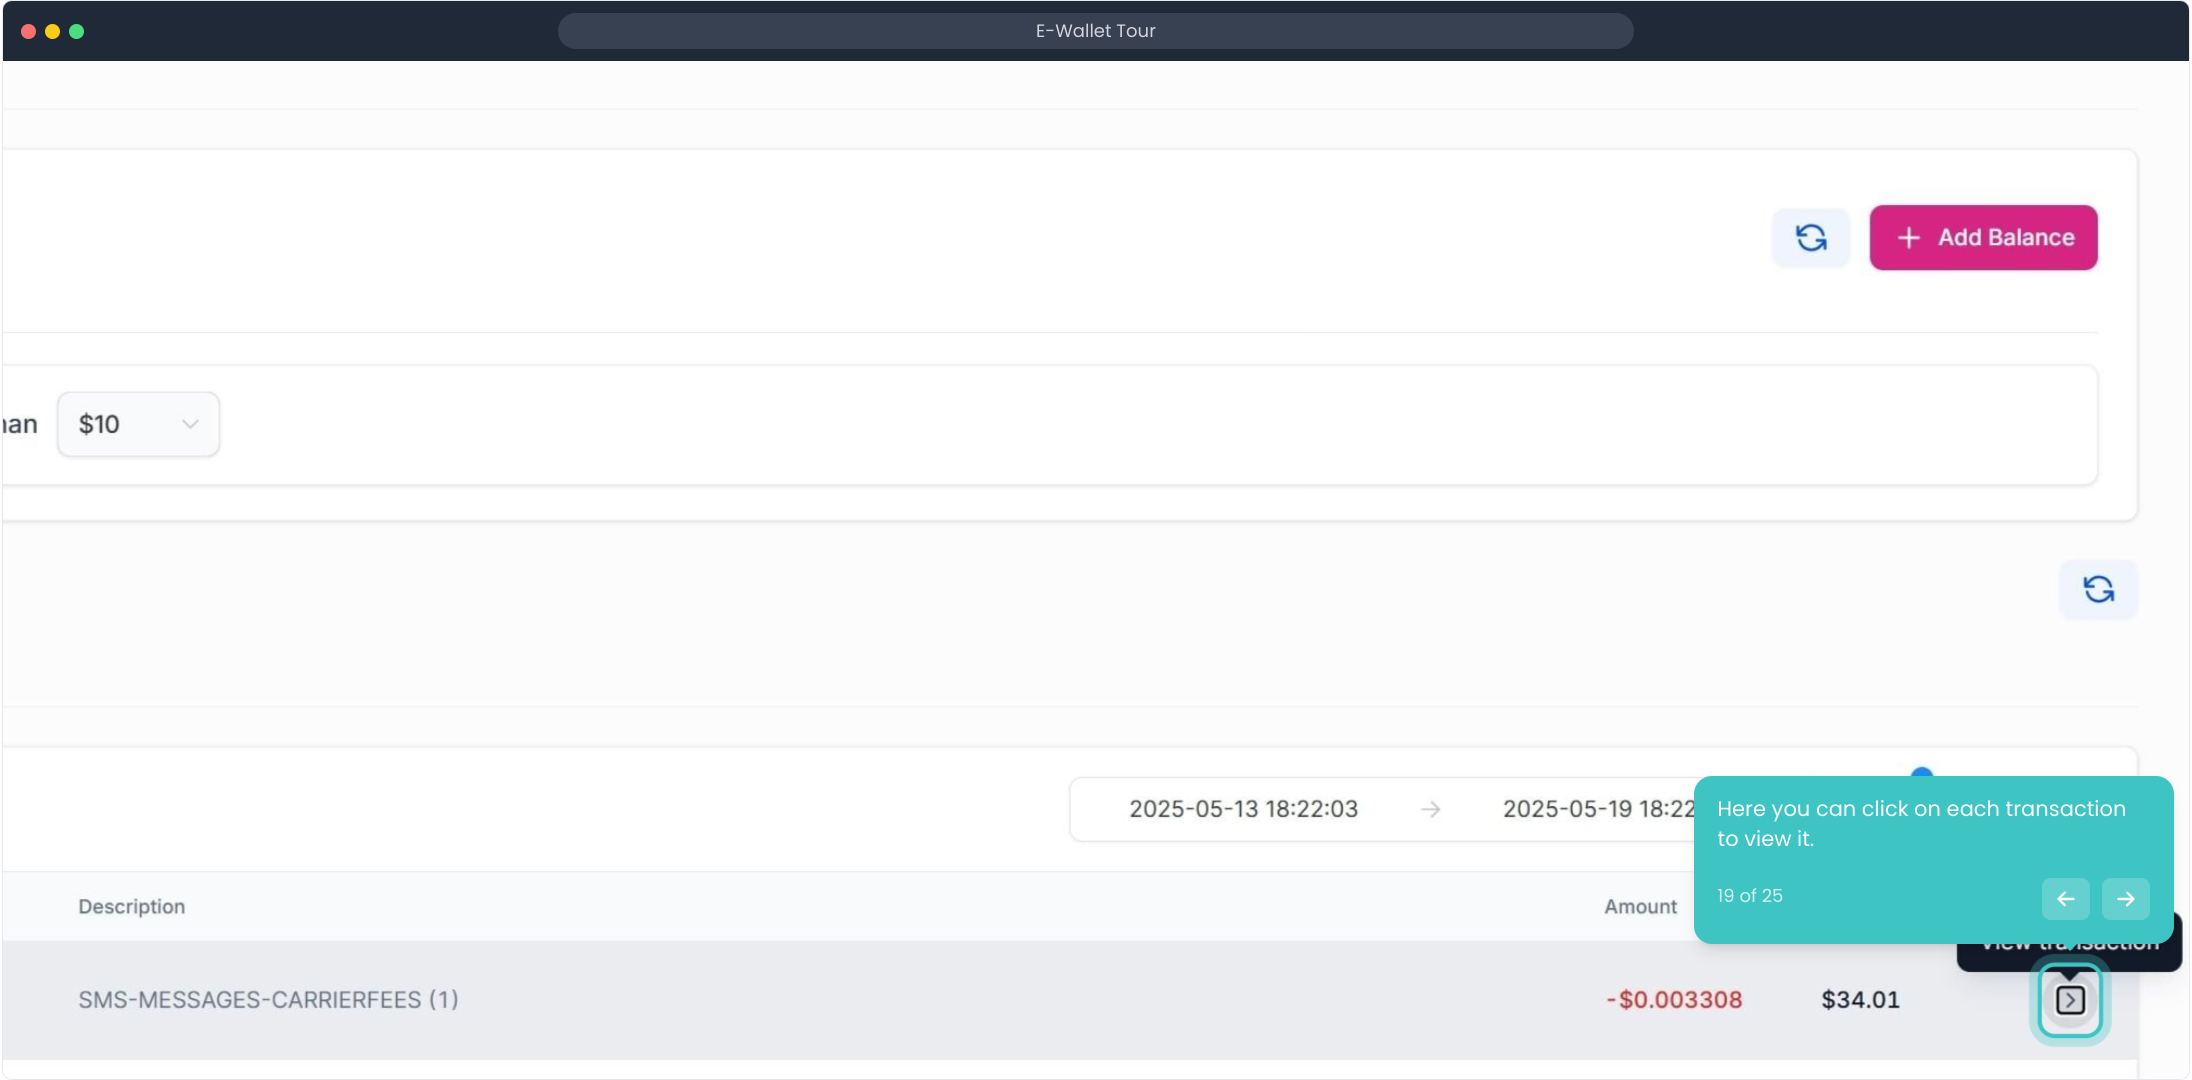
19. Here you can click on each transaction to view it.
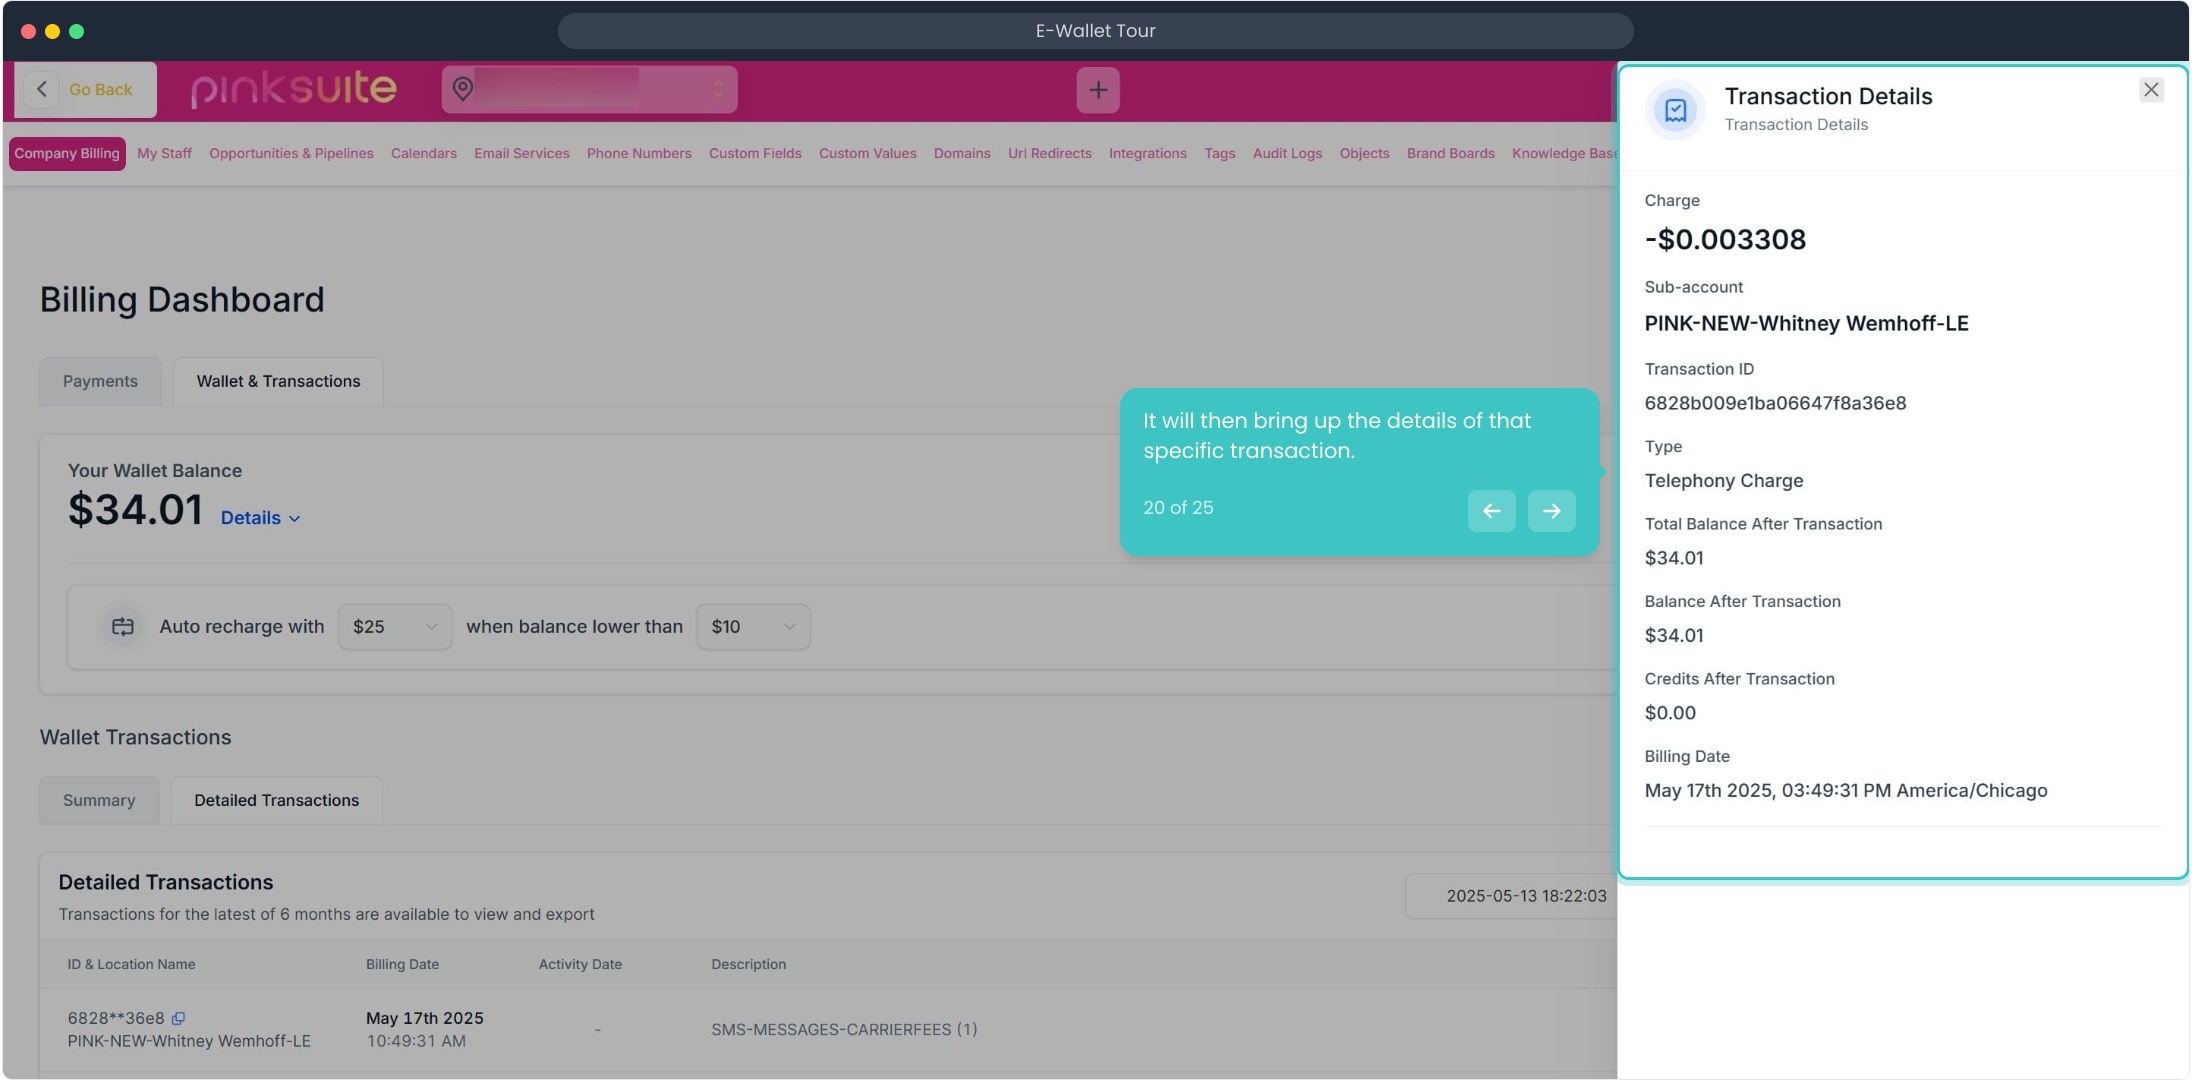
20. It will then bring up the details of that specific transaction.
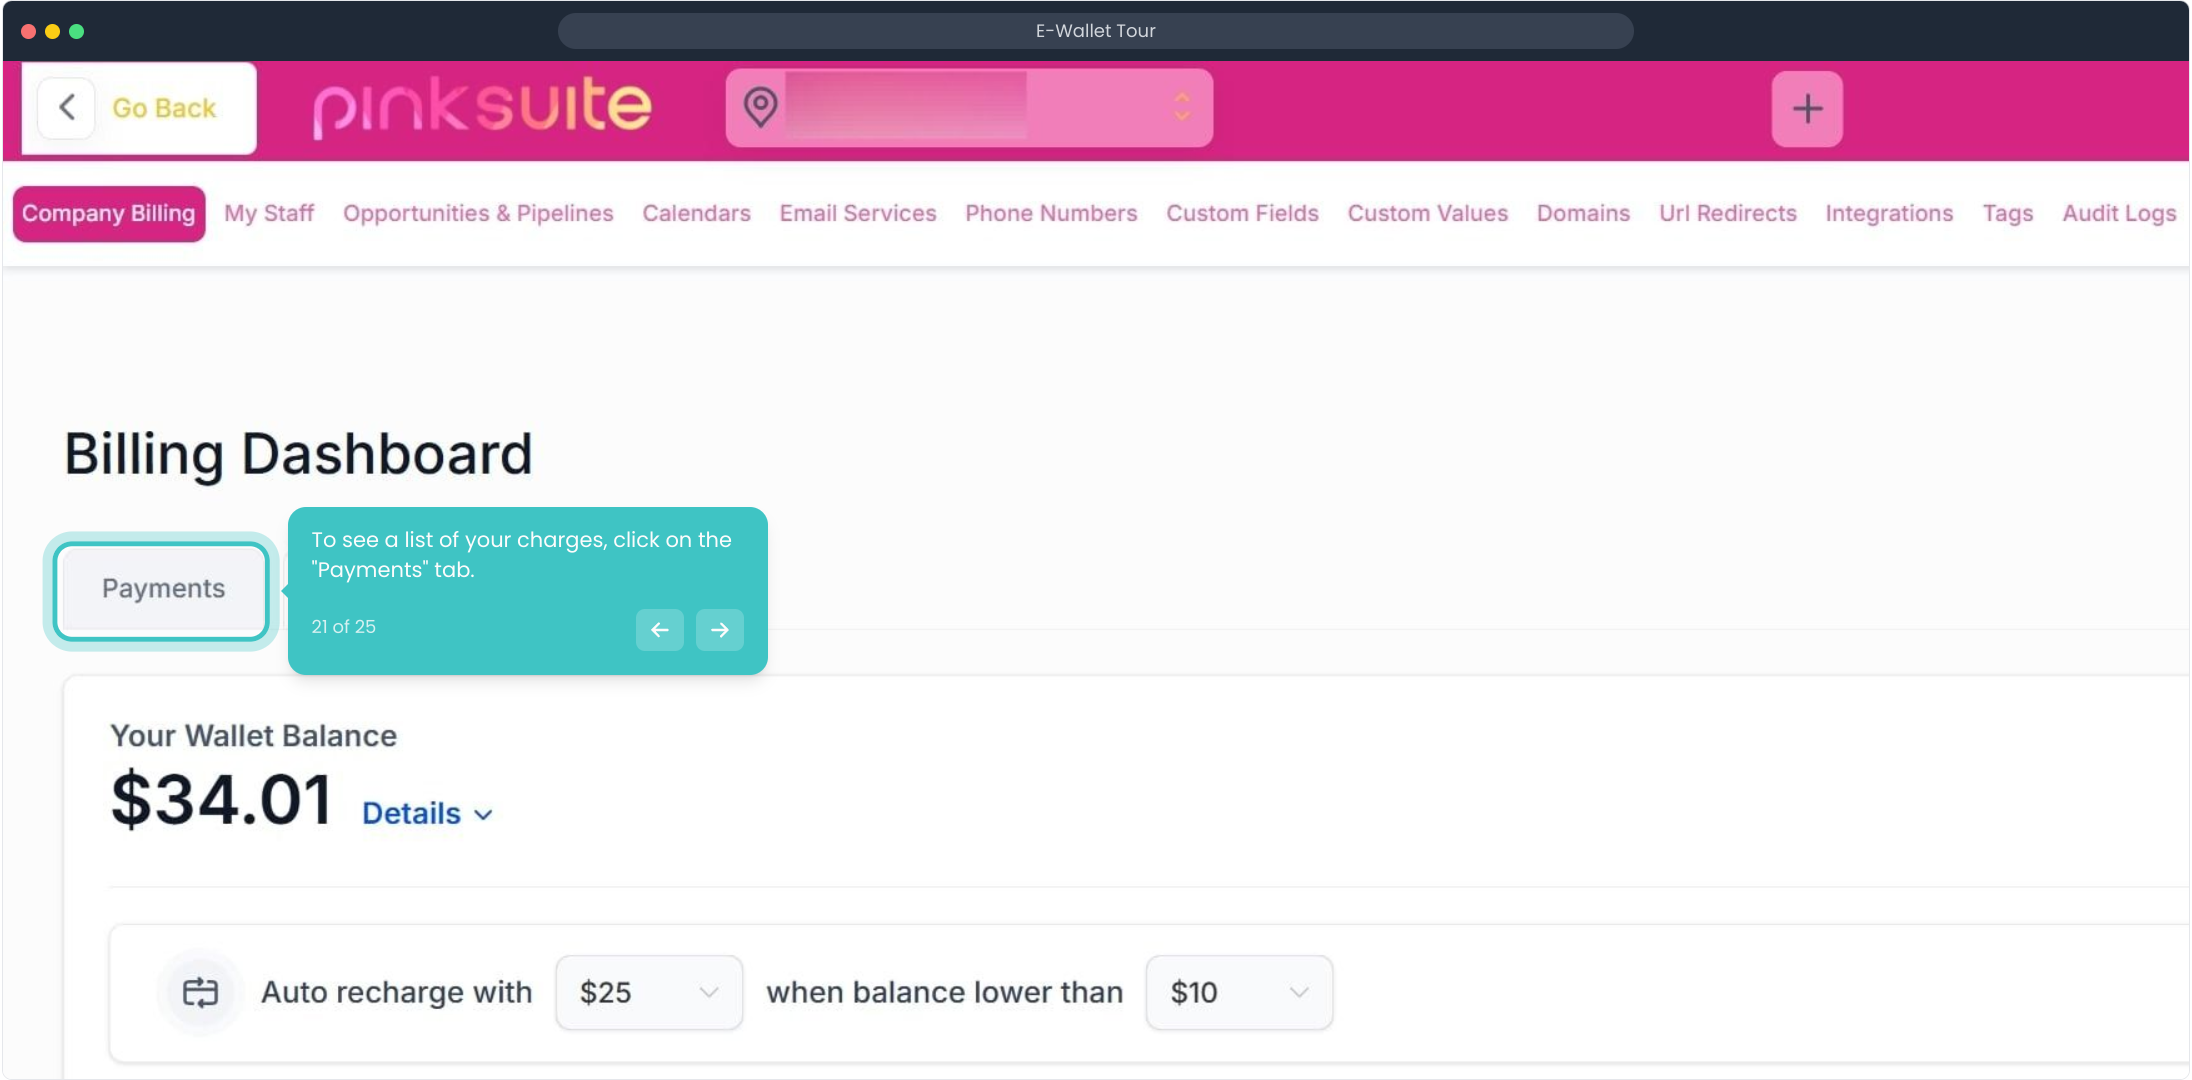
21. To see a list of your charges, click on the "Payments" tab.
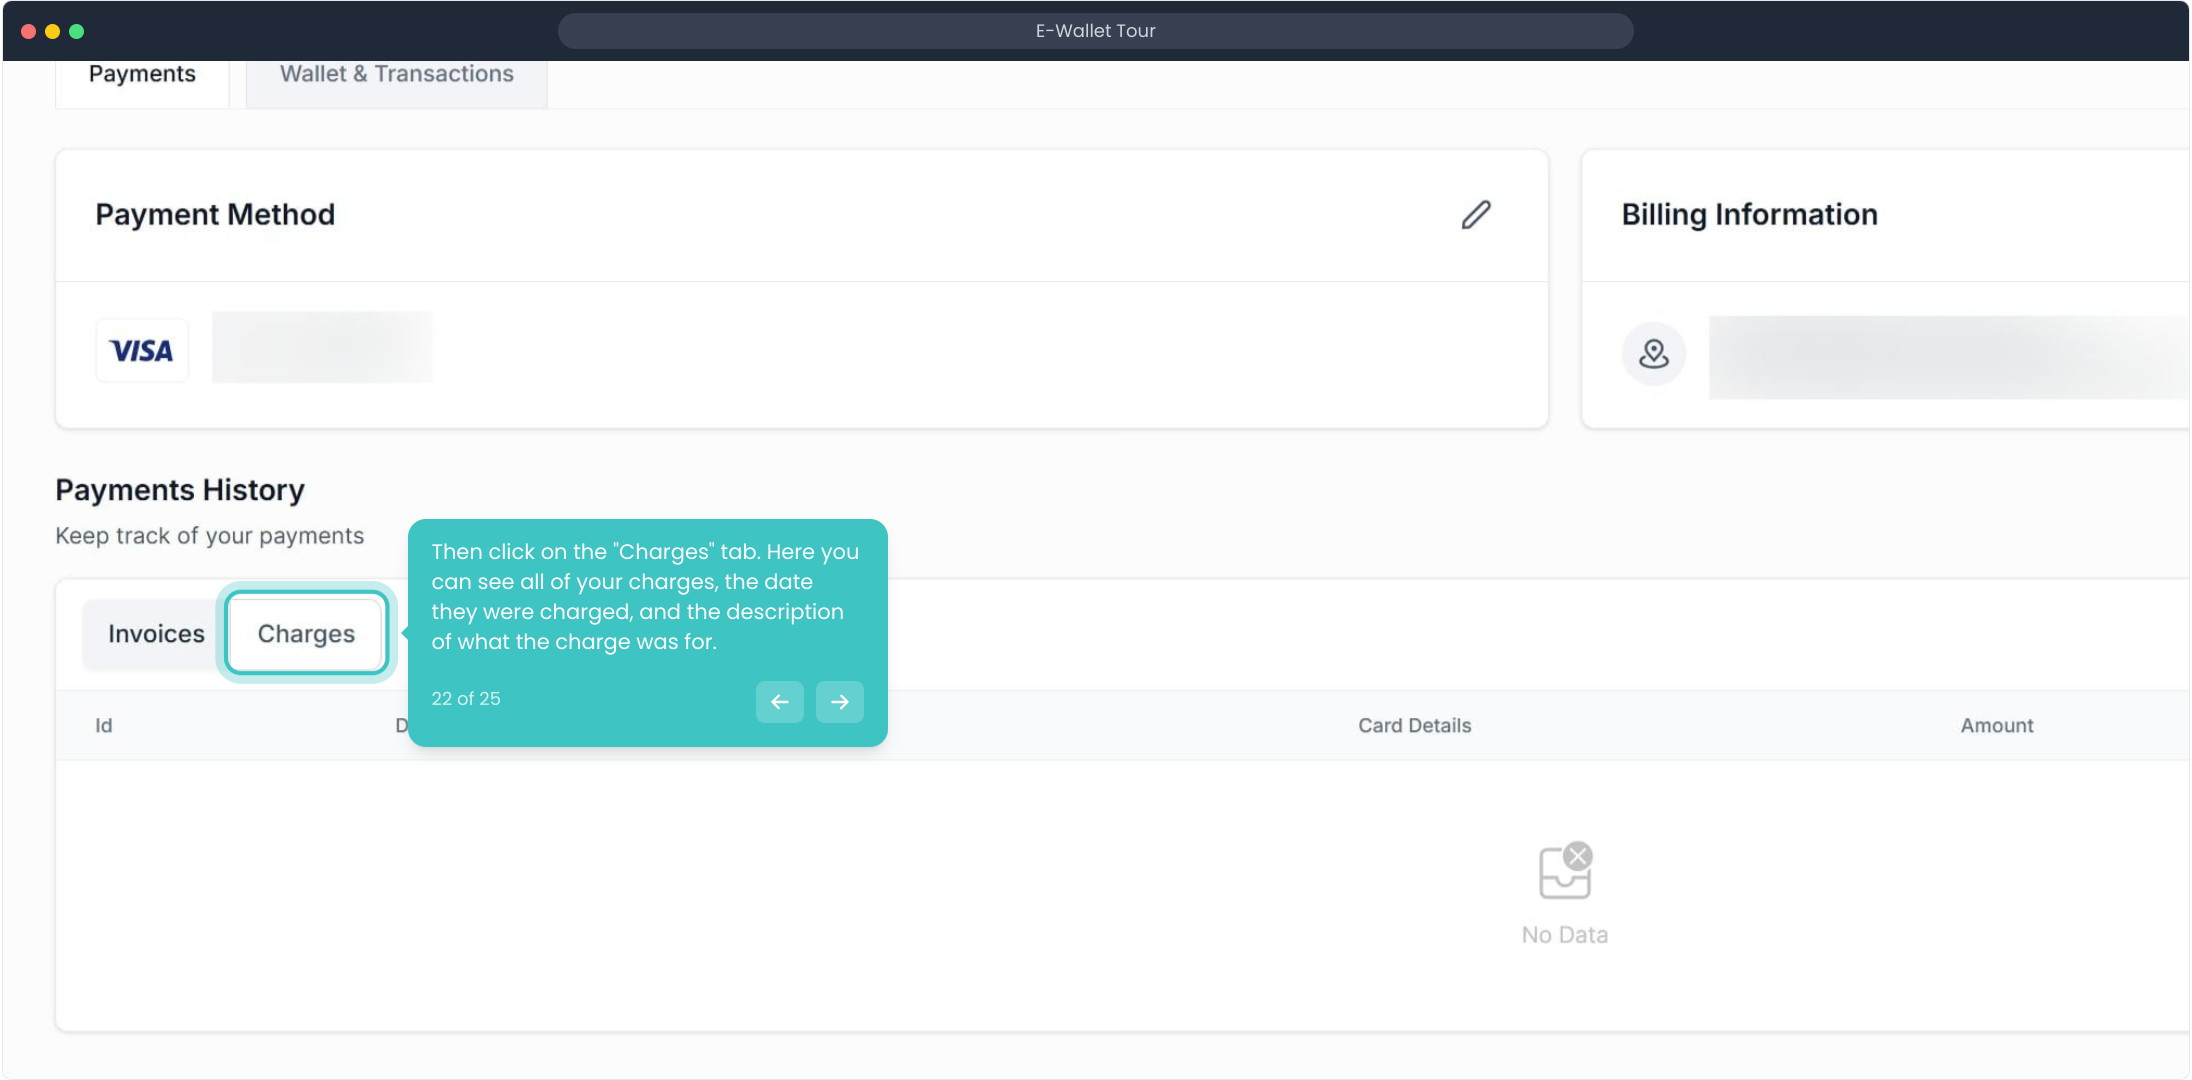
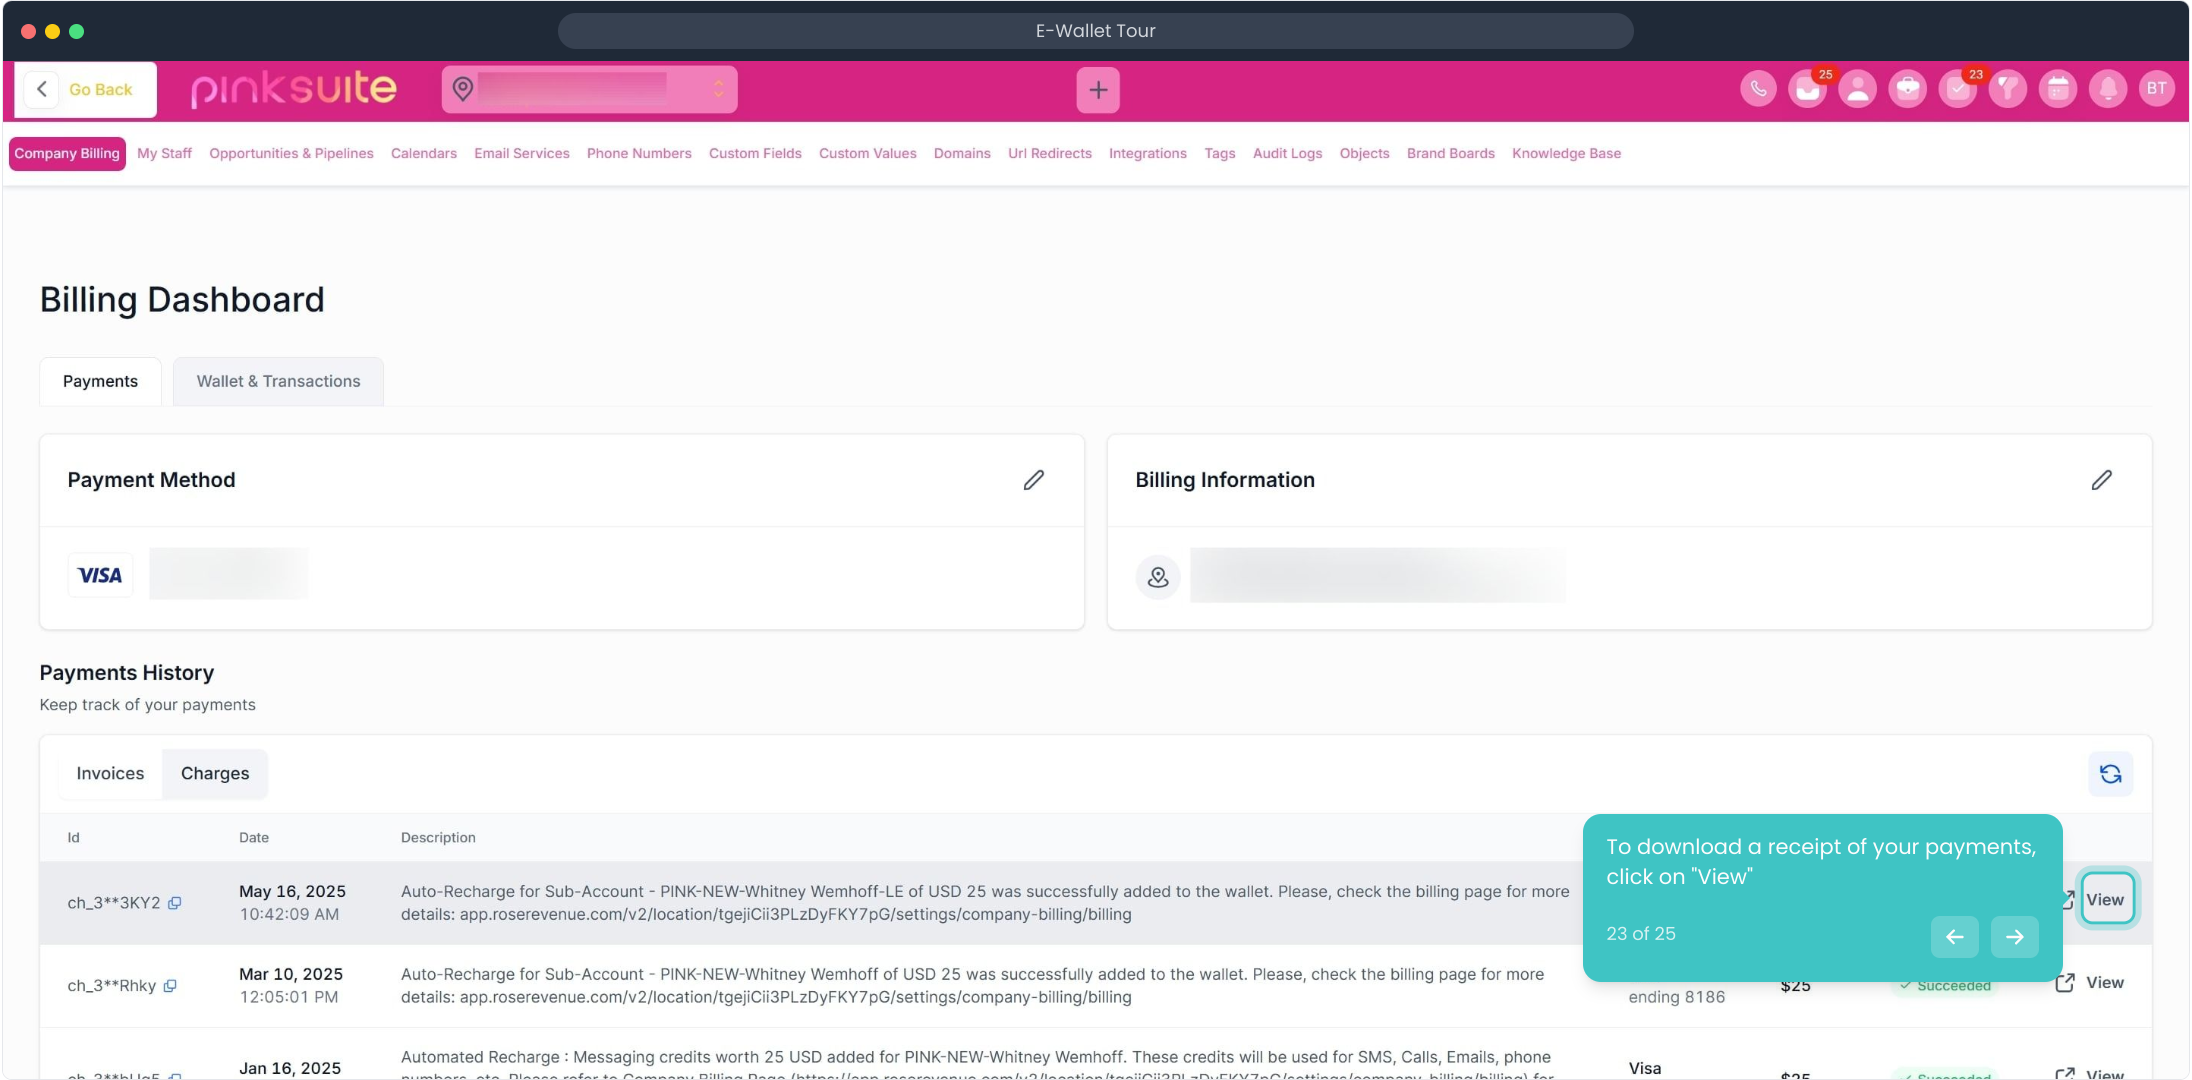
22. Then click on the "Charges" tab. Here you can see all of your charges, the date they were charged, and the description of what the charge was for.
23. To download a receipt of your payments, click on "View"
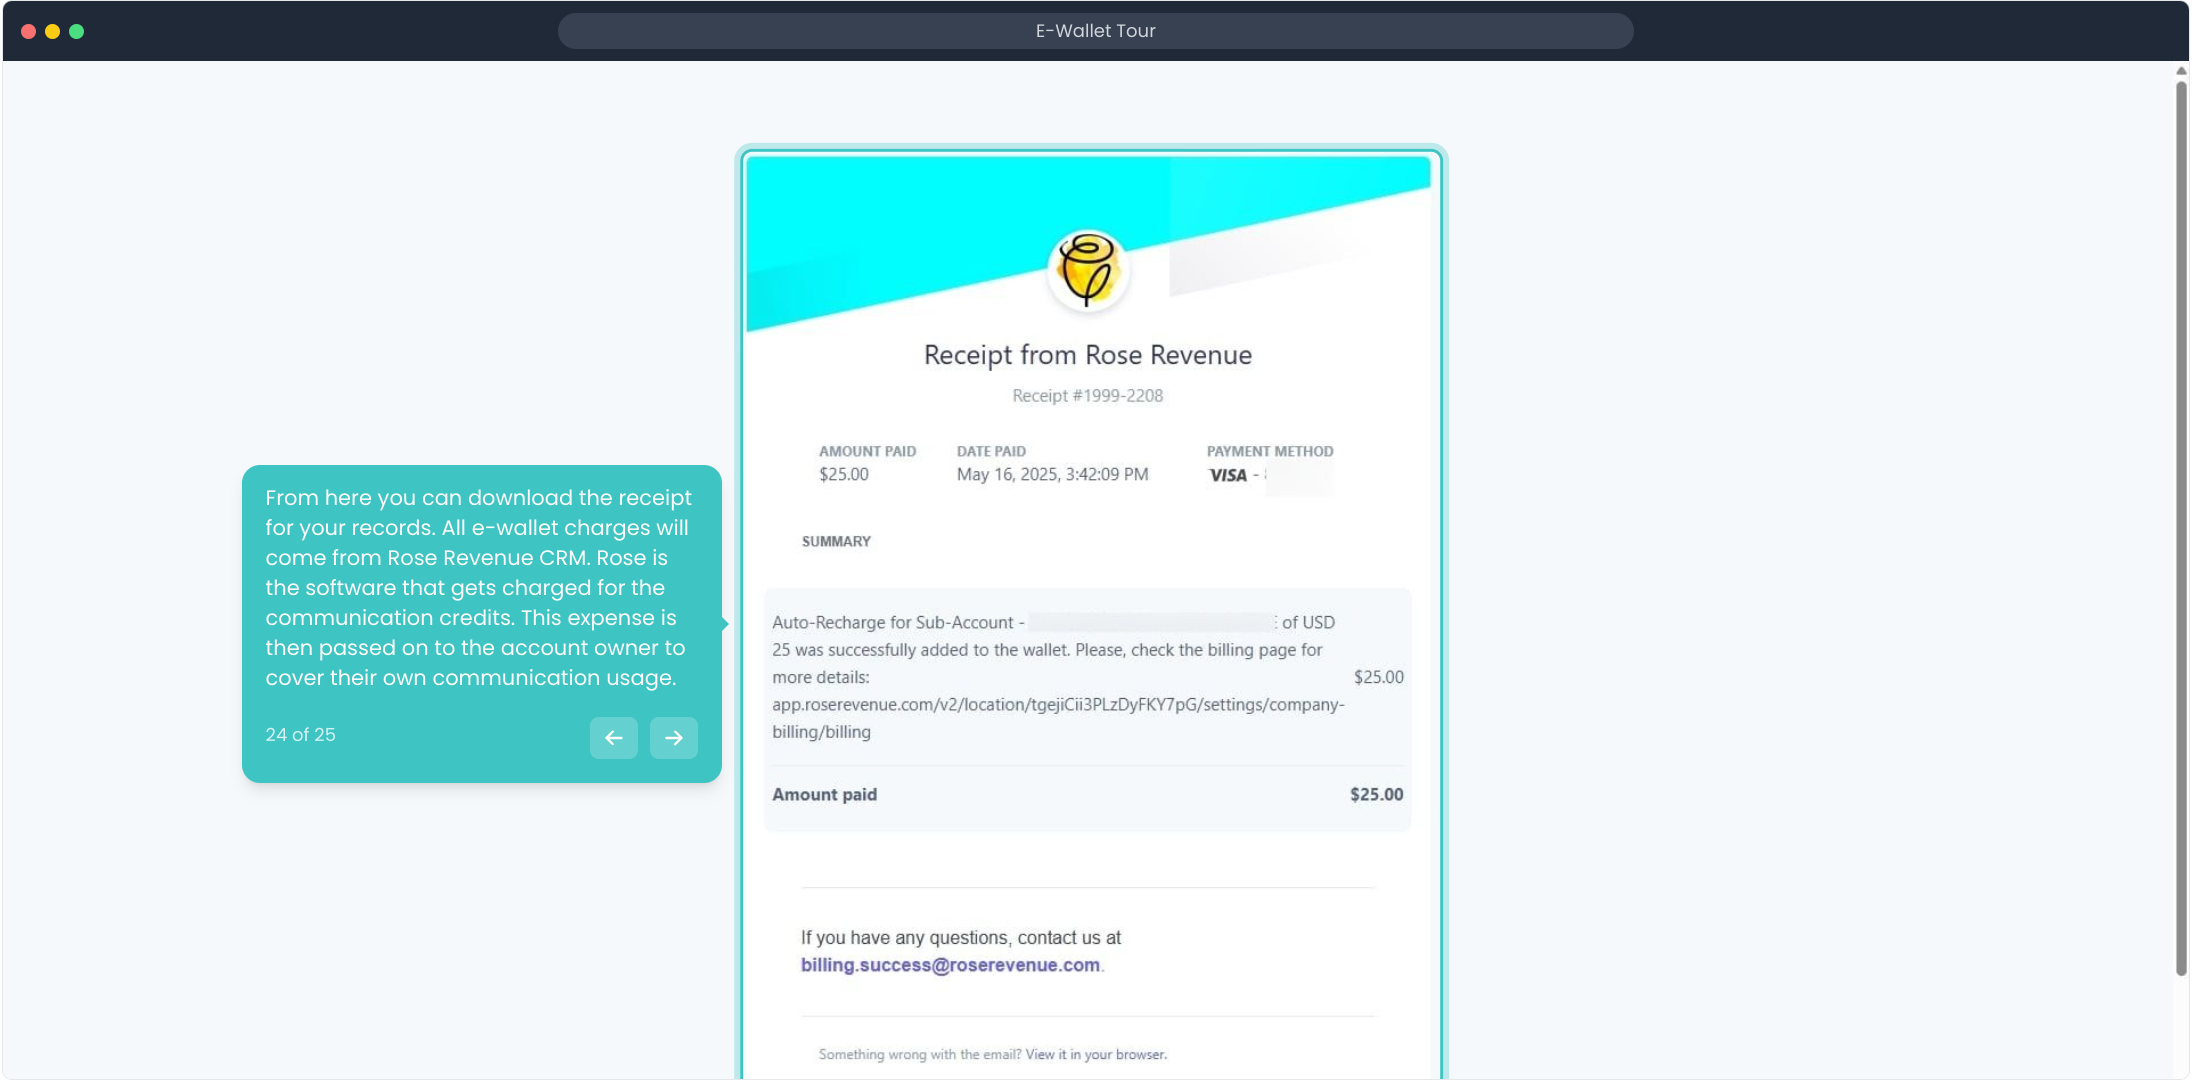
24. From here you can download the receipt for your records. All e-wallet charges will come from Rose Revenue CRM. Rose is the software that gets charged for the communication credits. This expense is then passed on to the account owner to cover their own communication usage.
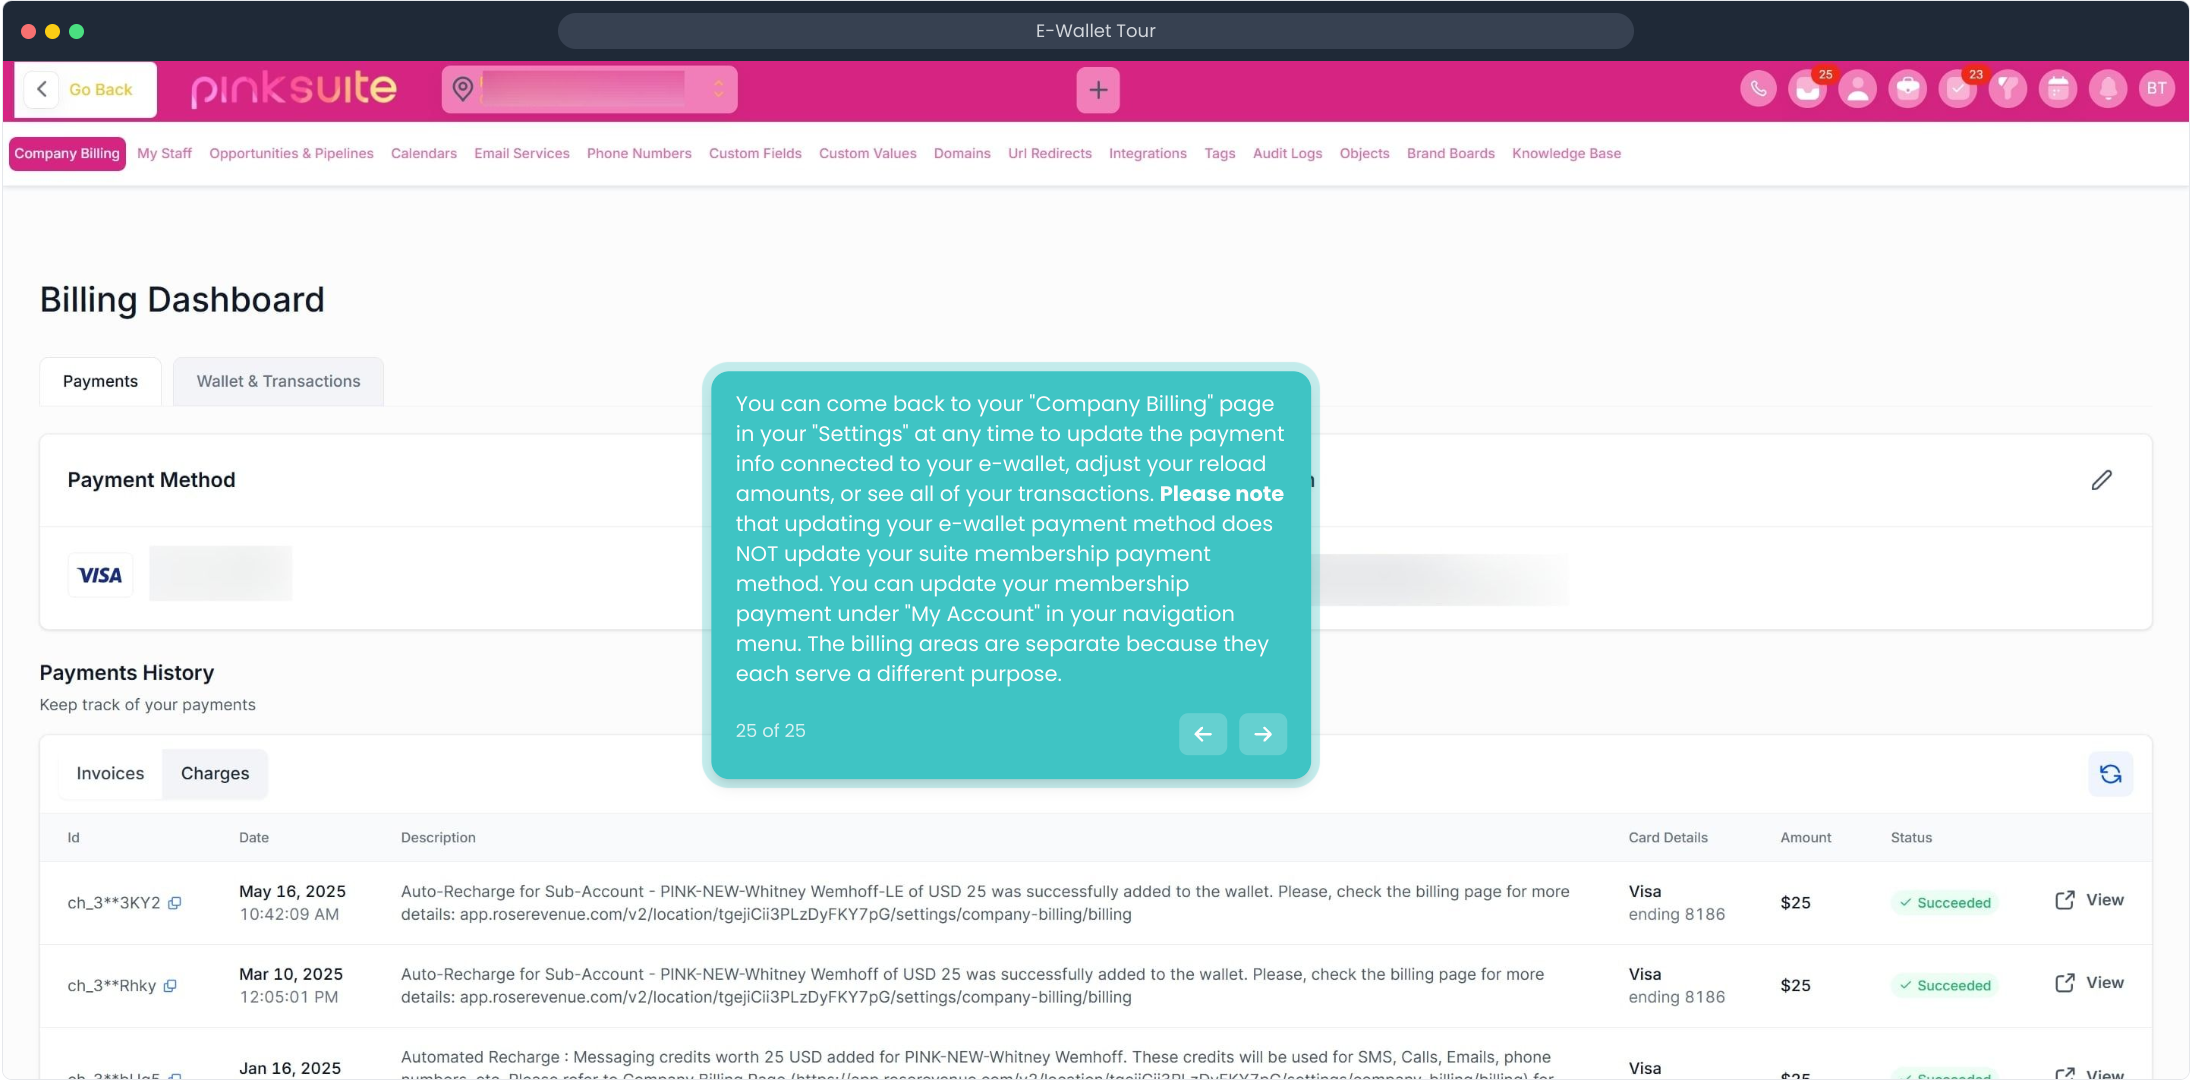
25. You can come back to your "Company Billing" page in your "Settings" at any time to update the payment info connected to your e-wallet, adjust your reload amounts, or see all of your transactions. Please note that updating your e-wallet payment method does NOT update your suite membership payment method. You can update your membership payment under "My Account" in your navigation menu. The billing areas are separate because they each serve a different purpose.