Adding Multiple Contacts to a Workflow at a Scheduled time
This guide walks you through adding contacts to a workflow at a scheduled time using Smart Lists. Learn how to select contacts, choose workflows, and set precise dates and times for automation. With clear steps for creating descriptive action names and scheduling tasks, this process ensures efficient and timely workflow management. Perfect for businesses aiming to streamline operations and enhance productivity.
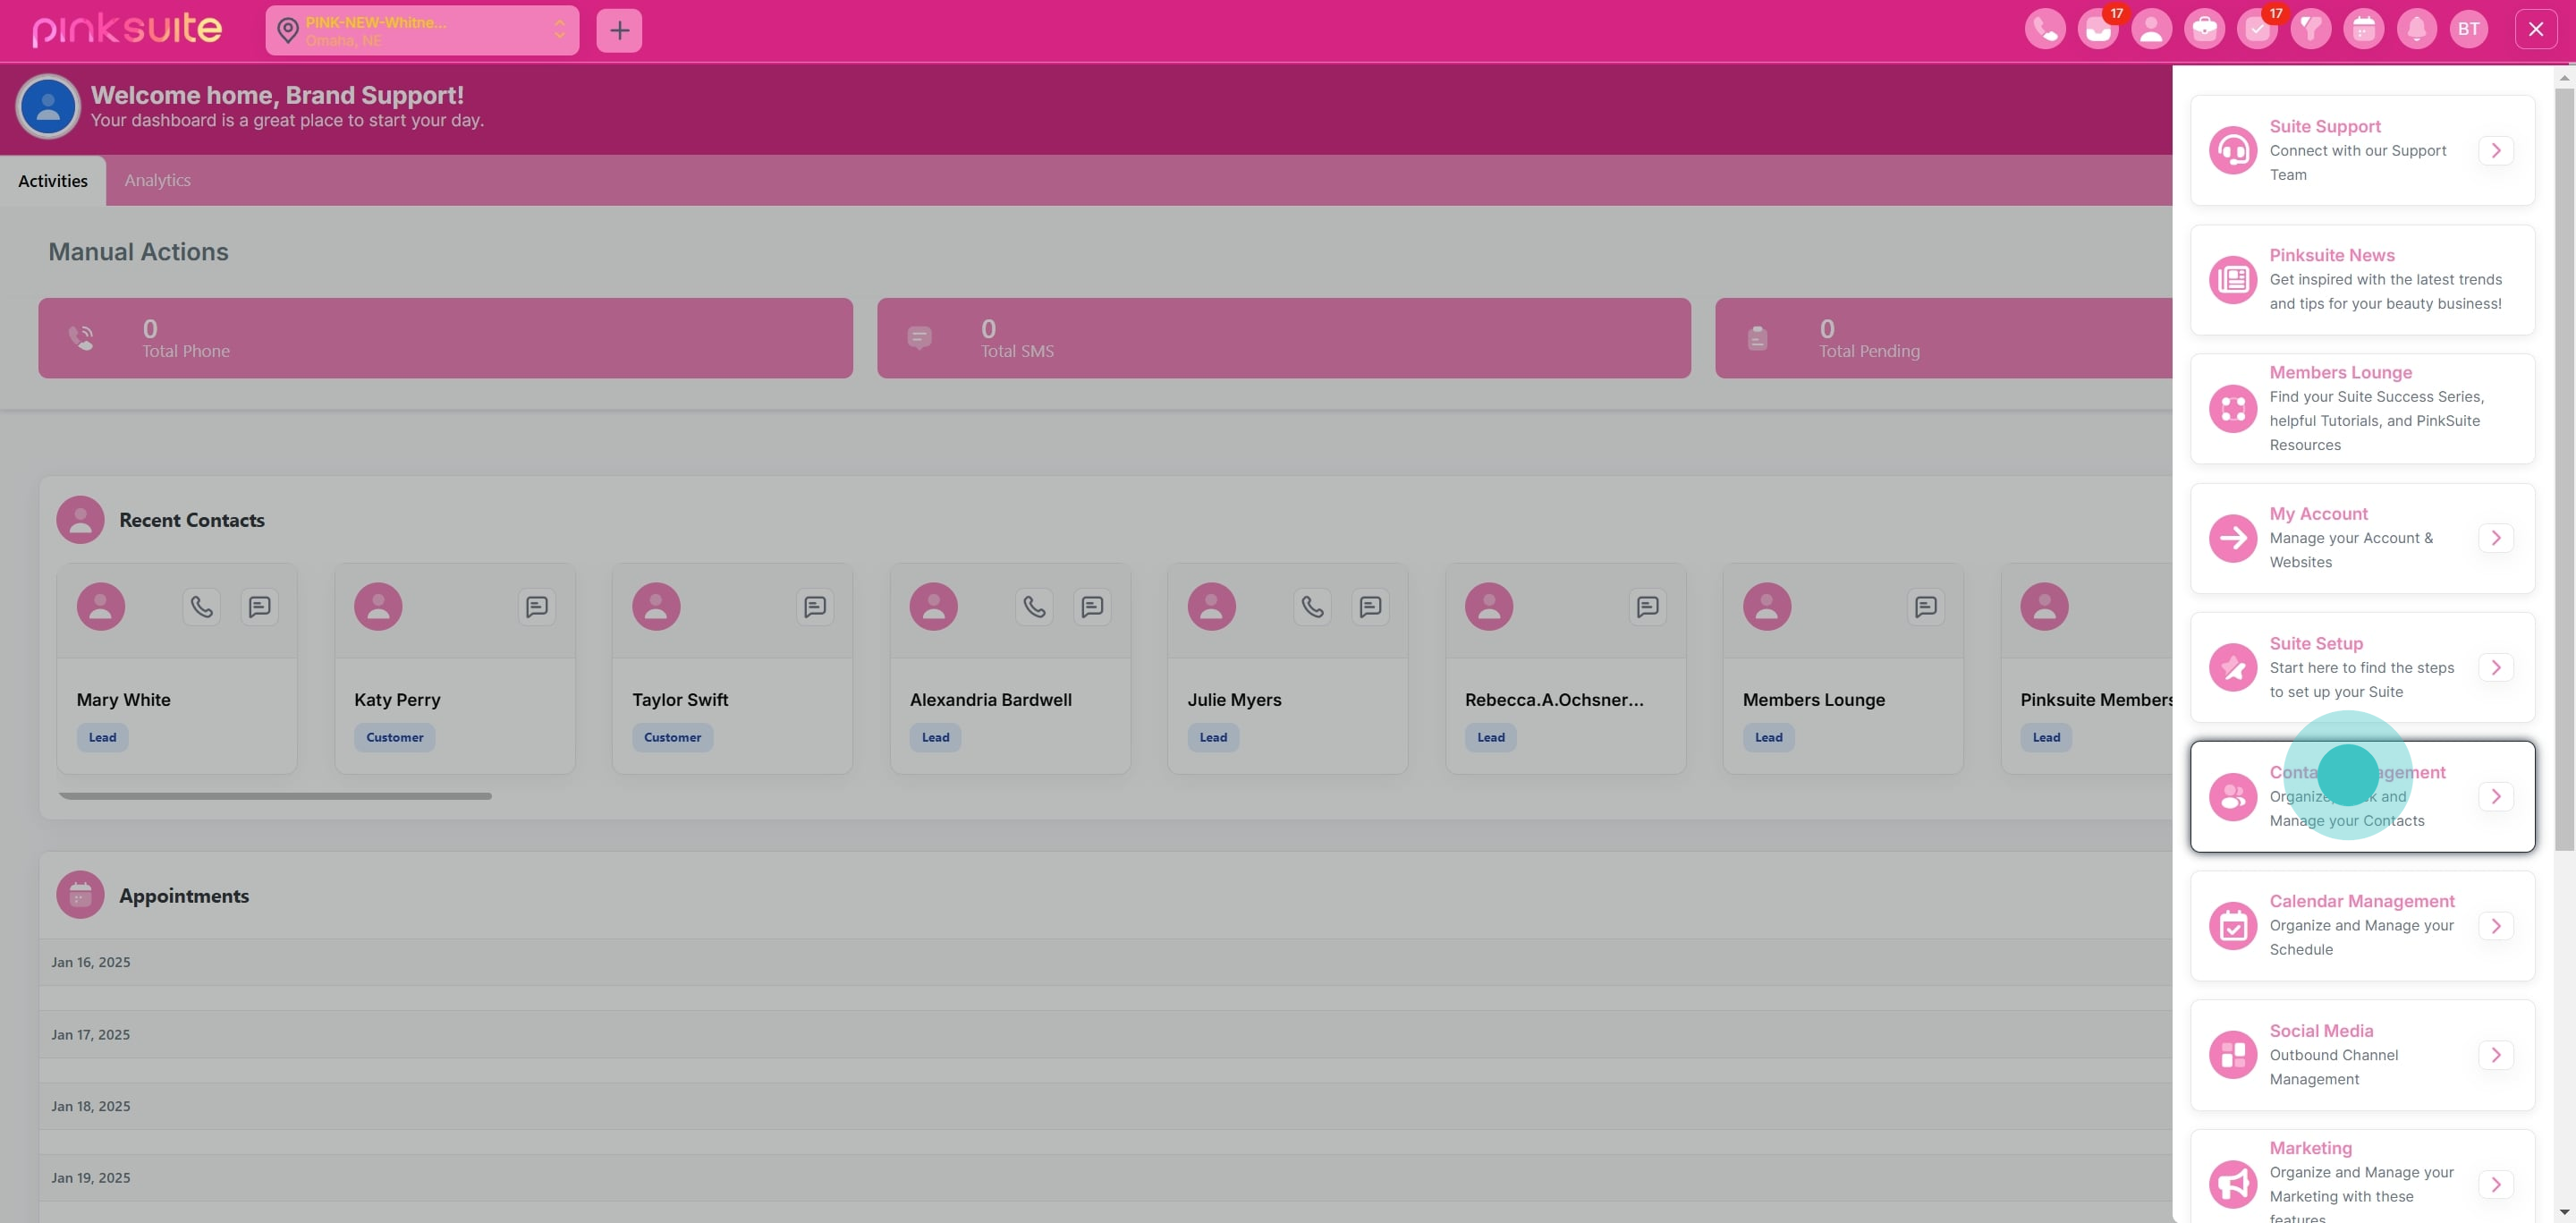
1. Begin by accessing 'Contact Management.'
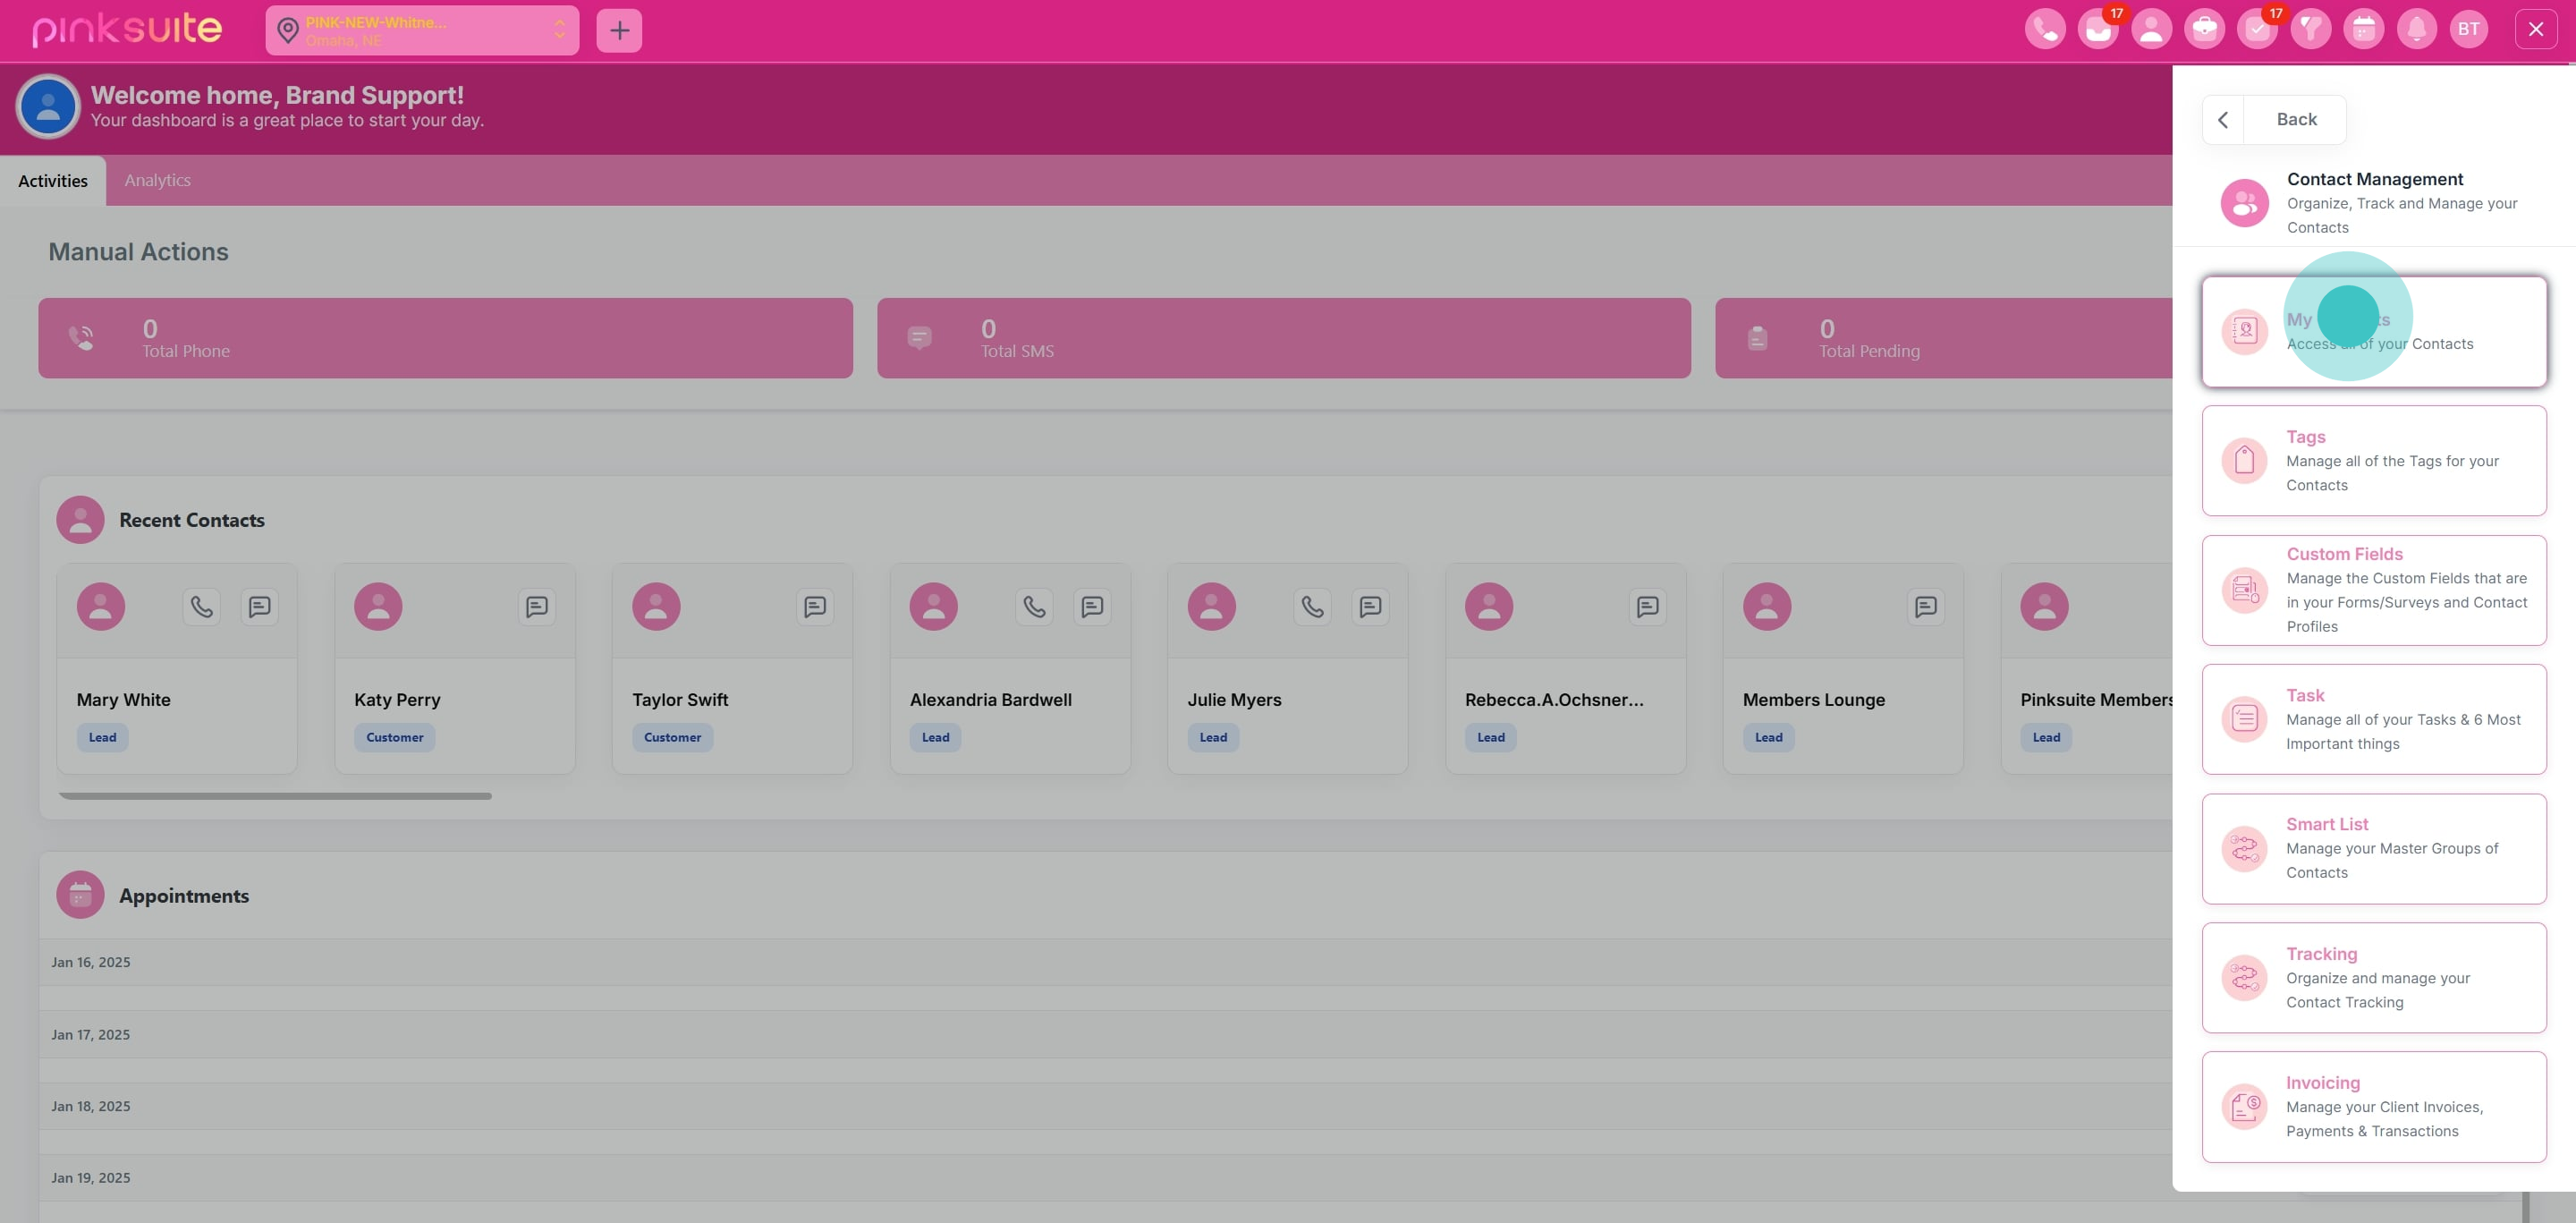
2. Now, move to 'My Contacts' section.
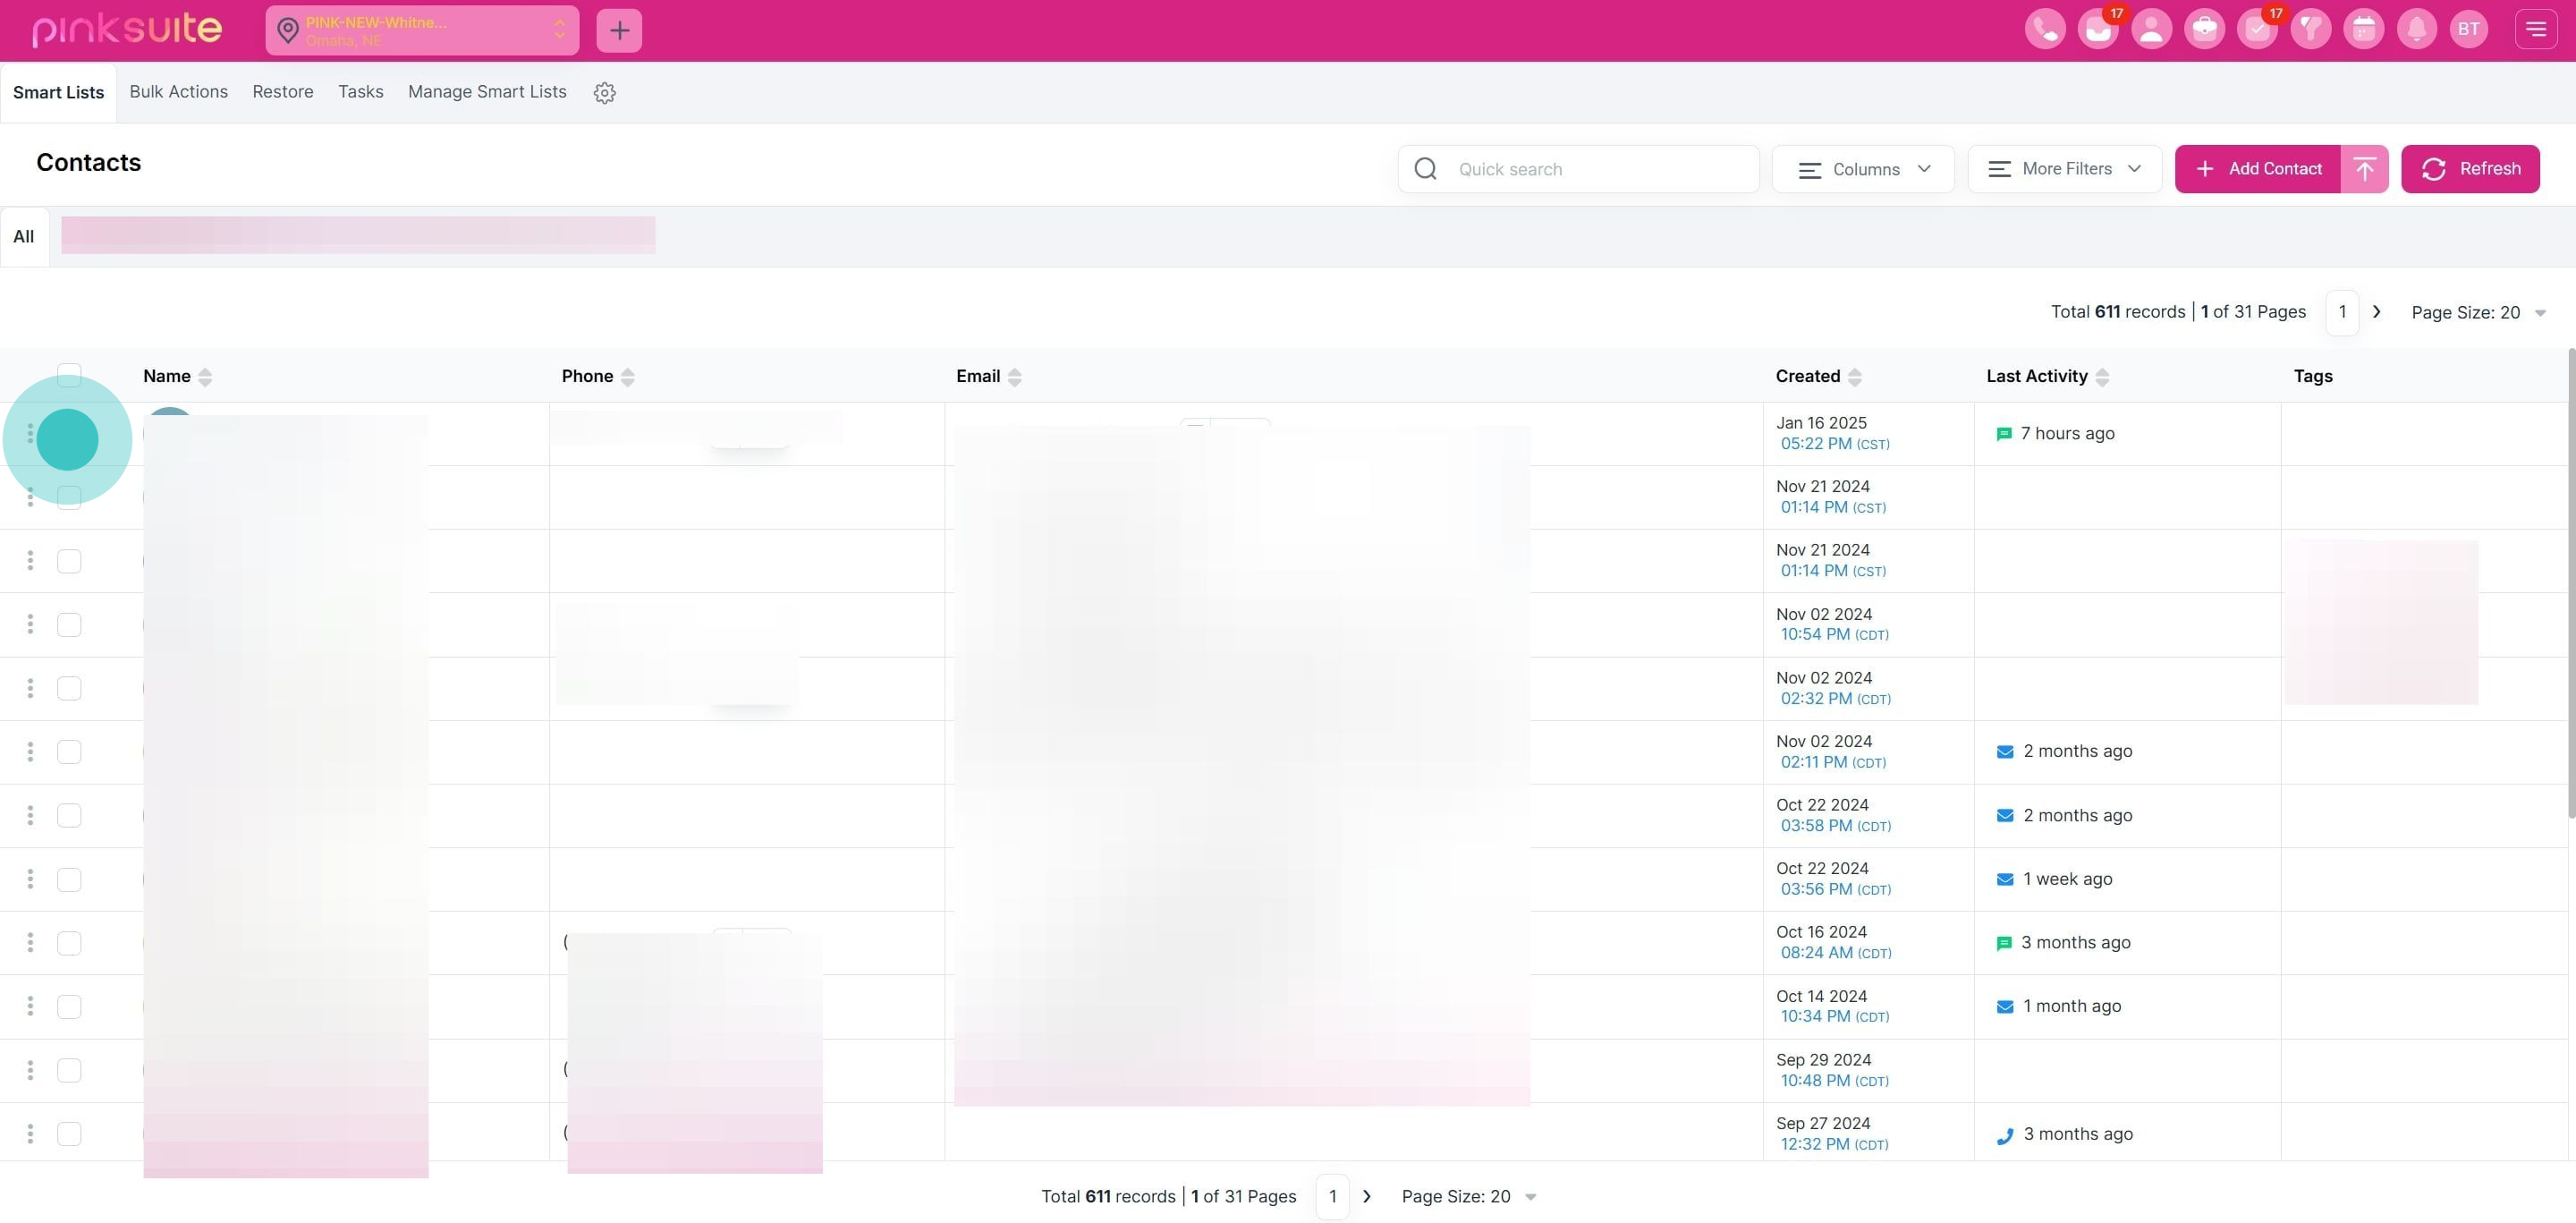
3. Start by clicking on the shown element.
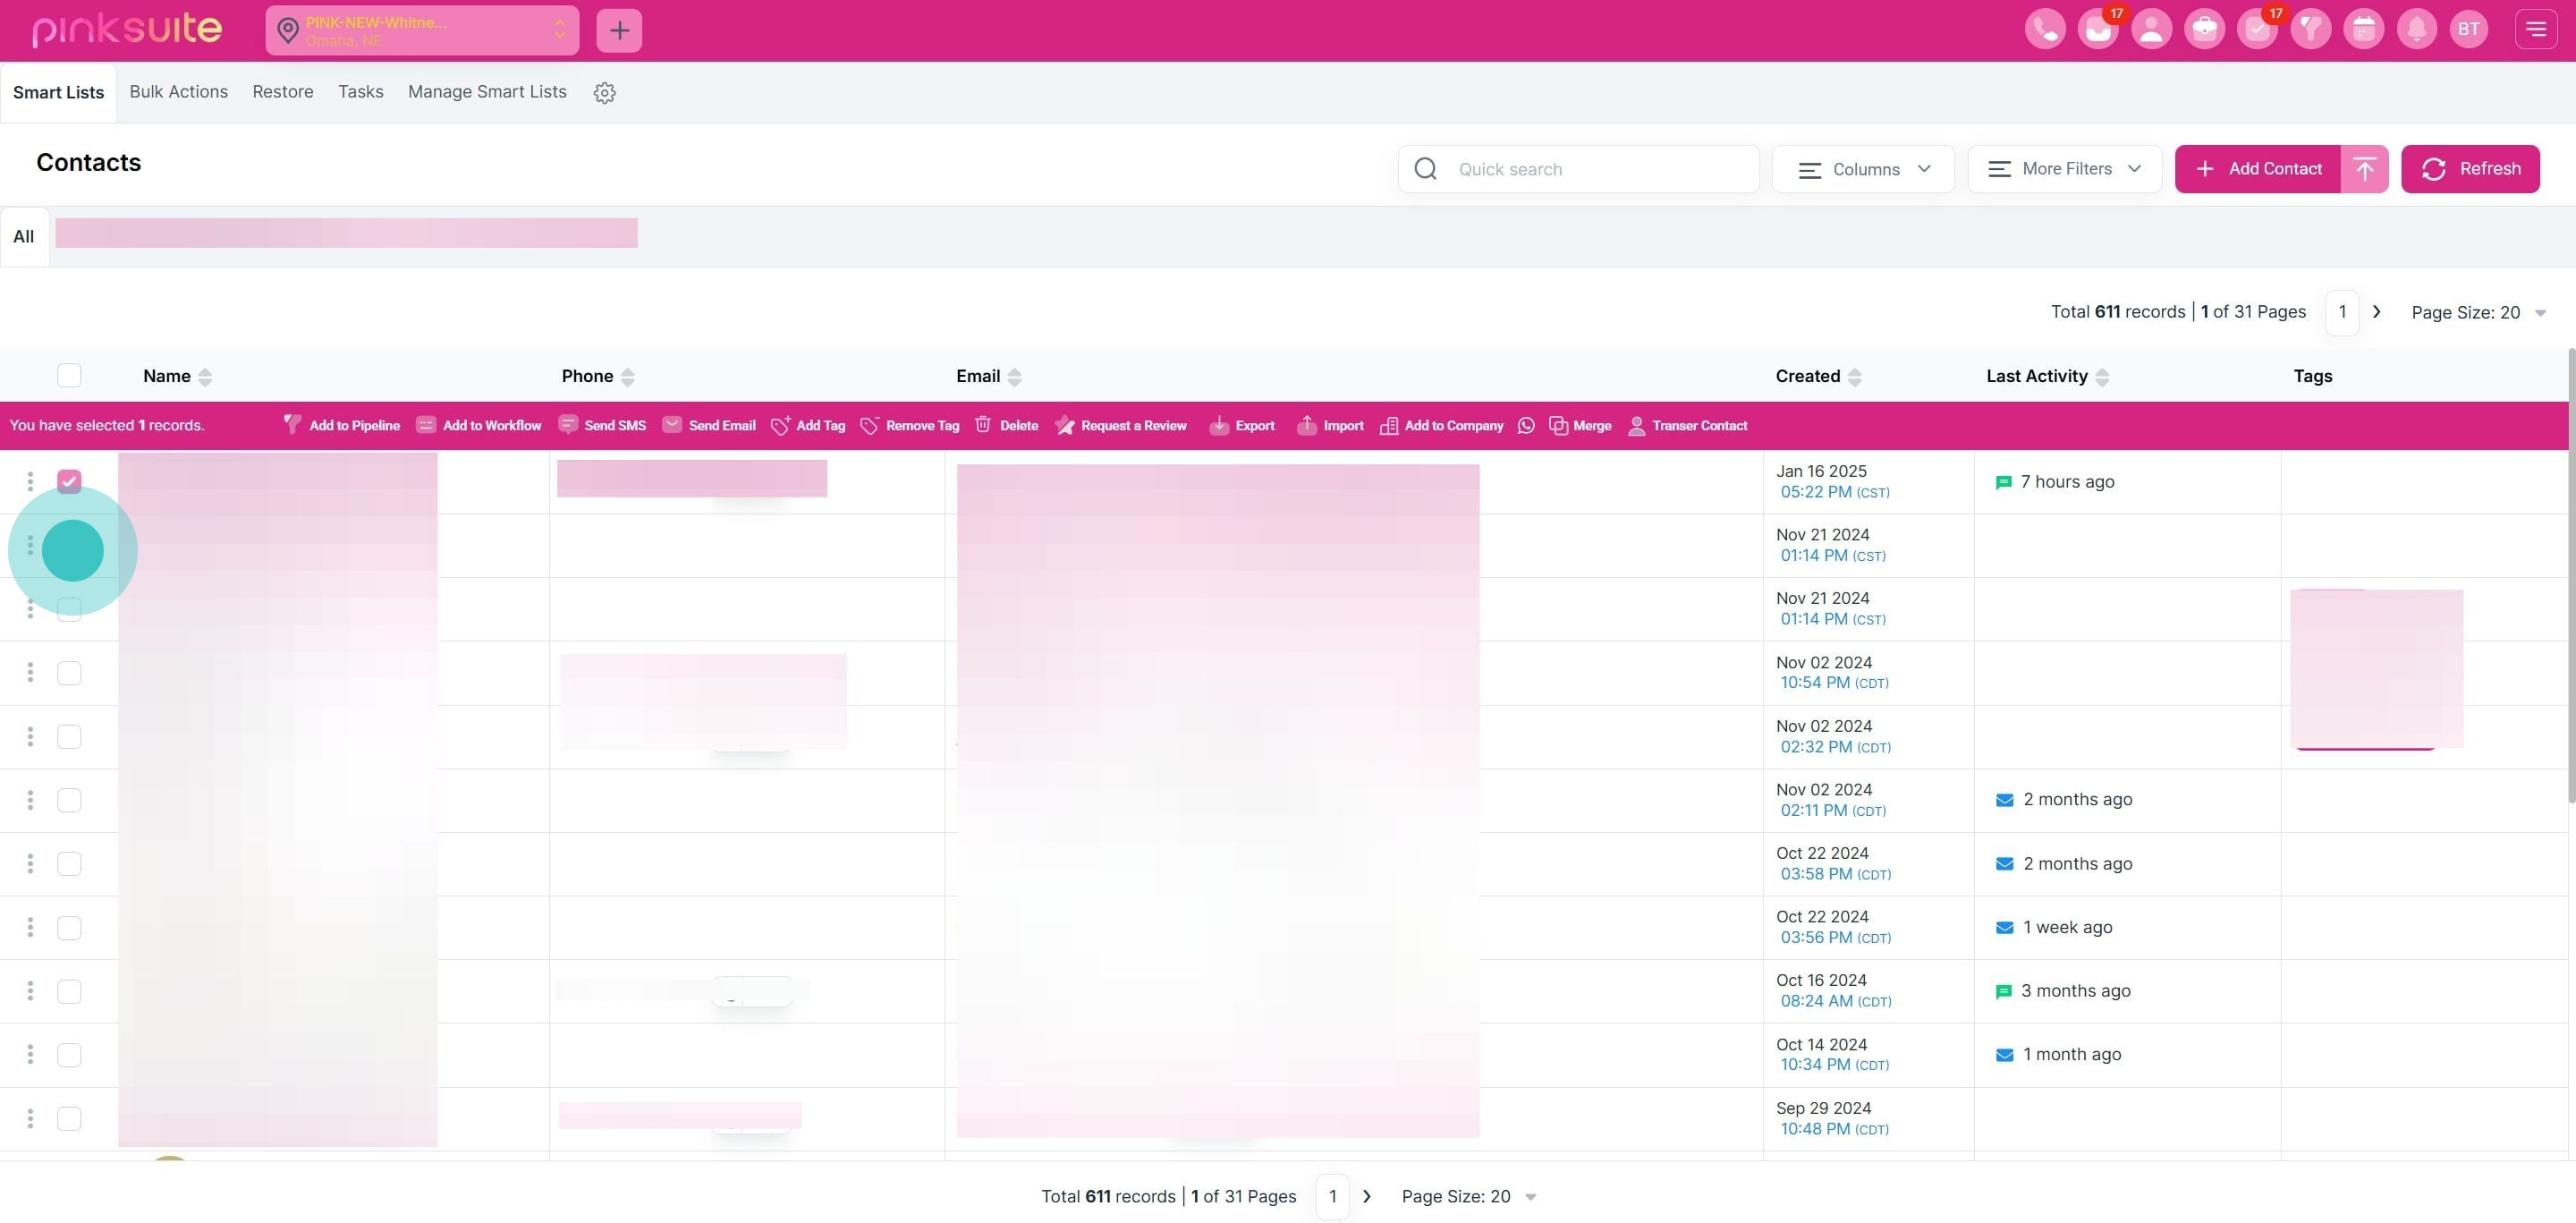
4. Select a contact by clicking here.
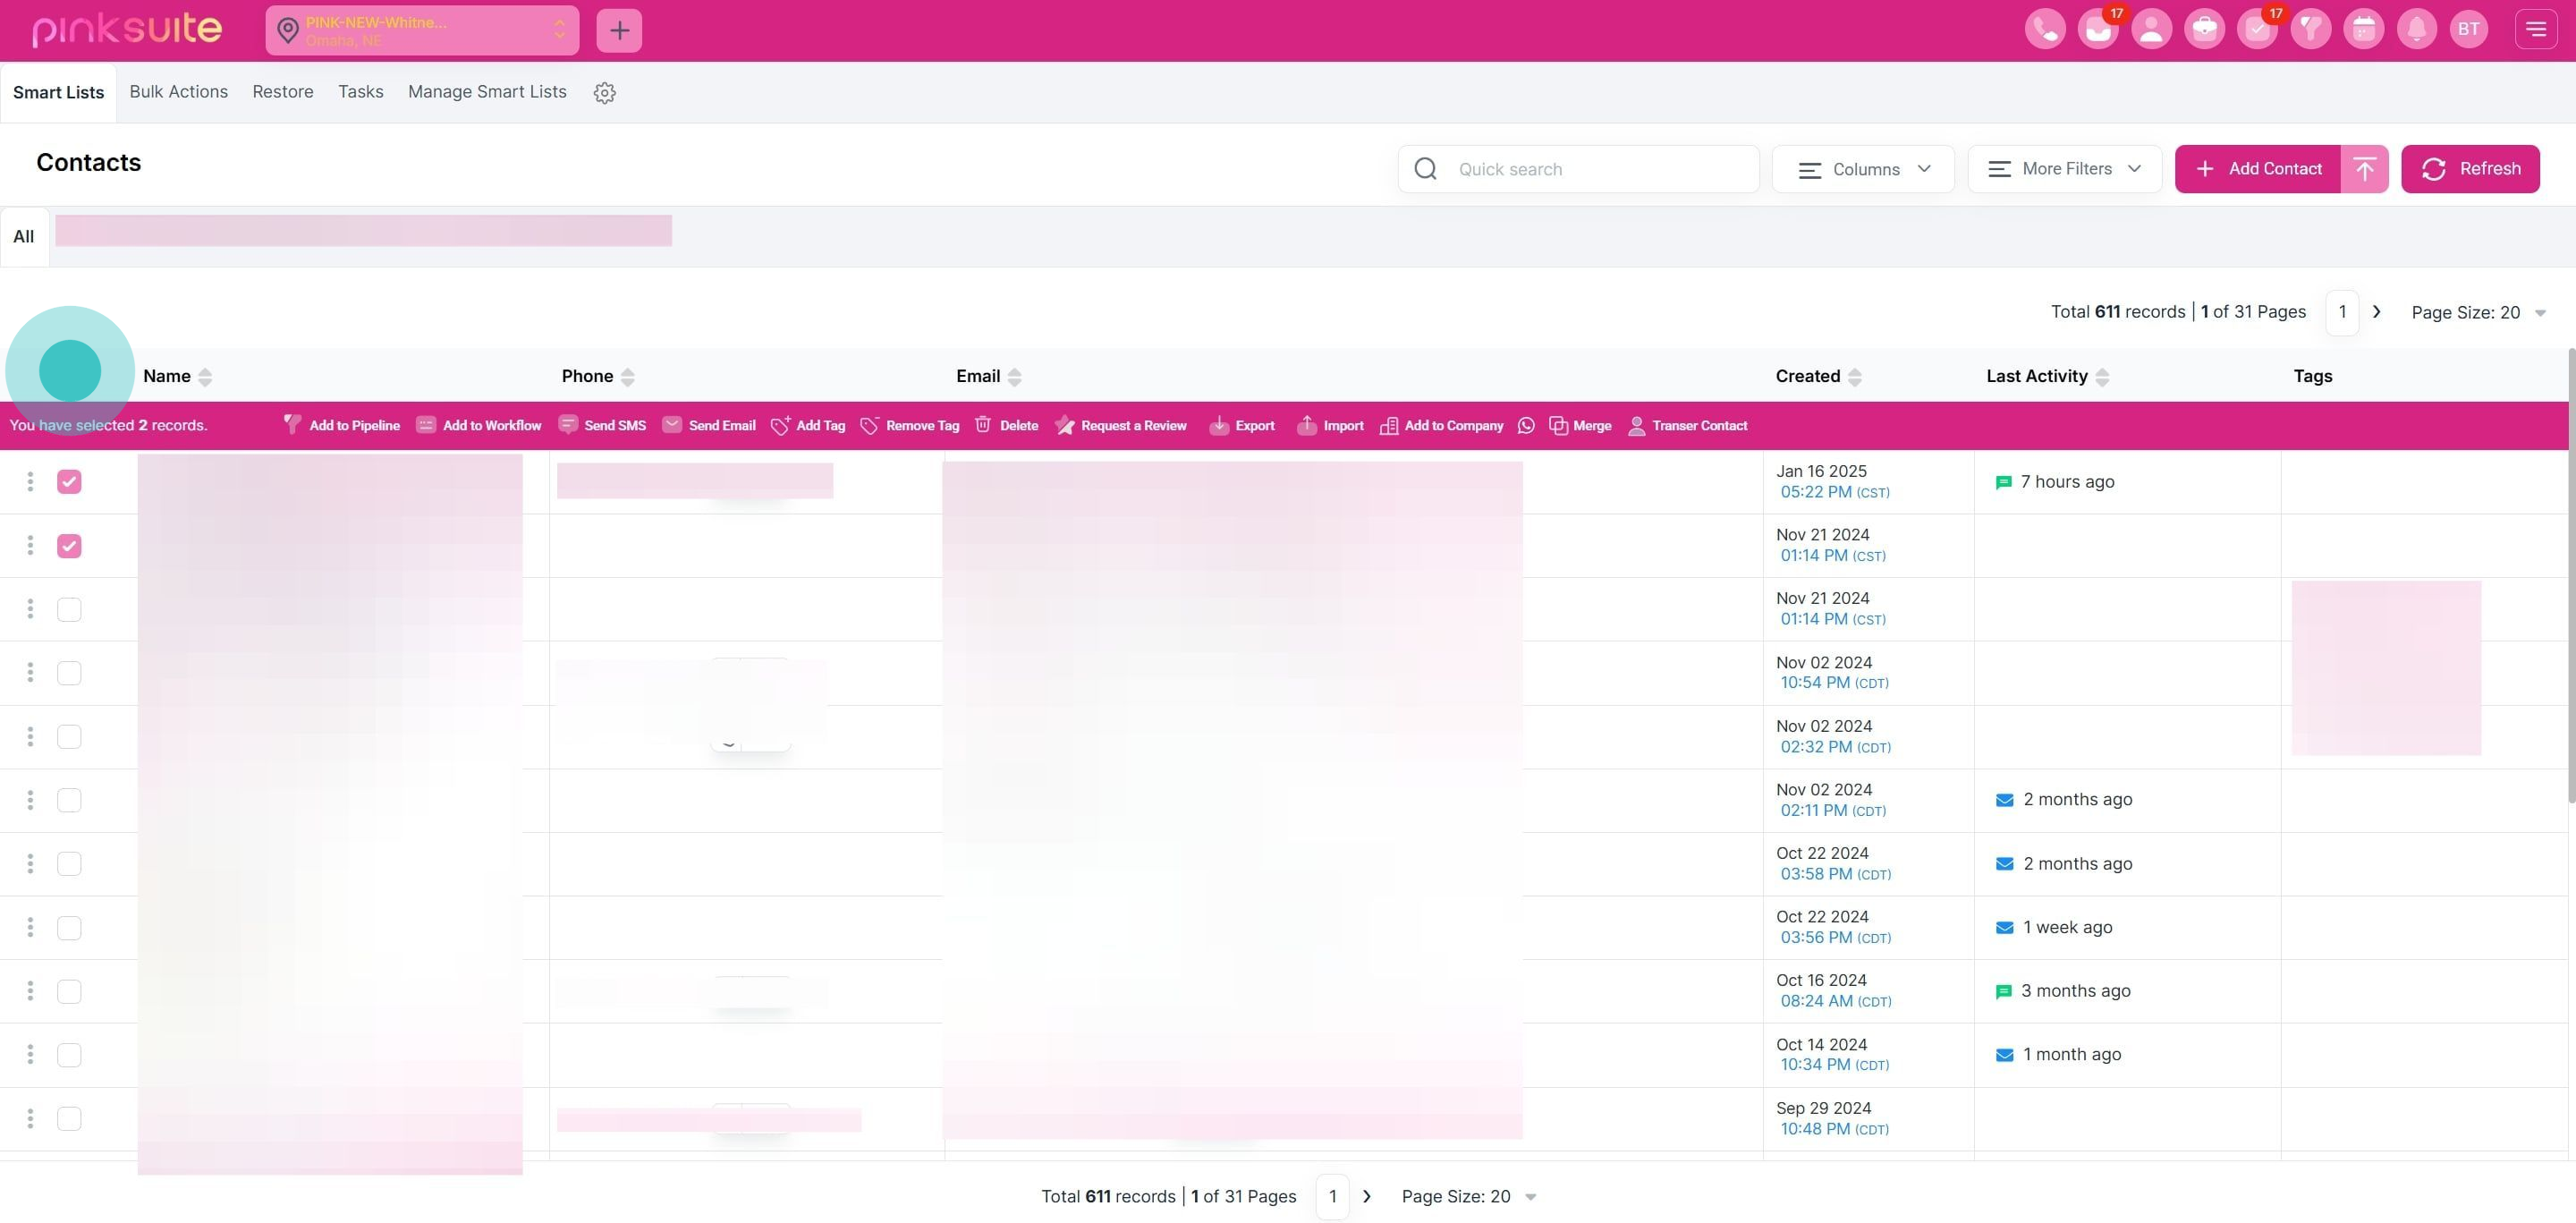
5. Next, opt to select another contact.
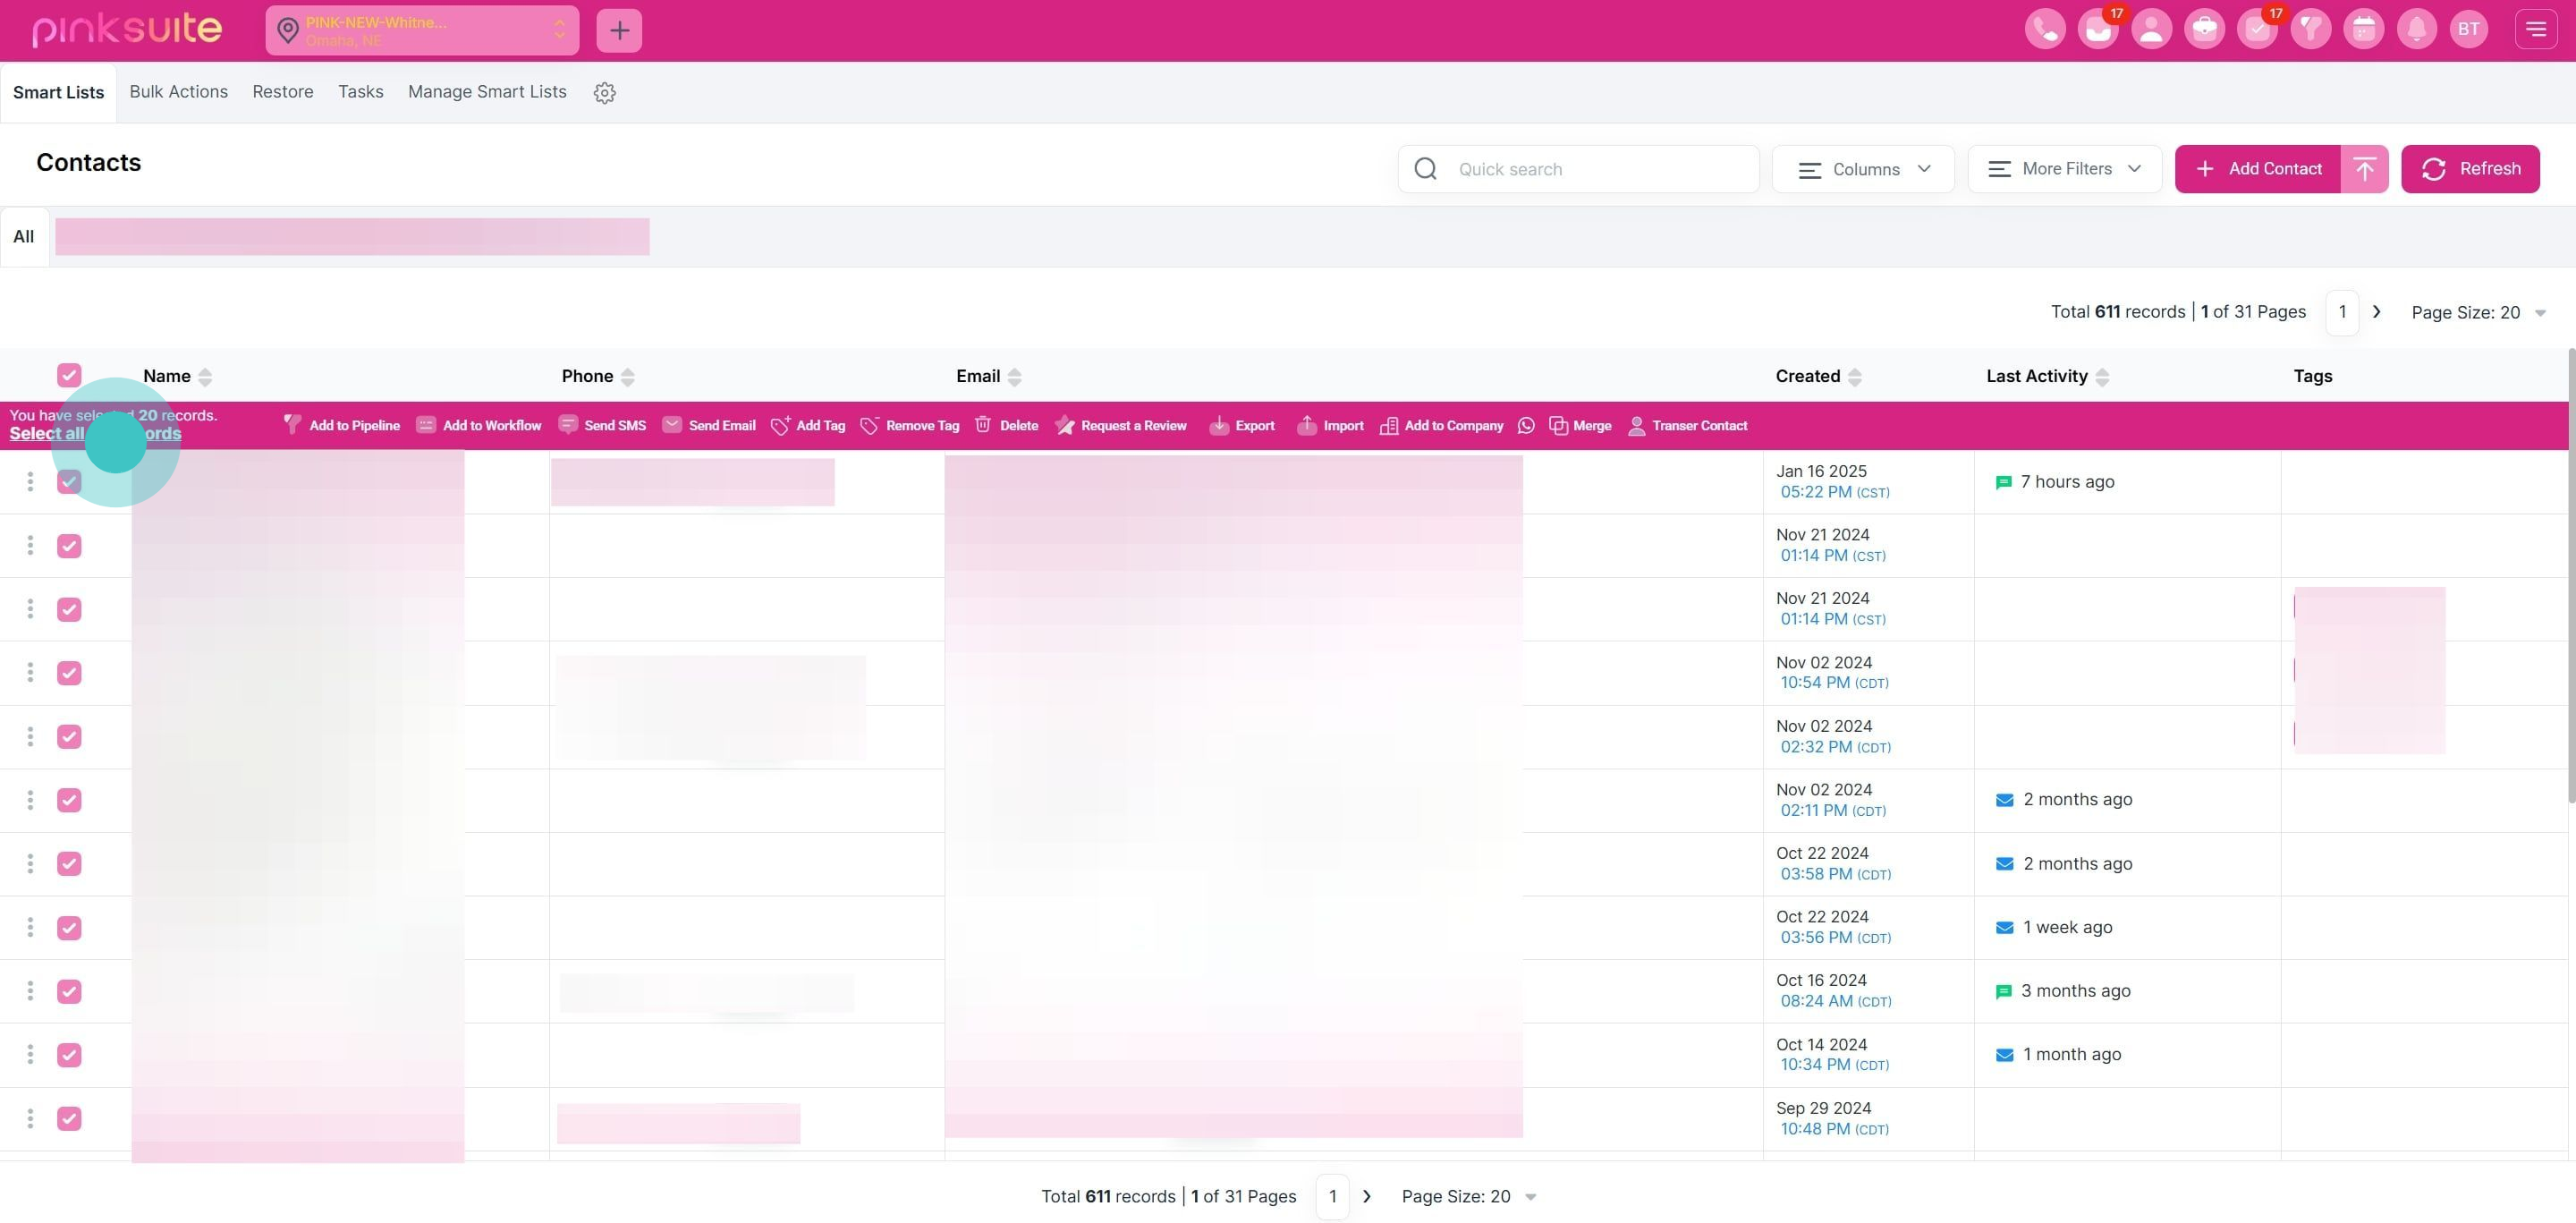
6. Then, click to select all contacts on this page.
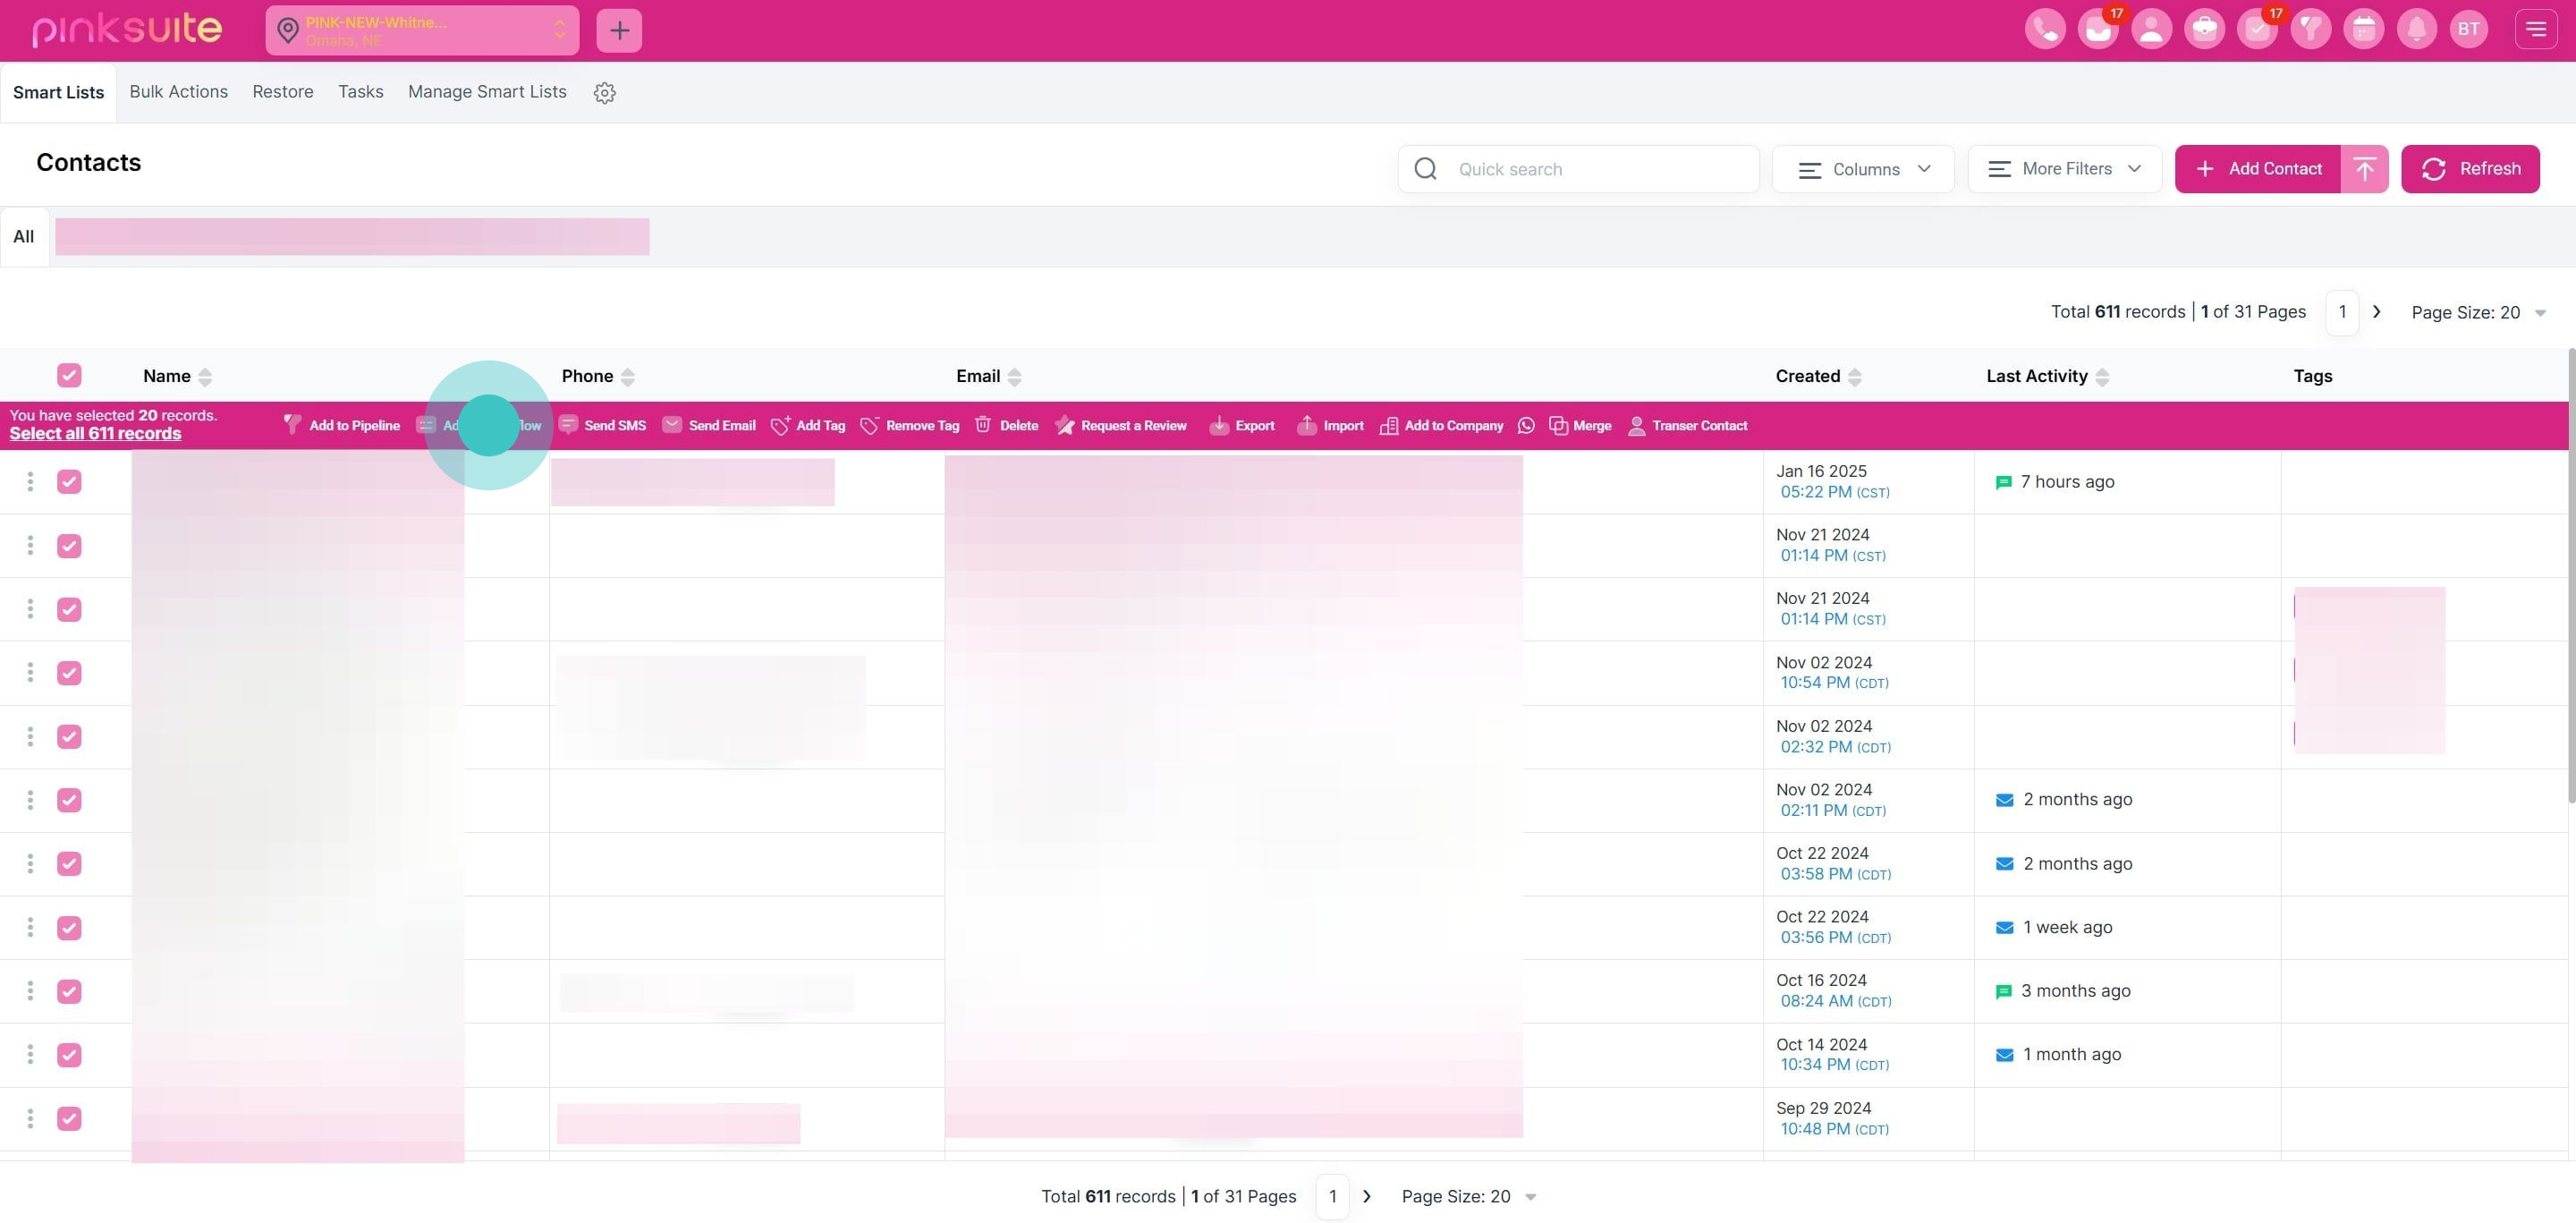
7. Alternatively, select all contacts system-wide here.
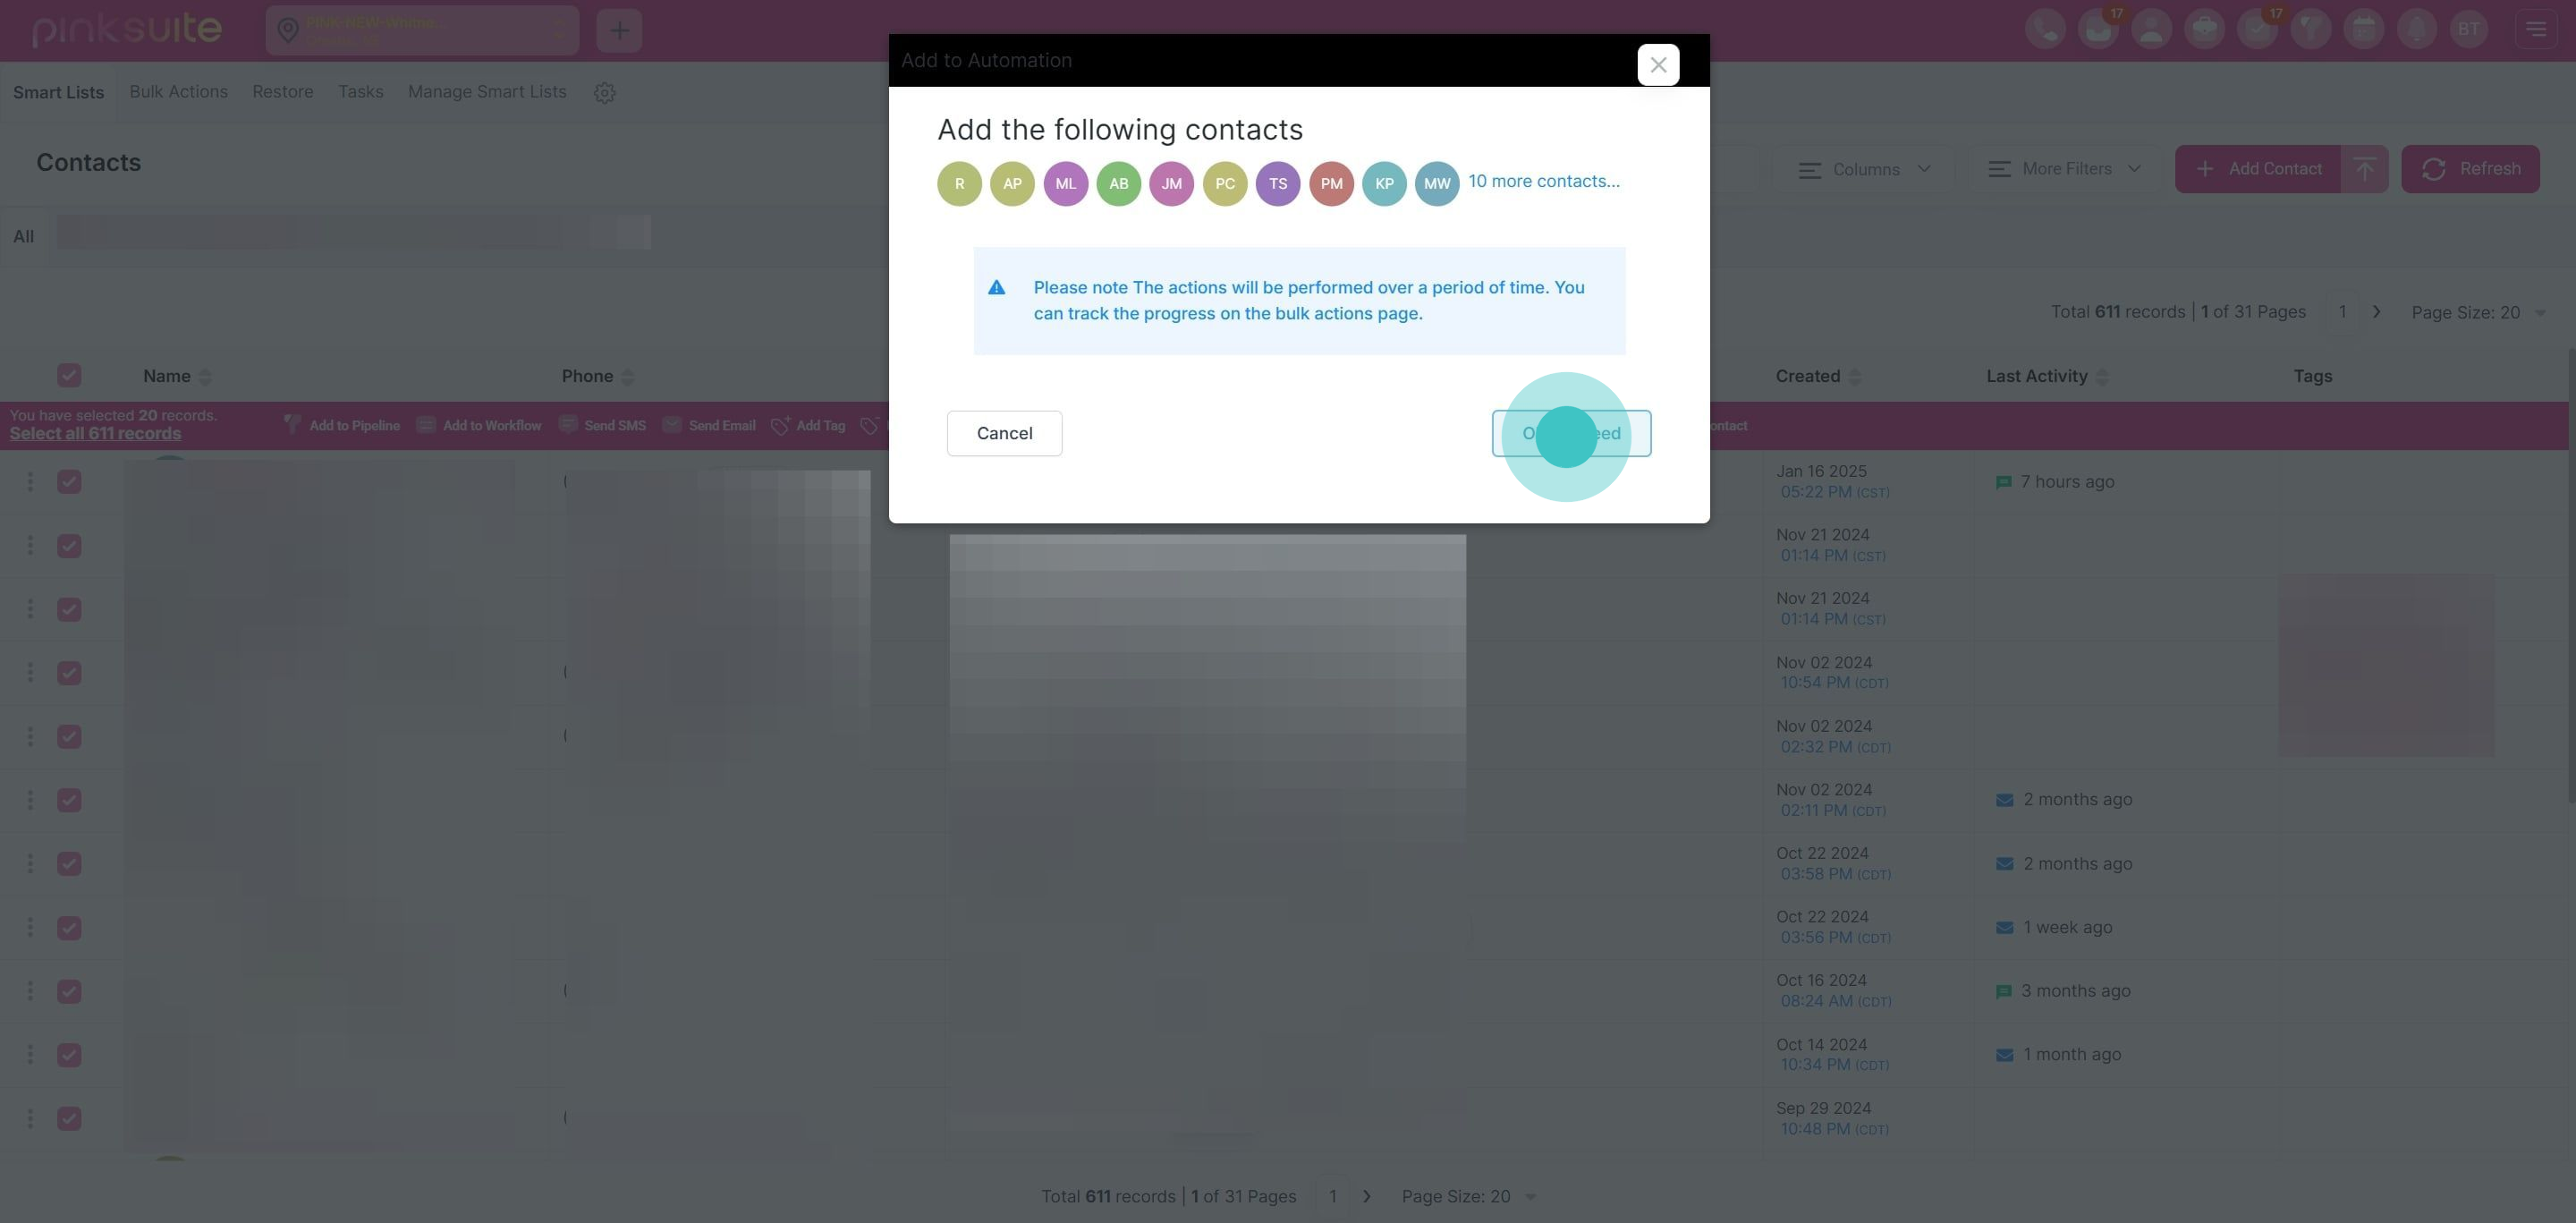
8. Proceed by adding to a workflow.
9. Continue by clicking 'Ok, proceed.'
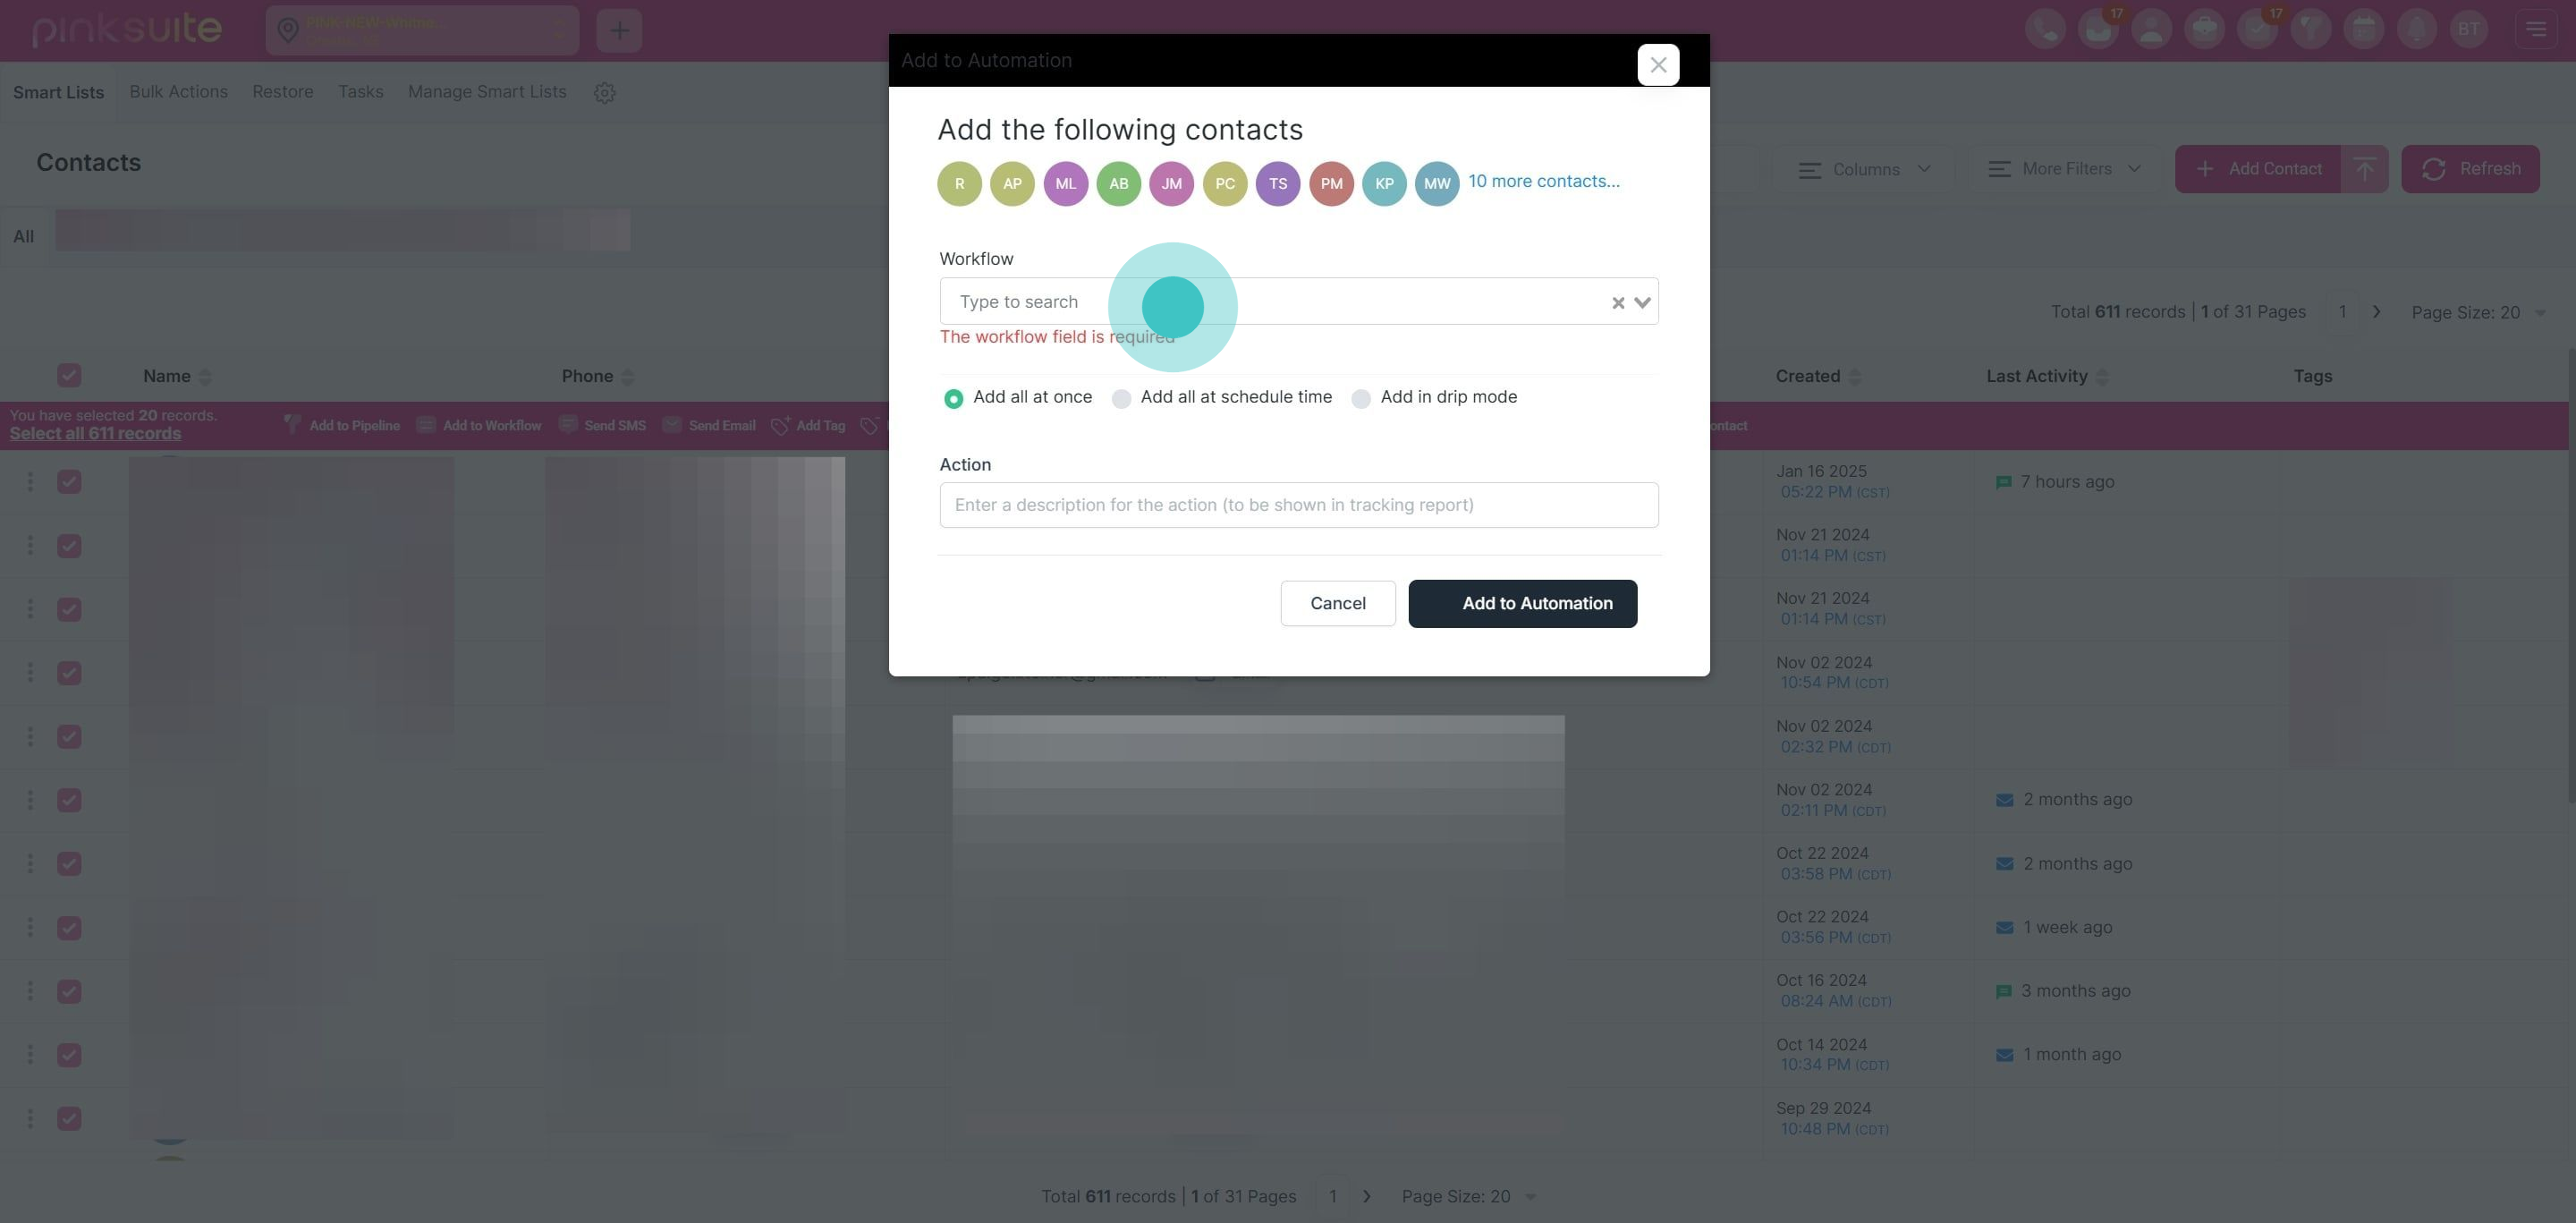
10. Choose a specific workflow here.
11. Then, choose 'Add all at a Scheduled Time' for the workflow option.
12. Enter a descriptive action name for tracking.
13. Set a schedule by clicking here.
14. Choose the exact date and time.
15. Click 'Continue'
16. Finally, click 'Add to automation' to complete the setup.