This step-by-step guide simplifies the process of adding contacts to workflows in drip mode. Learn how to select contacts, define batch sizes, set repetition frequencies, and customize intervals and days for adding contacts. With options to track actions, set start and end times, and choose workflow types, this guide ensures seamless and efficient automation. Ideal for businesses looking to optimize contact management and workflow scheduling.
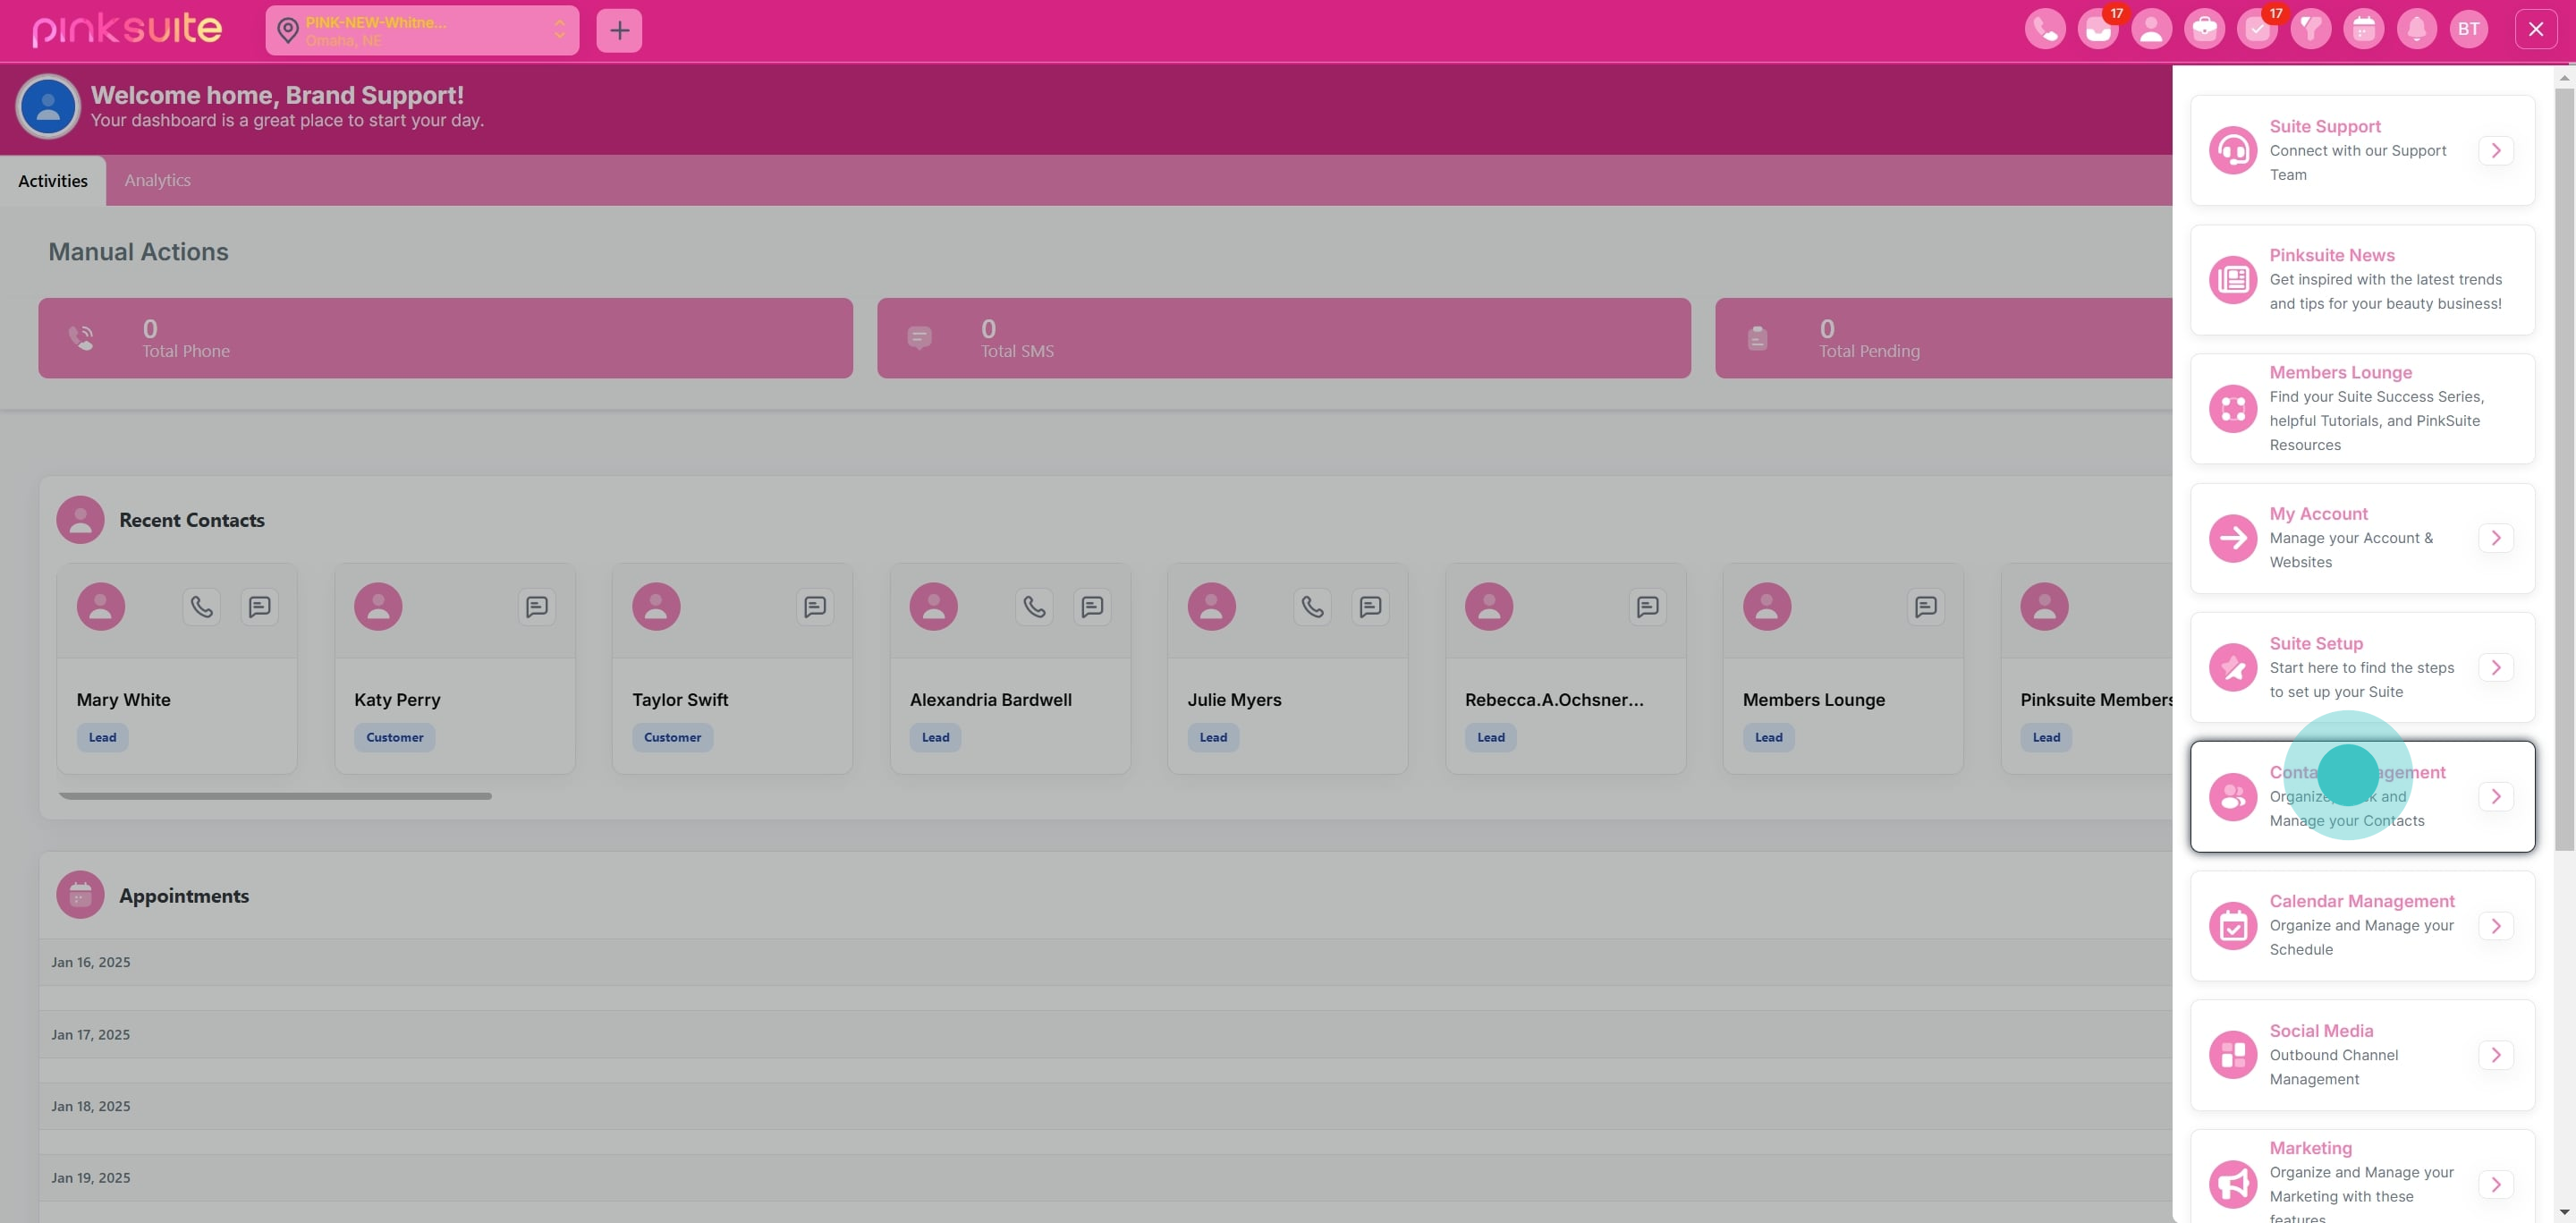
1. Start by clicking on 'Contact Management.'
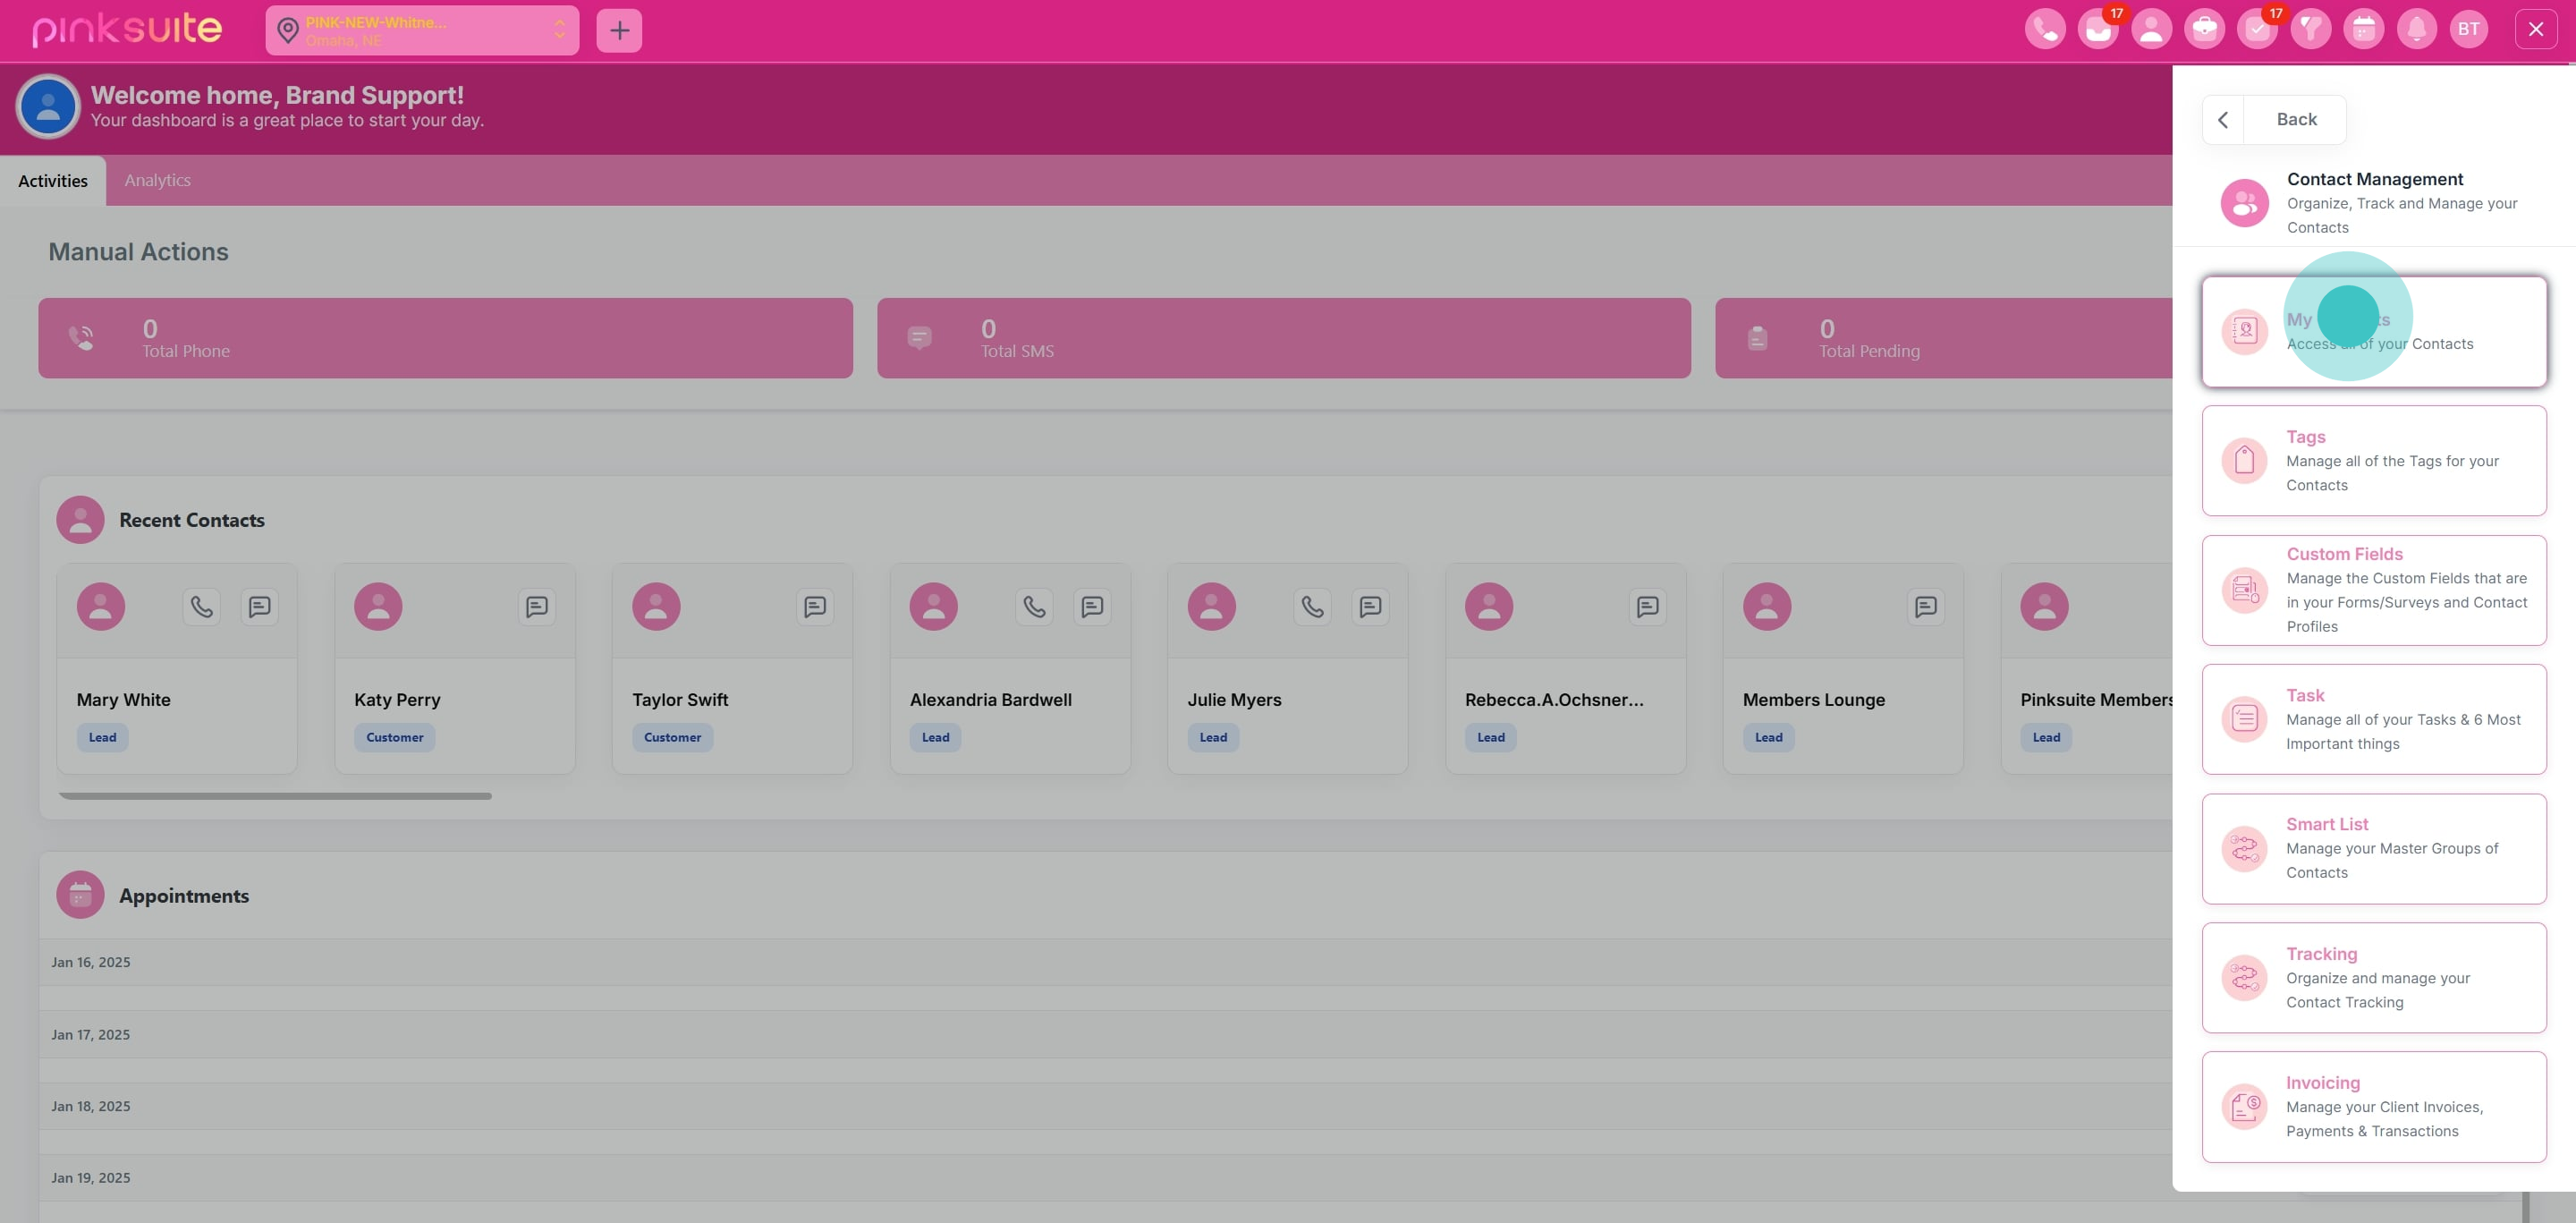
2. Next, select 'My Contacts.'
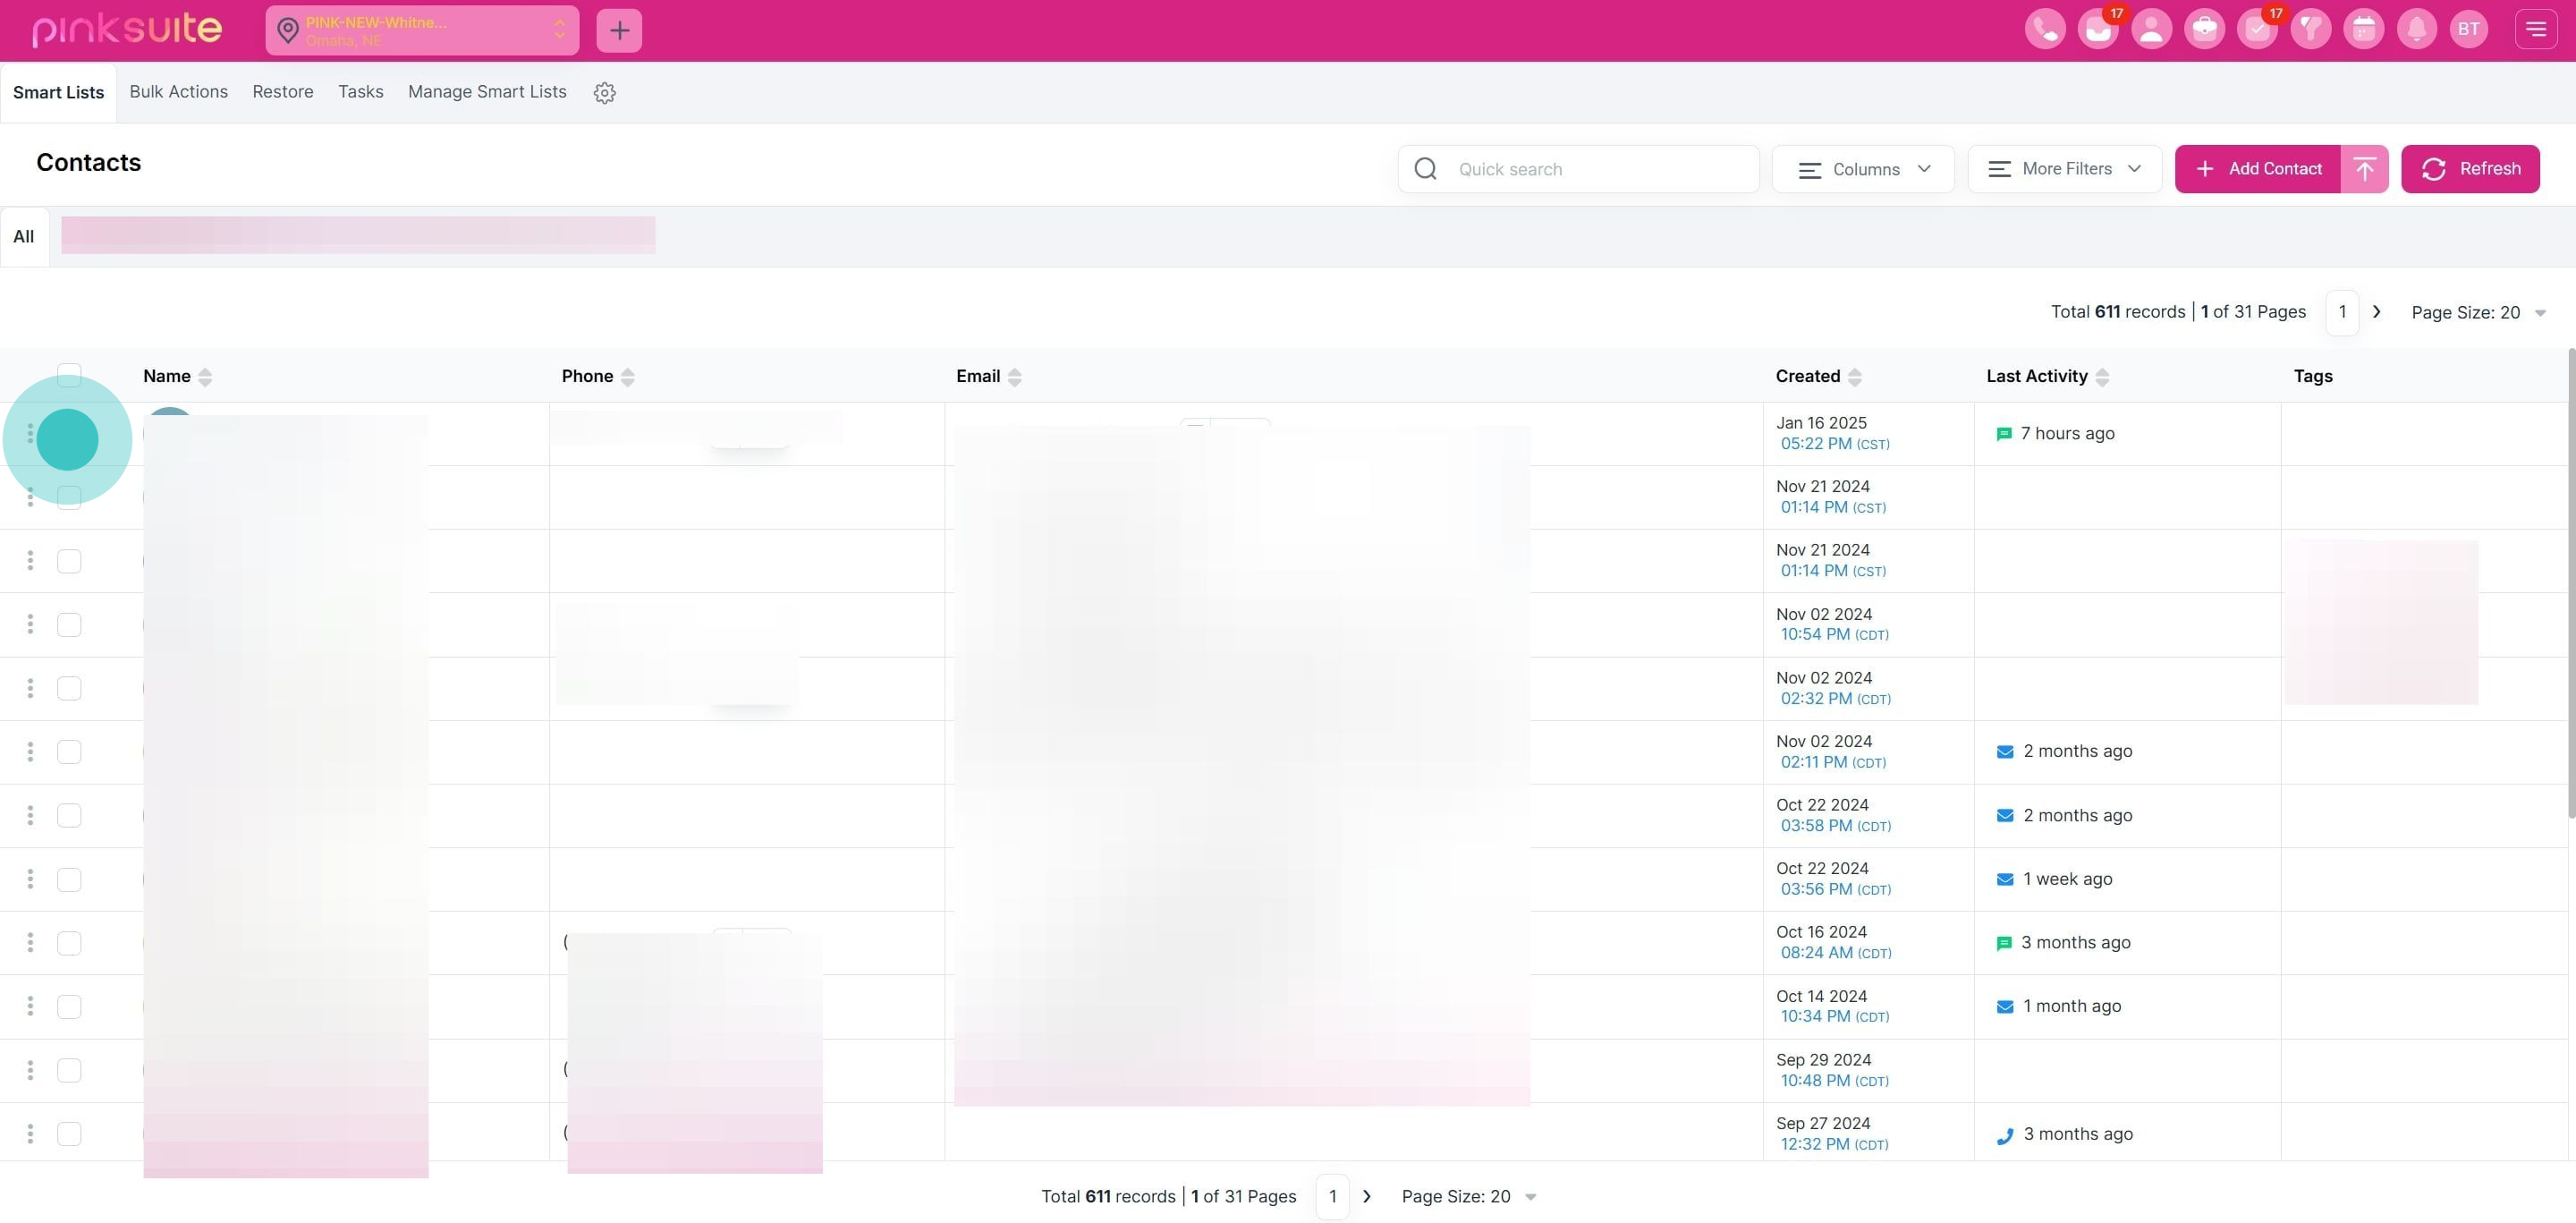
3. Then, click on the 'See More' option.
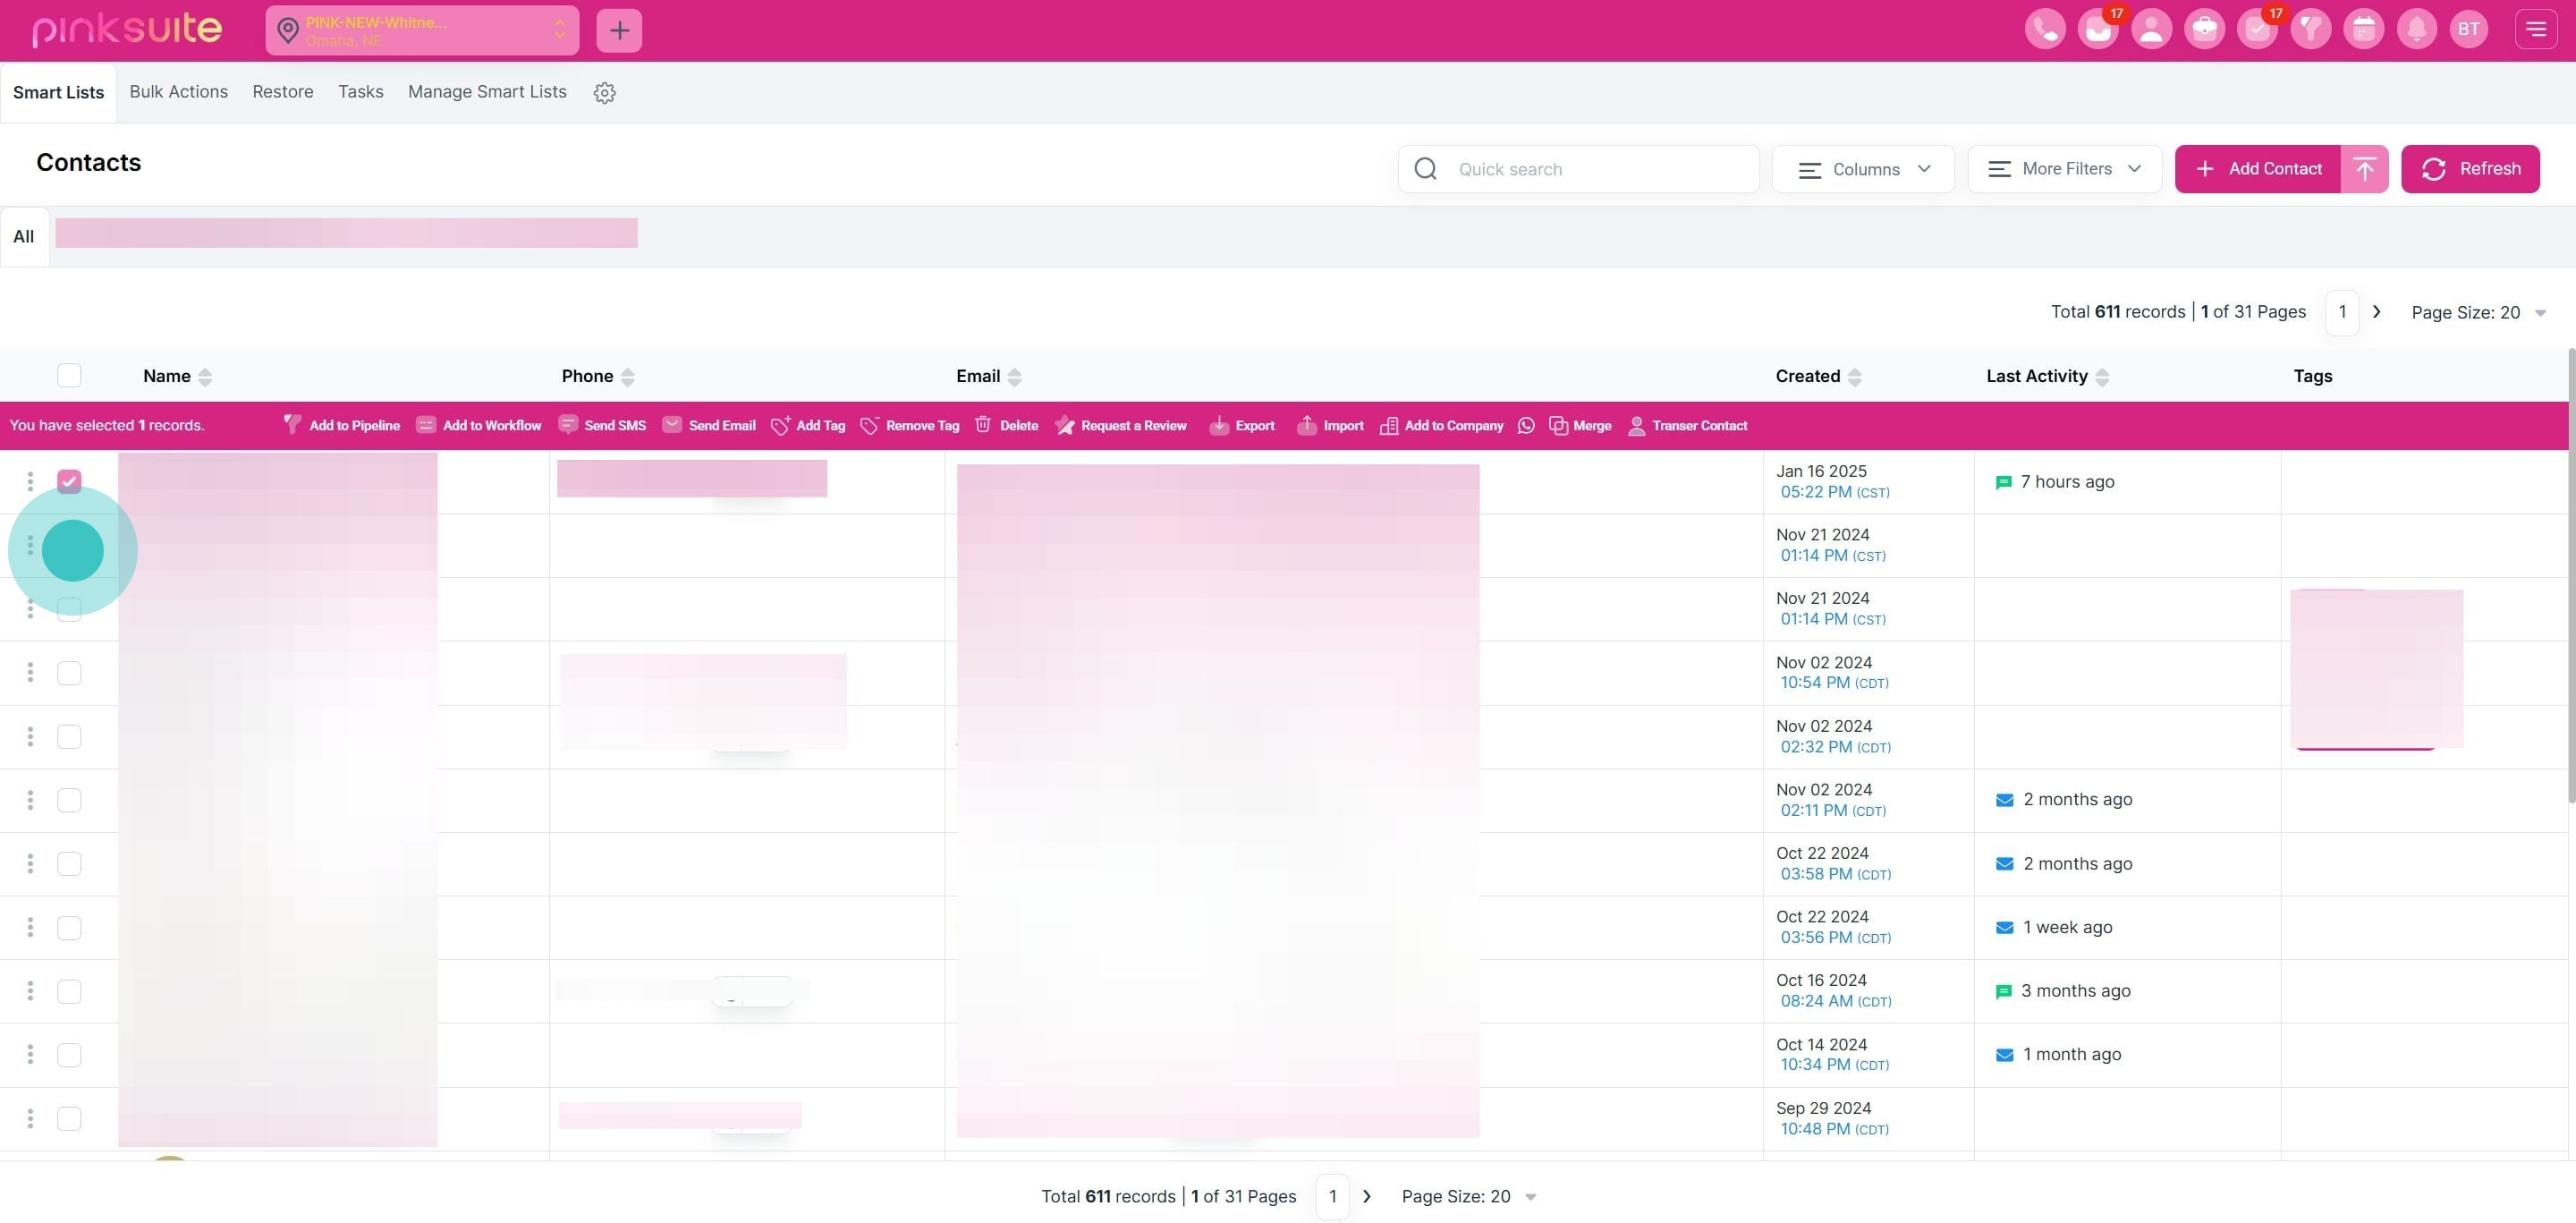
4. Now, choose a specific contact to proceed.
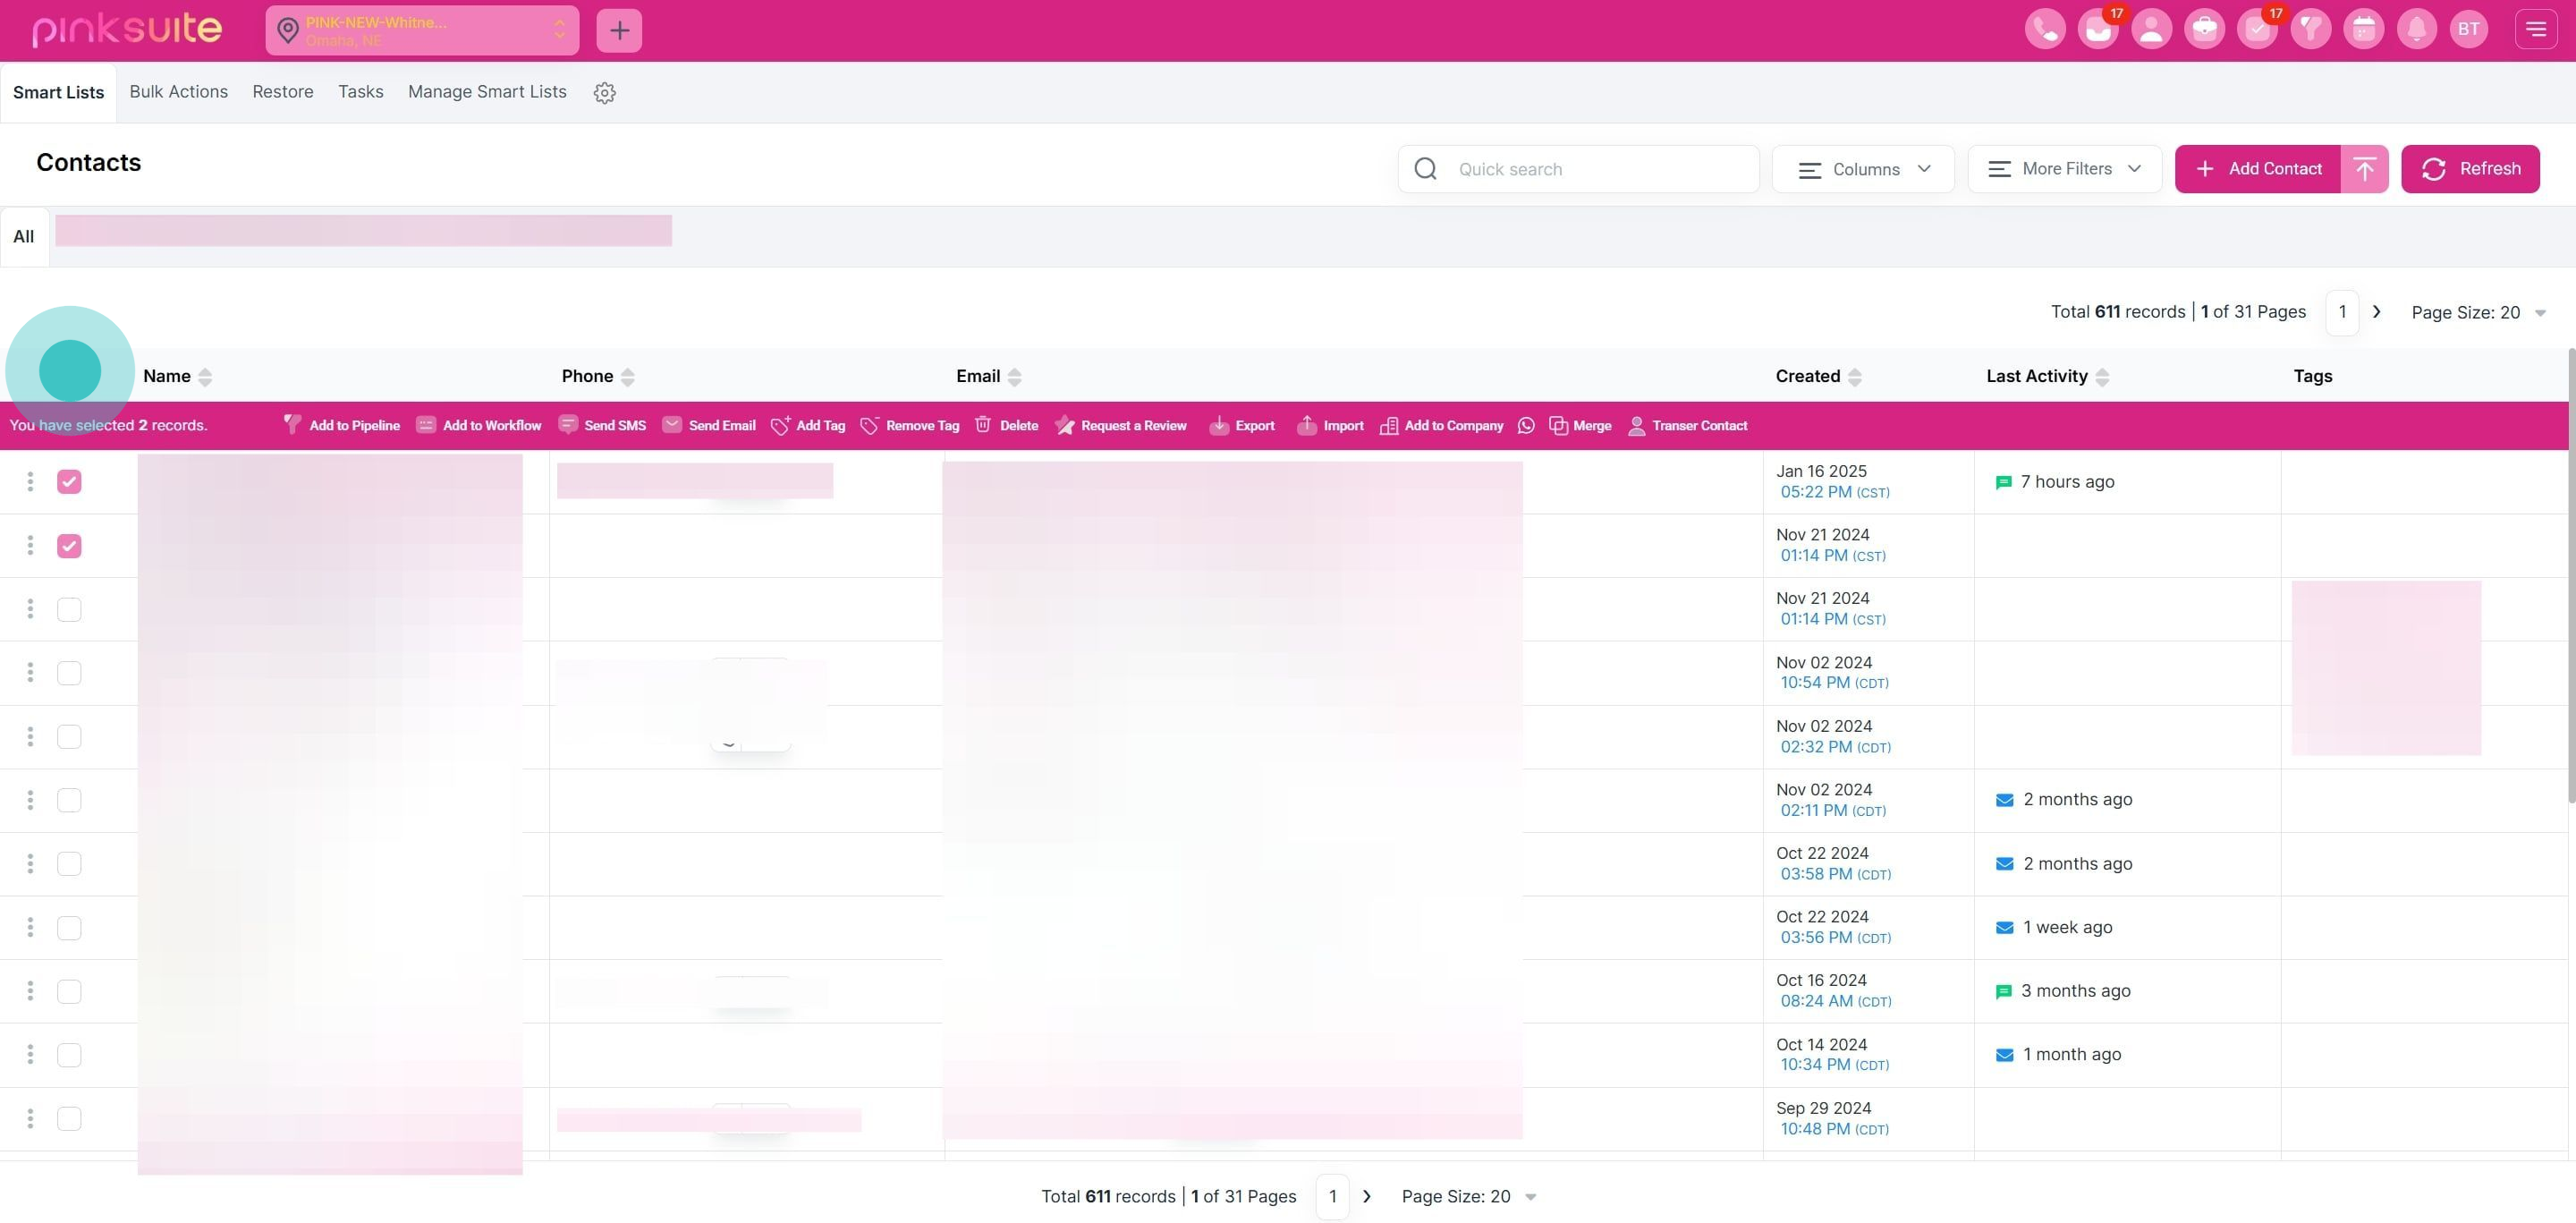
5. Optionally, select another contact if needed.
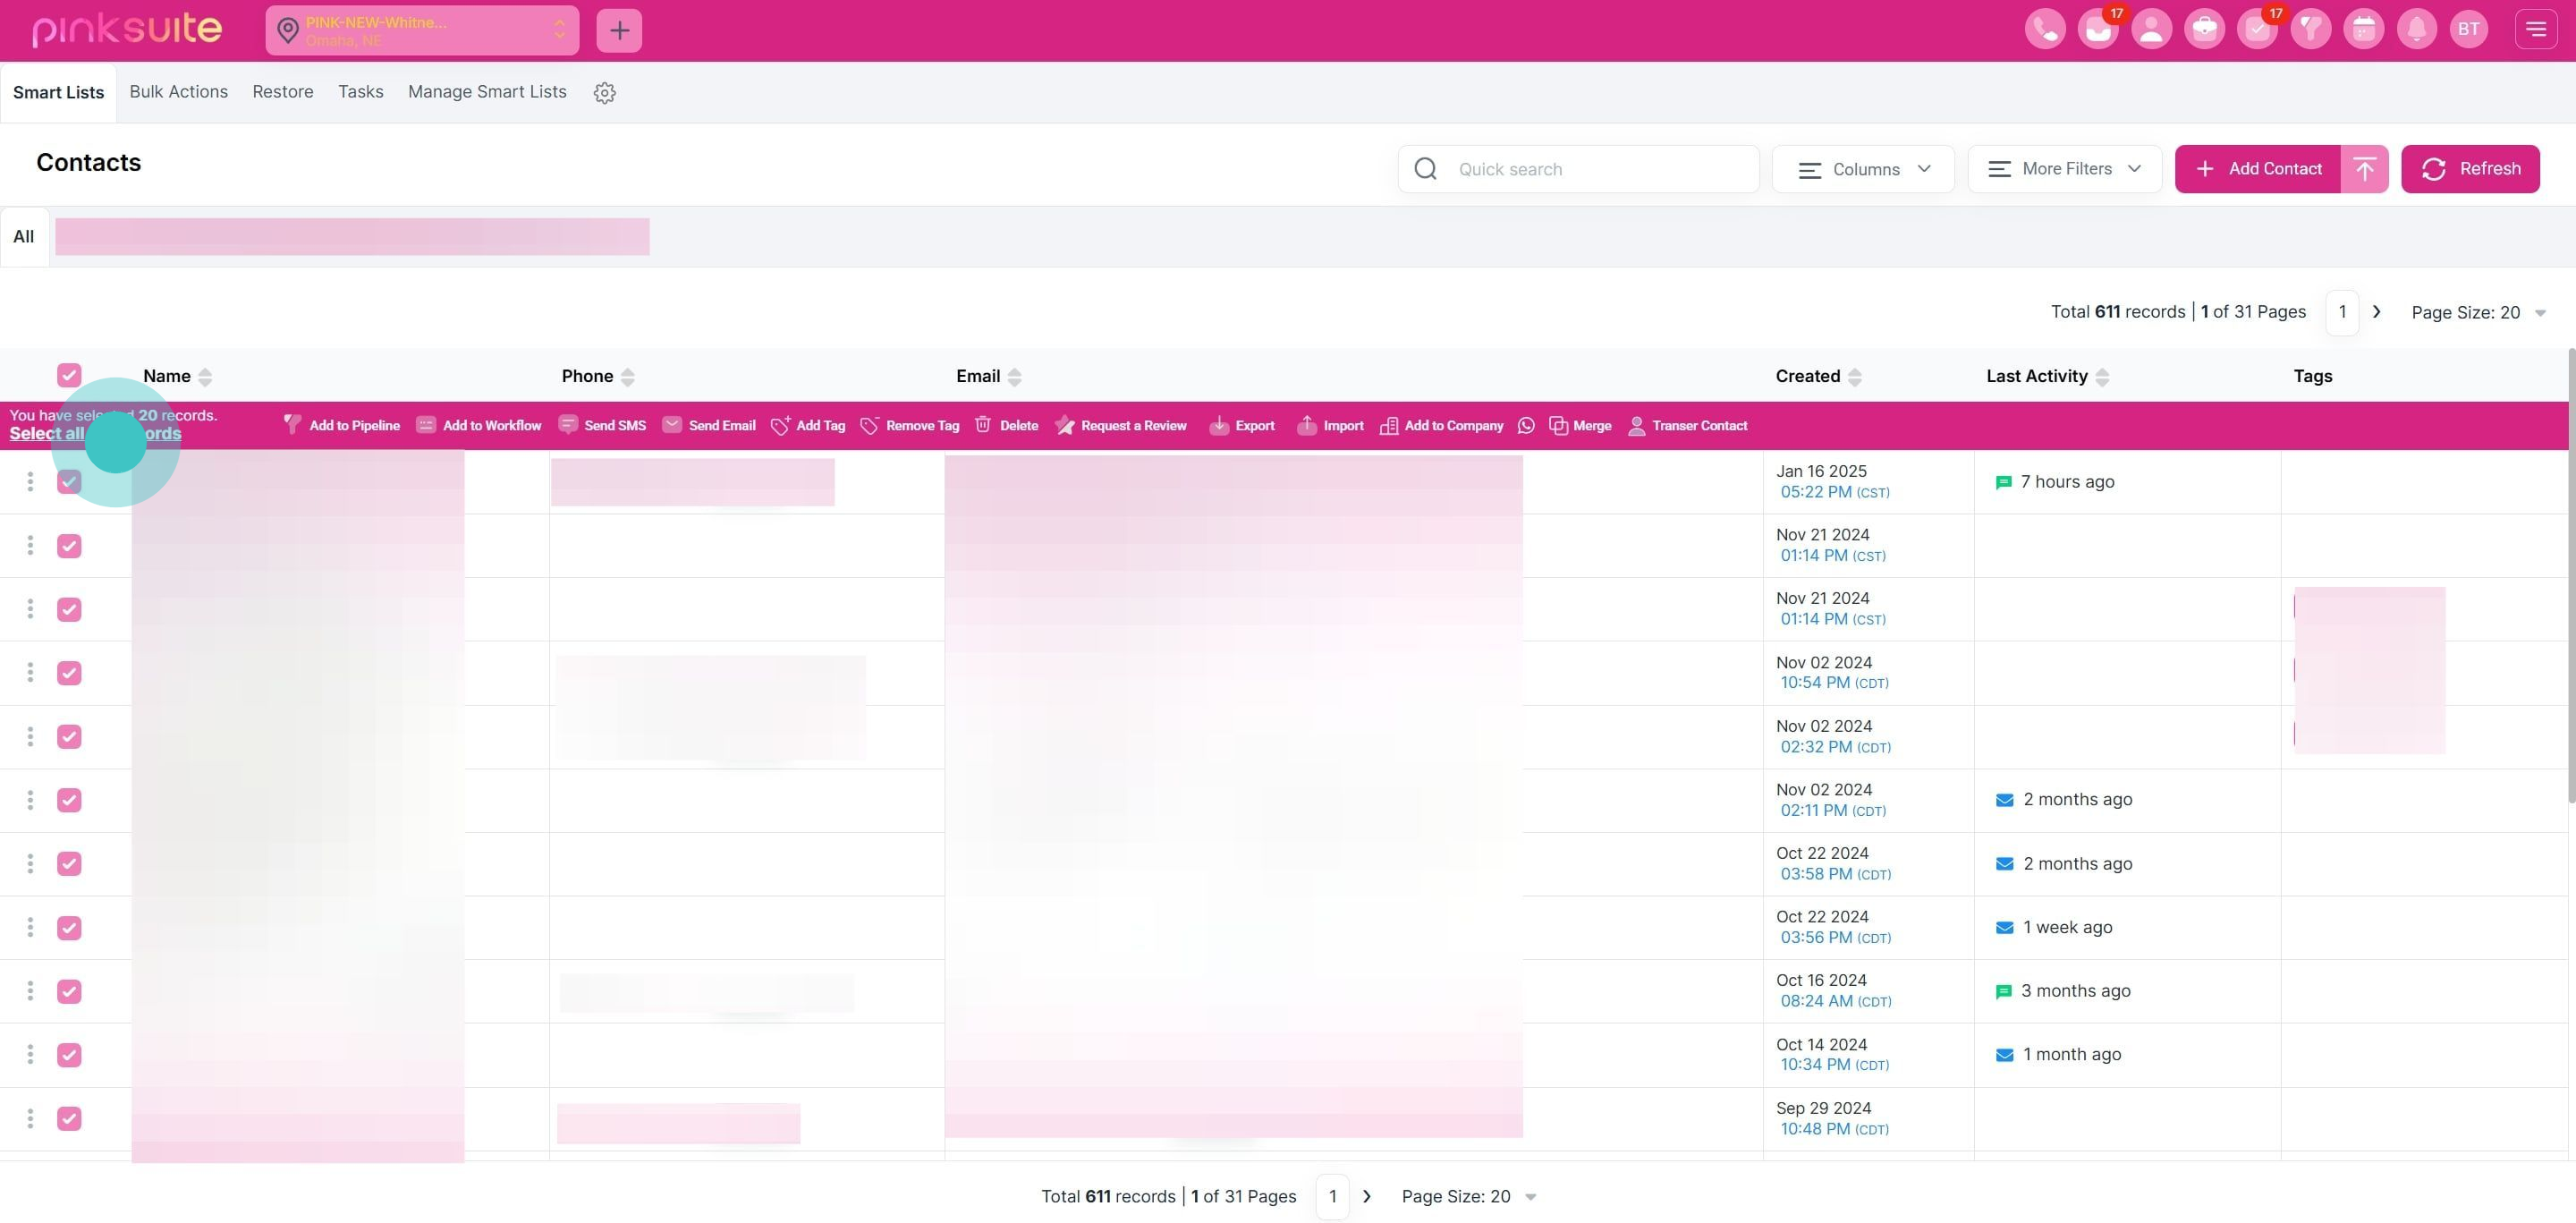
6. Select all contacts on this page, if applicable.
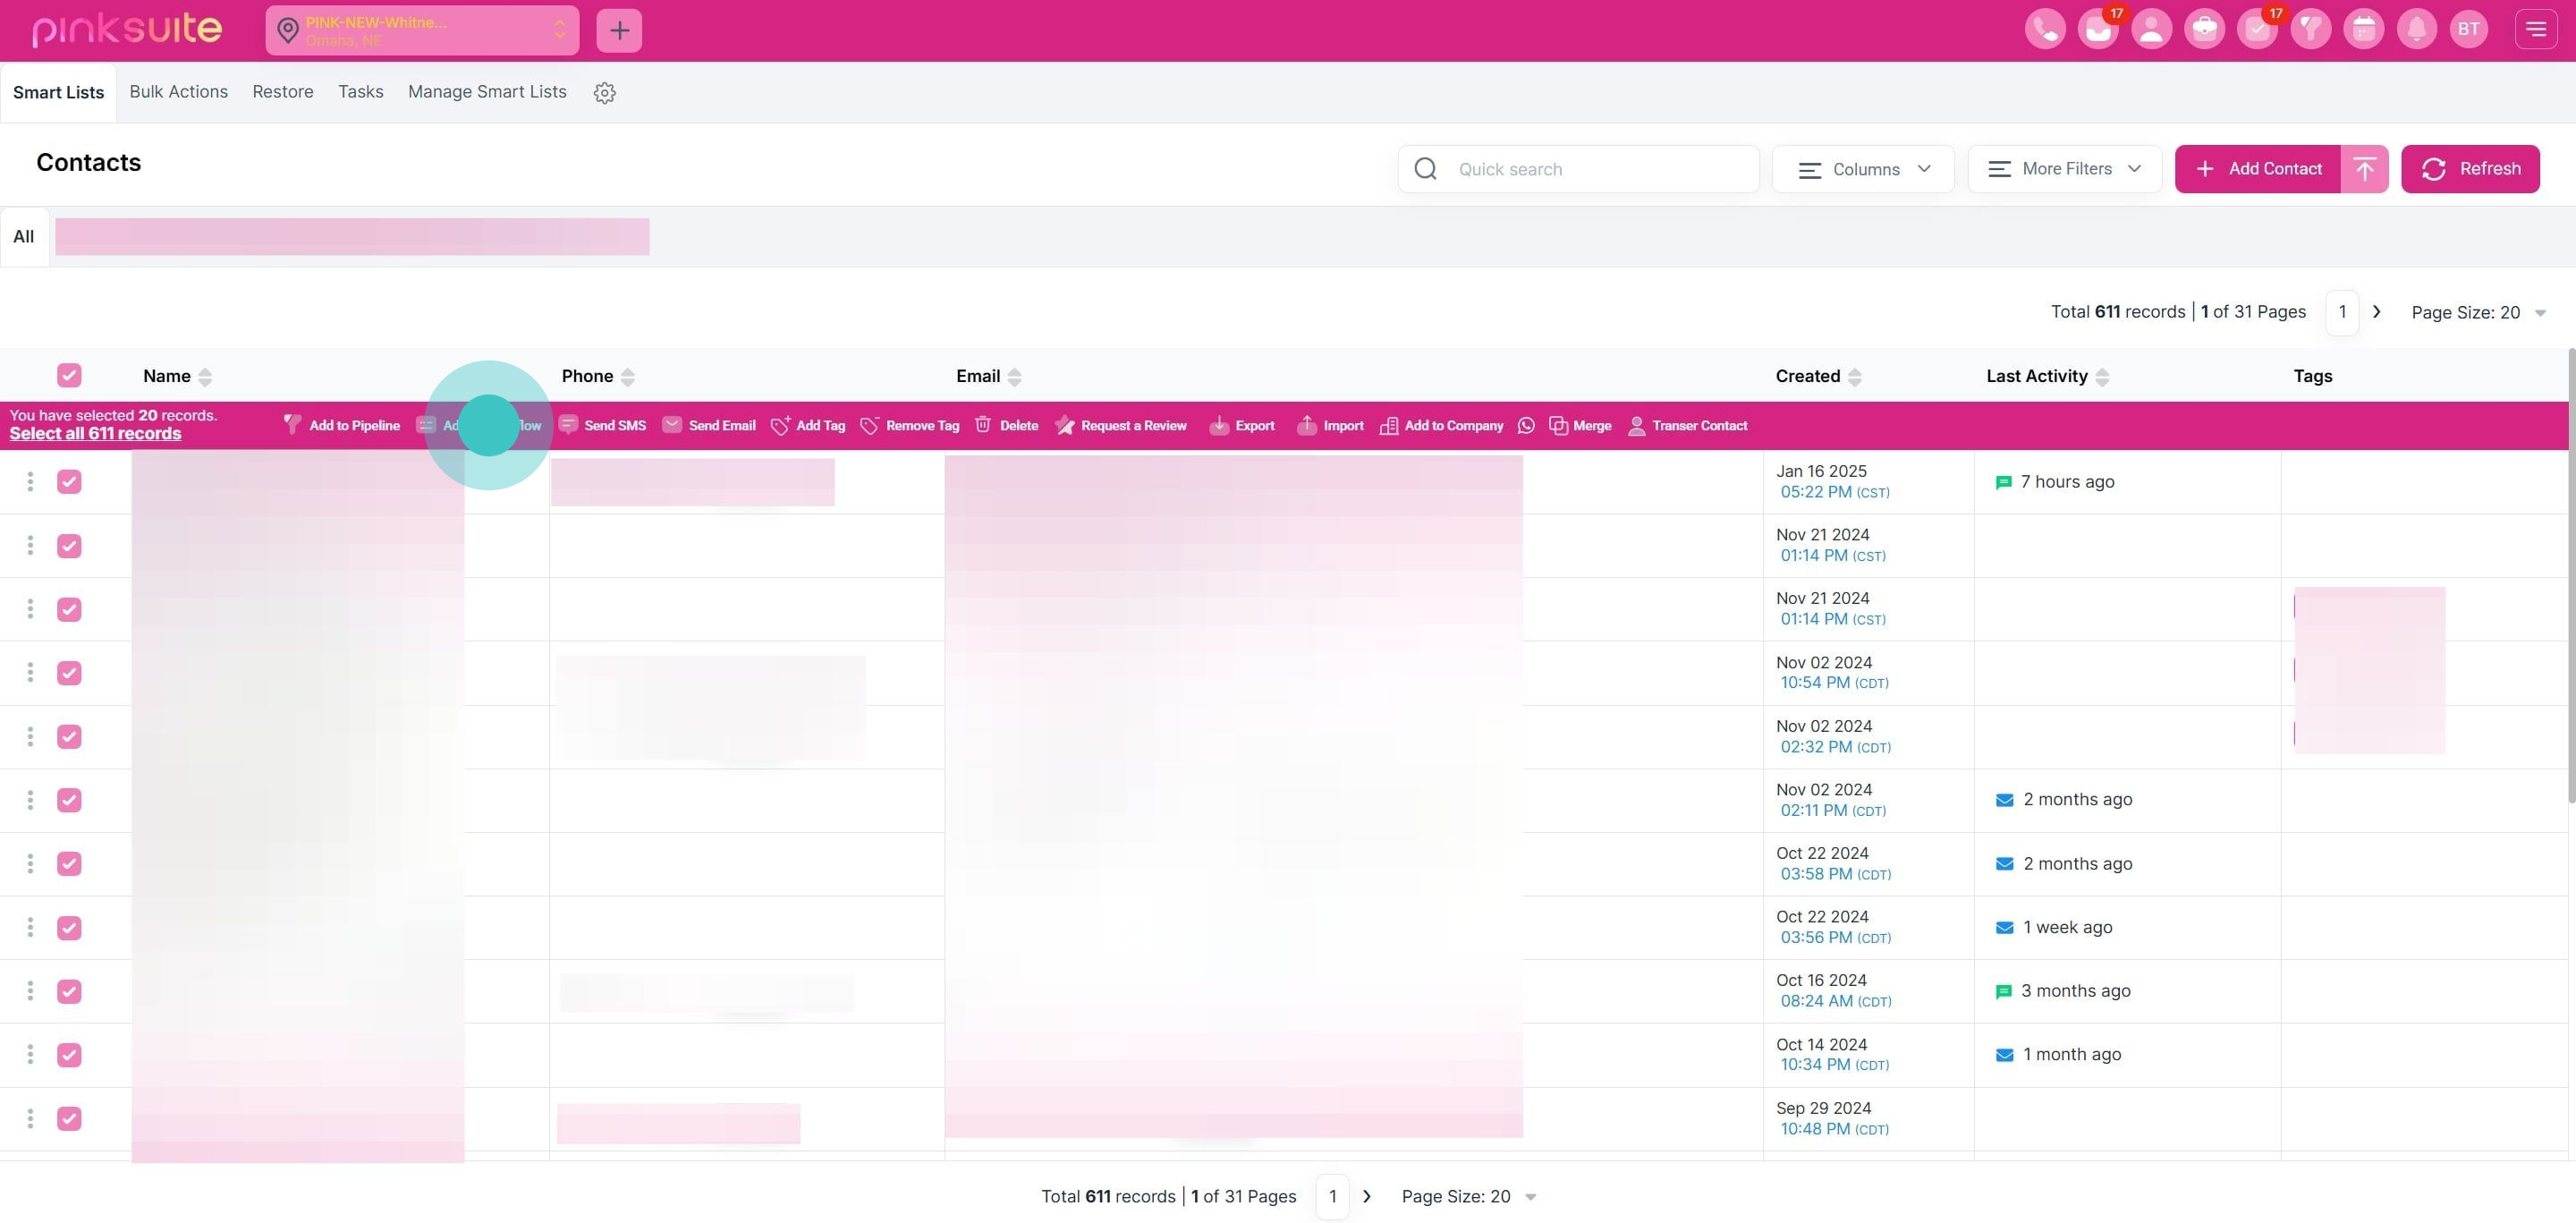
7. Add the selected contacts to a workflow.
8. Continue to add another set to the workflow.
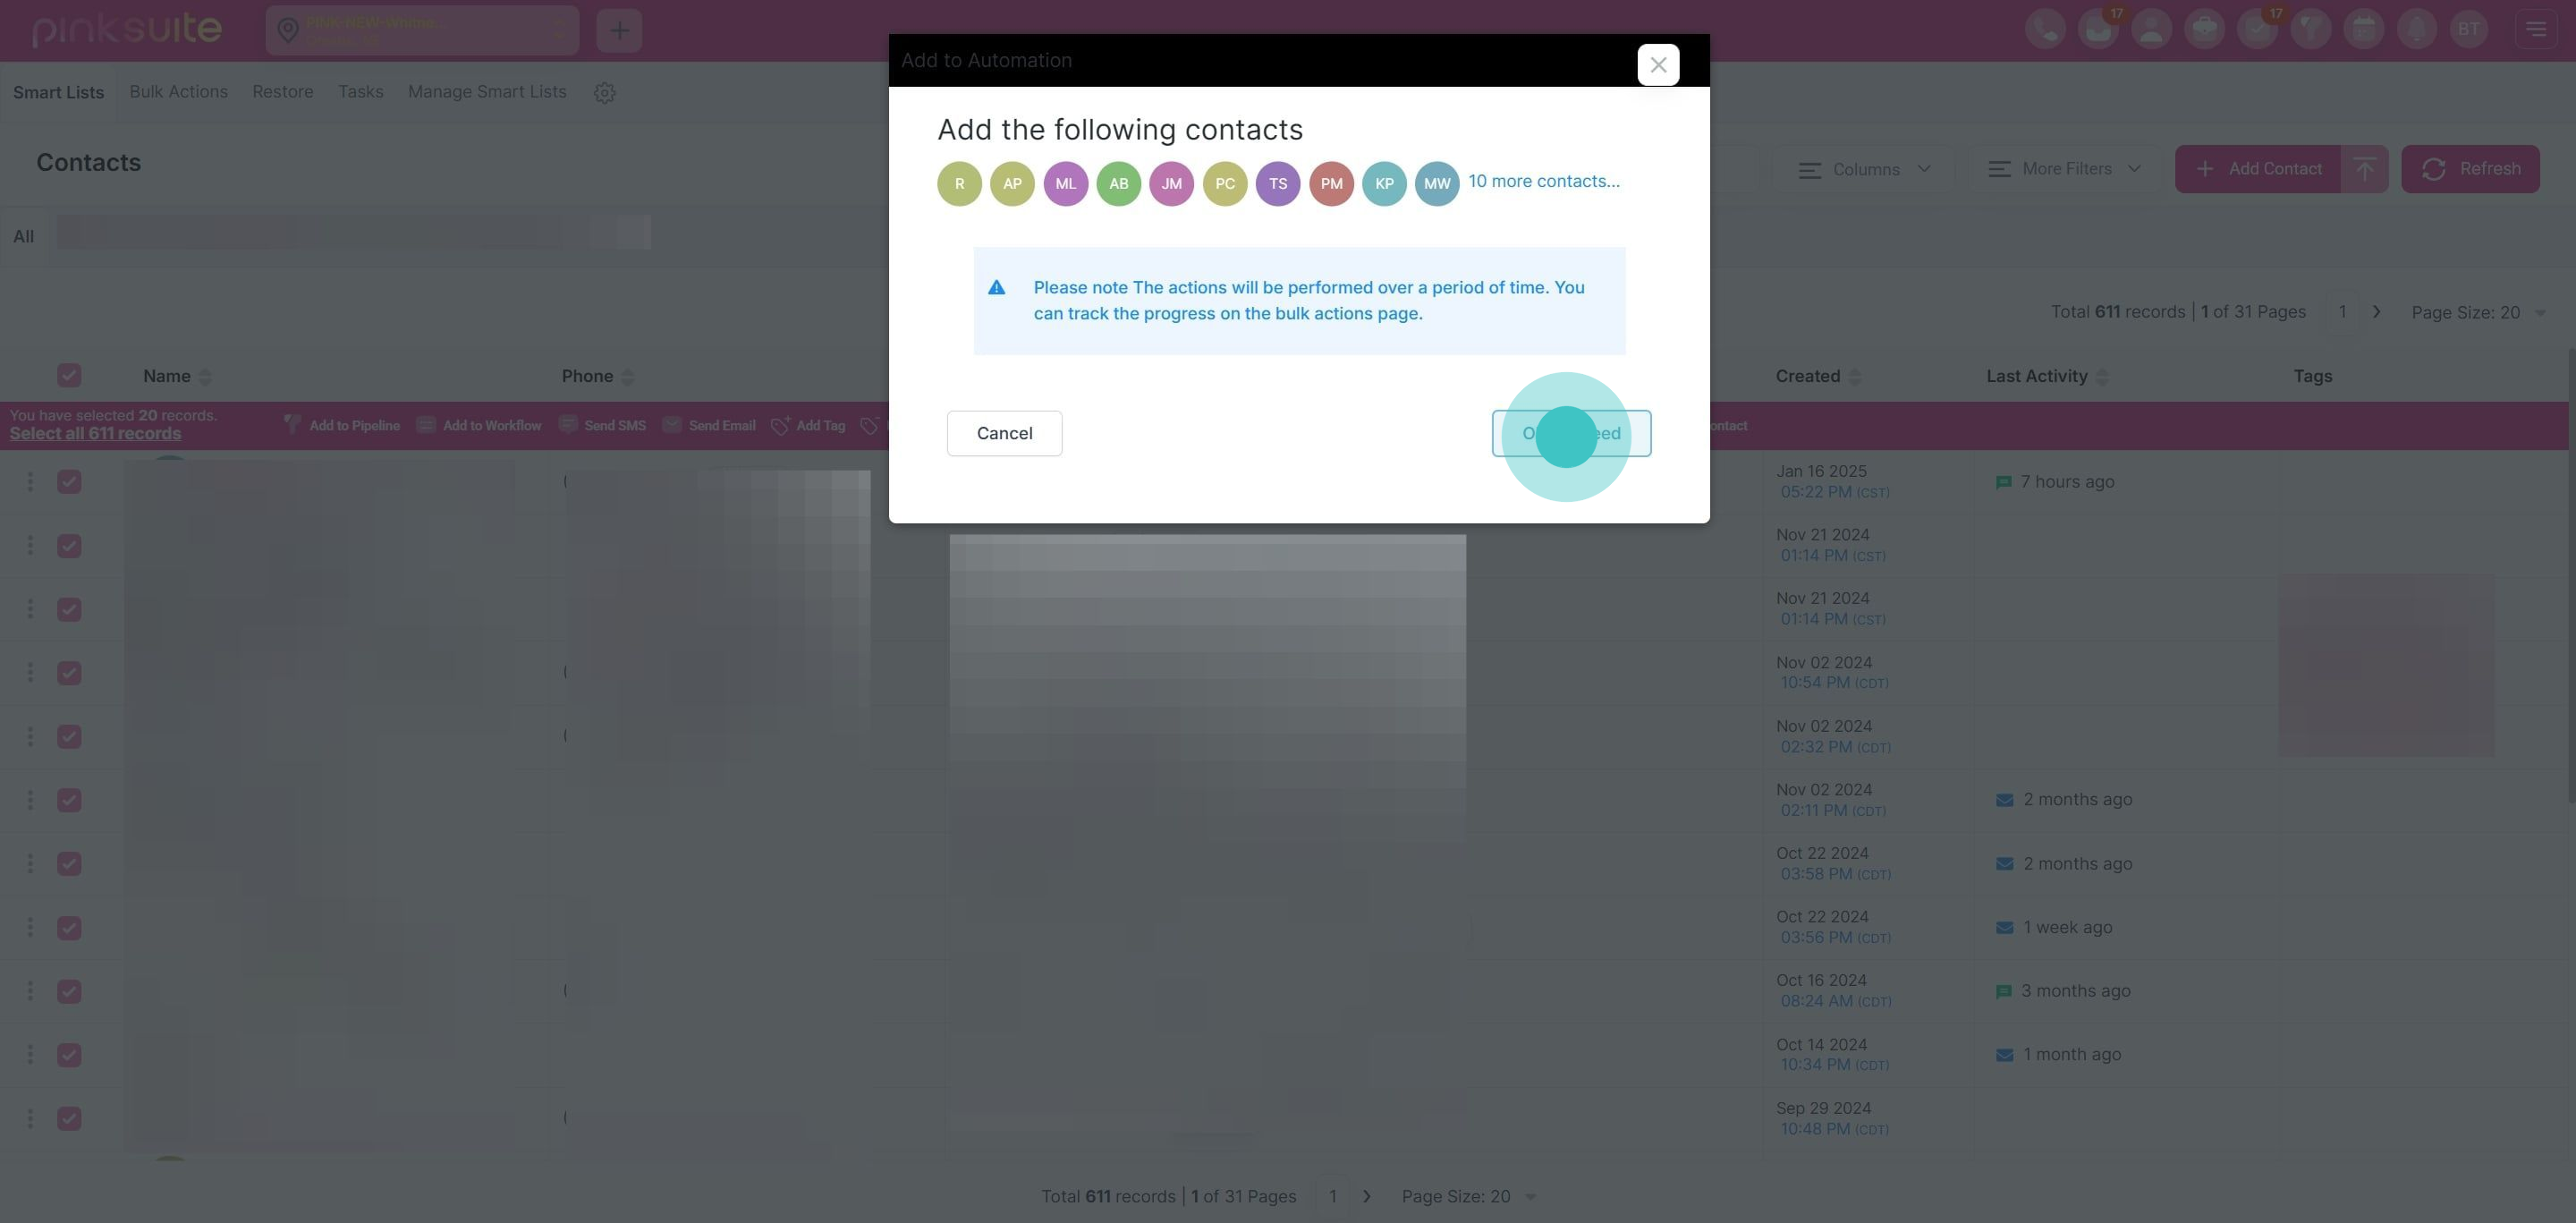
9. Click 'Ok, proceed' to move forward.
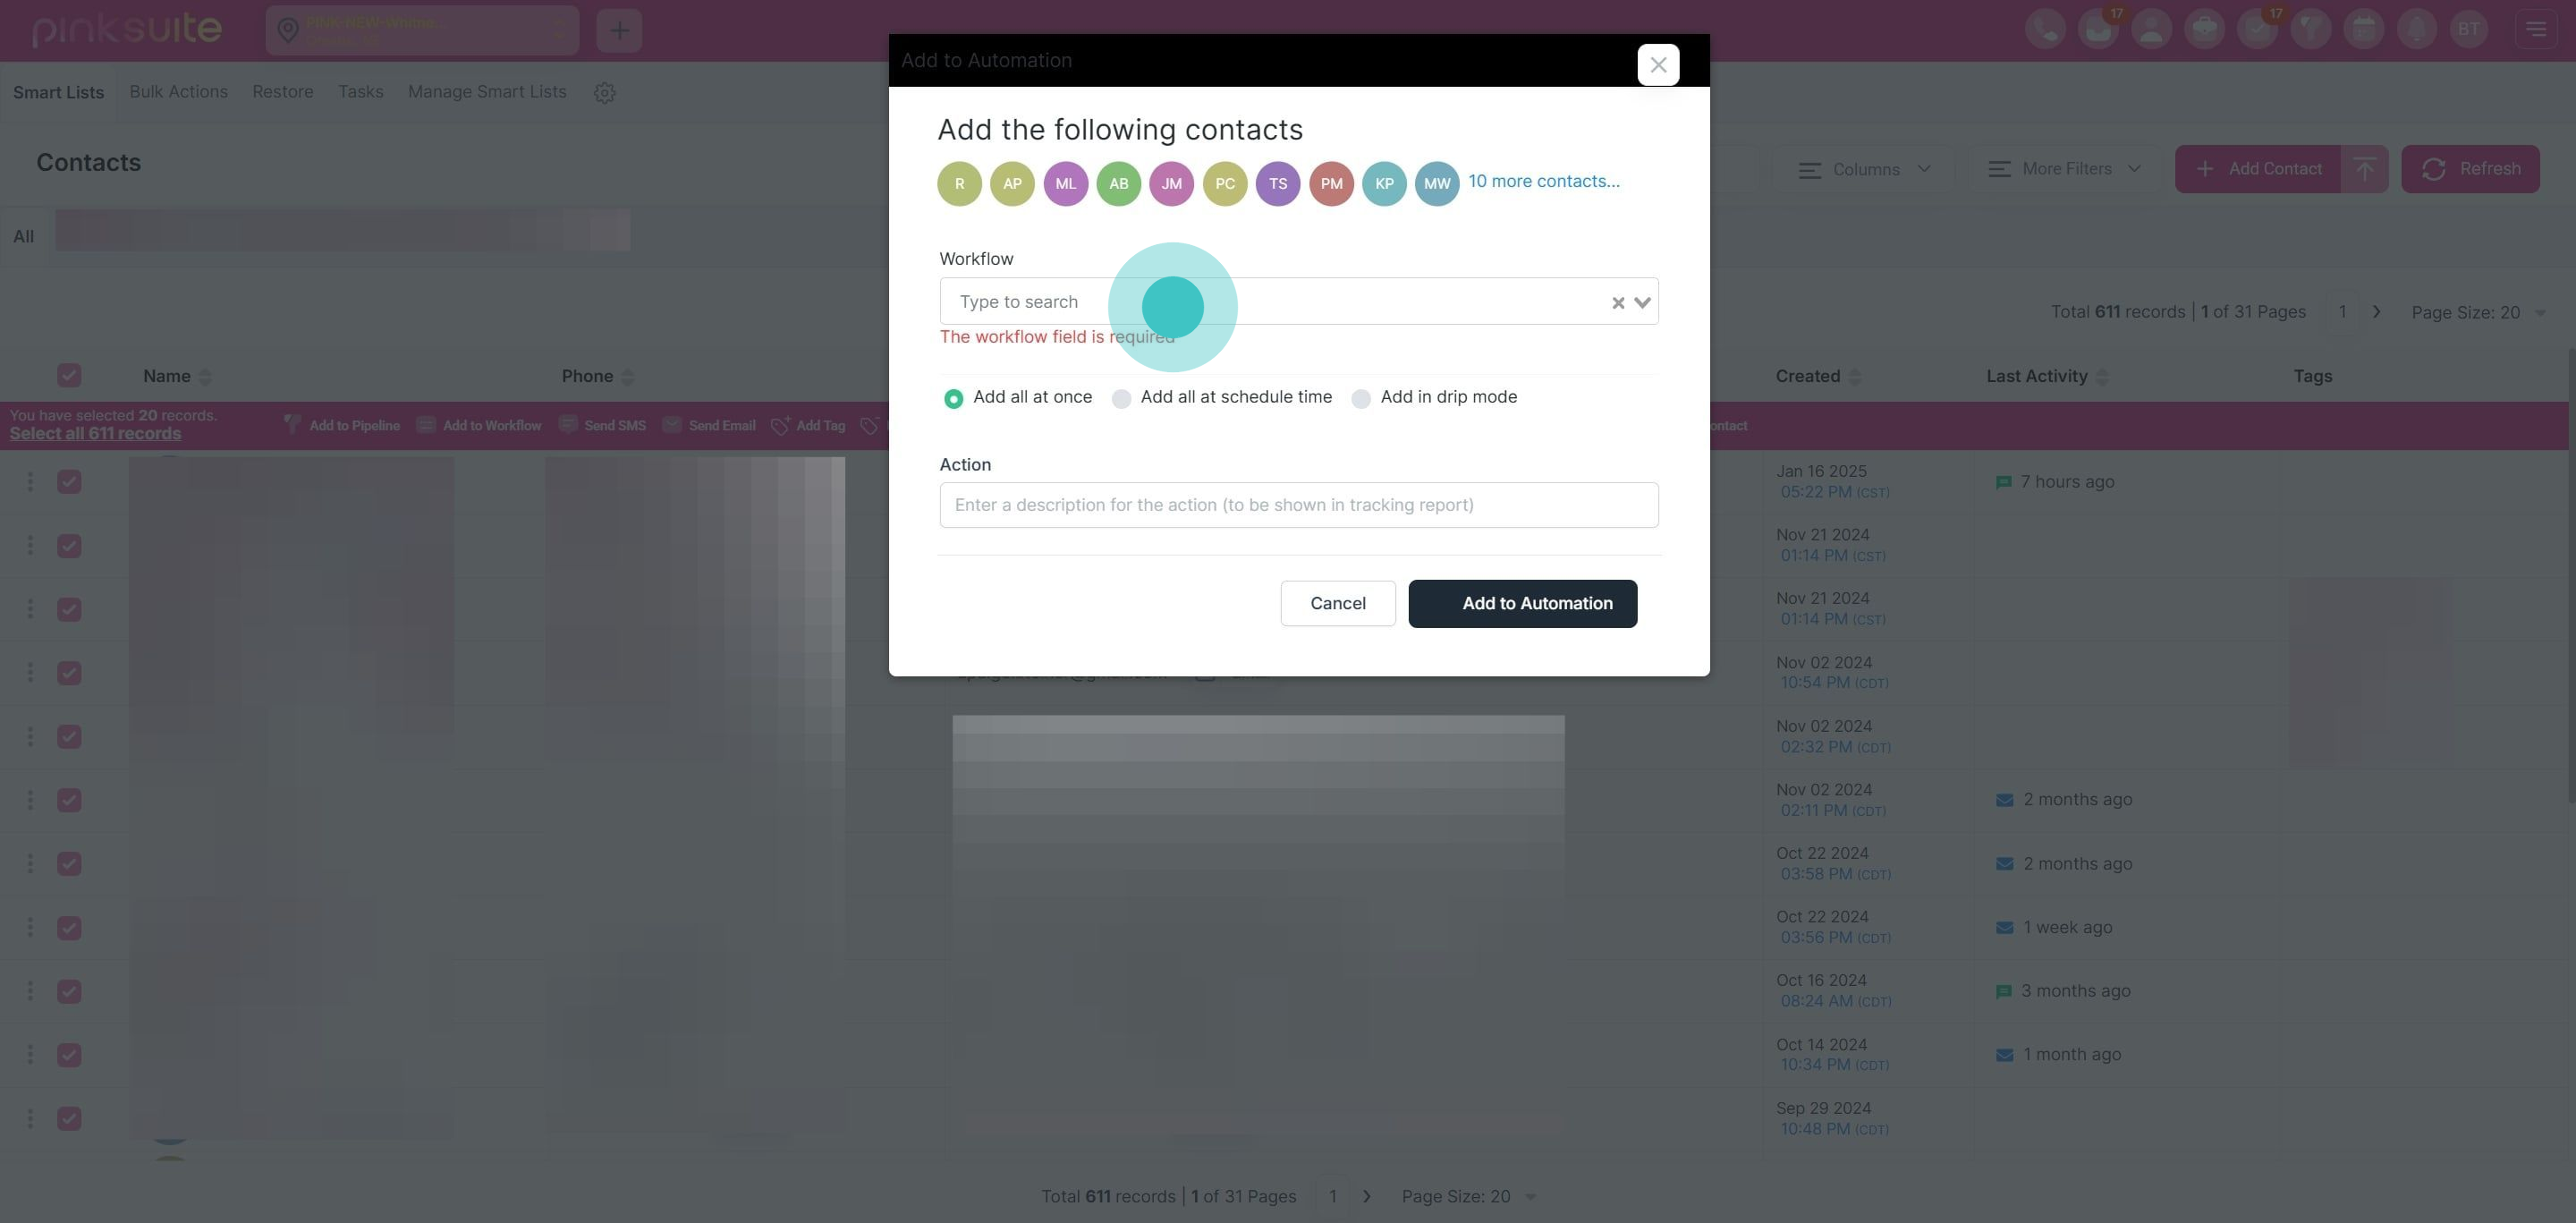
10. Choose a specific workflow type now.
11. Opt for 'Add in drip mode' next.
12. Enter a description for action tracking.
13. Choose the start date for this action.
14. Click 'continue' to proceed to the next step.
15. Enter the batch quantity needed.
16. Specify the repetition frequency.
17. Decide the intervals between repetitions.
18. Set which days to add contacts to the workflow.
19. Choose the start time for the drip mode.
20. Set the end time for the drip mode.
21. Finish by clicking 'Add to Automation.'
Did this answer your question?
😞
😐
😁
Adding Contacts to a Workflow in Drip Mode | Pink Suite