Help center
Scheduling Instagram Reels with Social Planner | Pink Suite
All collections
Social Media
Social Scheduler
Scheduling Instagram Reels with Social Planner
Scheduling Instagram Reels with Social Planner
Discover how to schedule Instagram Reels effortlessly using the Social Planner to stay consistent and boost engagement.
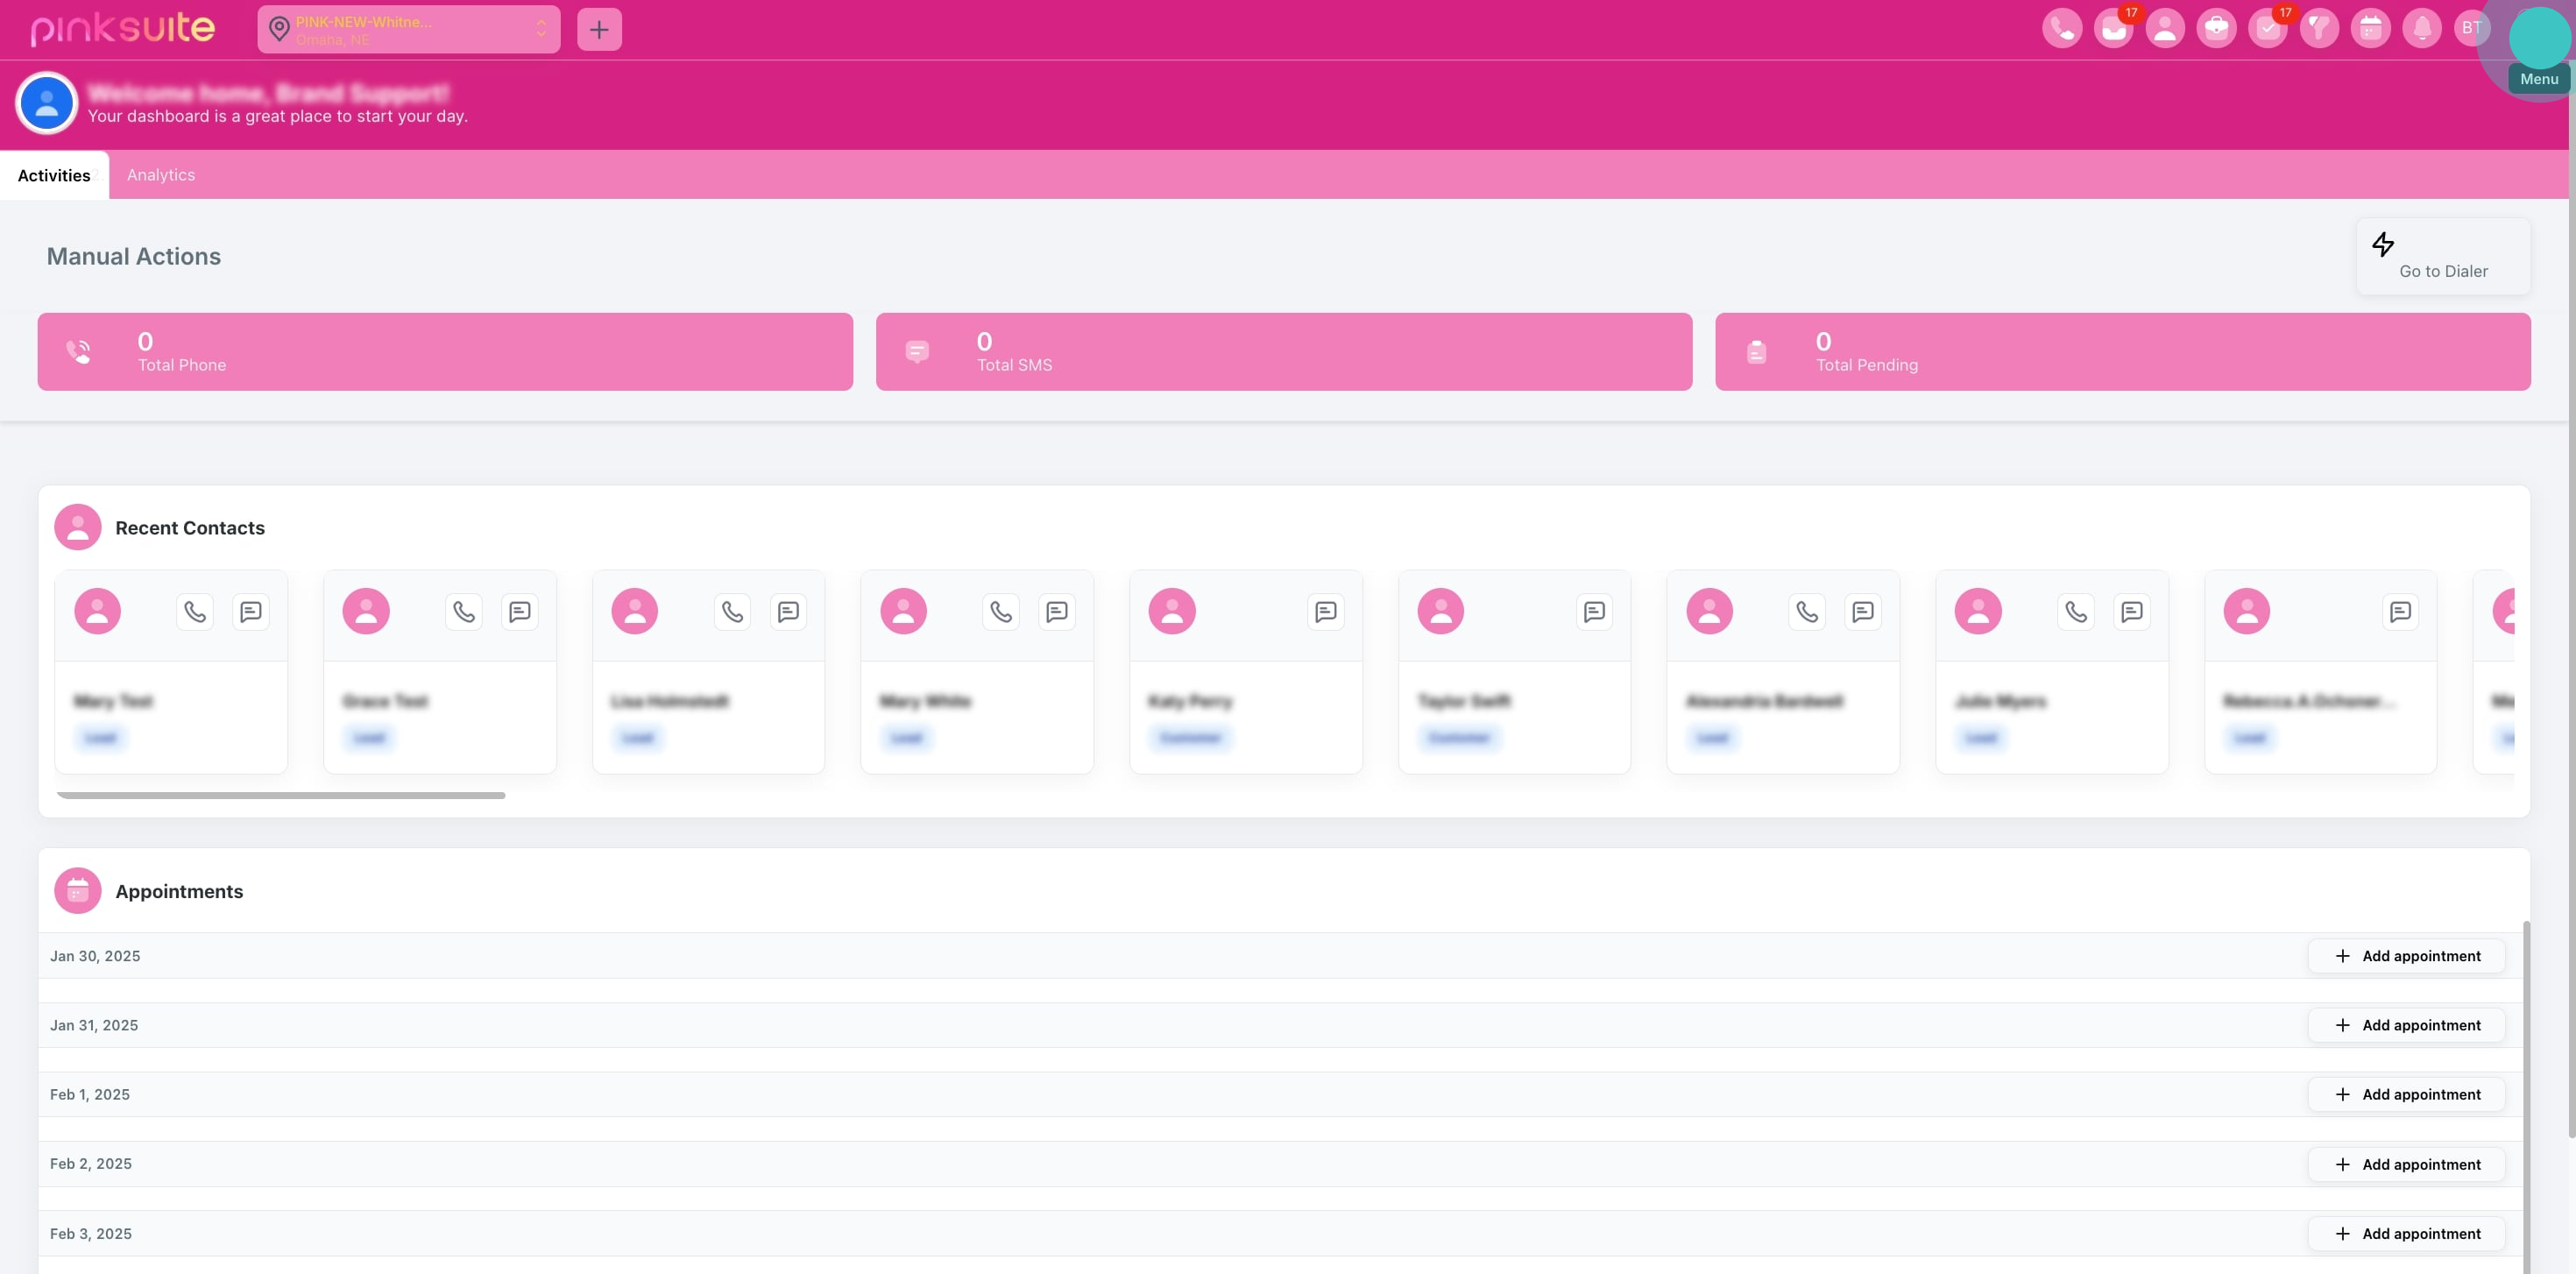
1. Click 'Menu' to begin exploring your options.
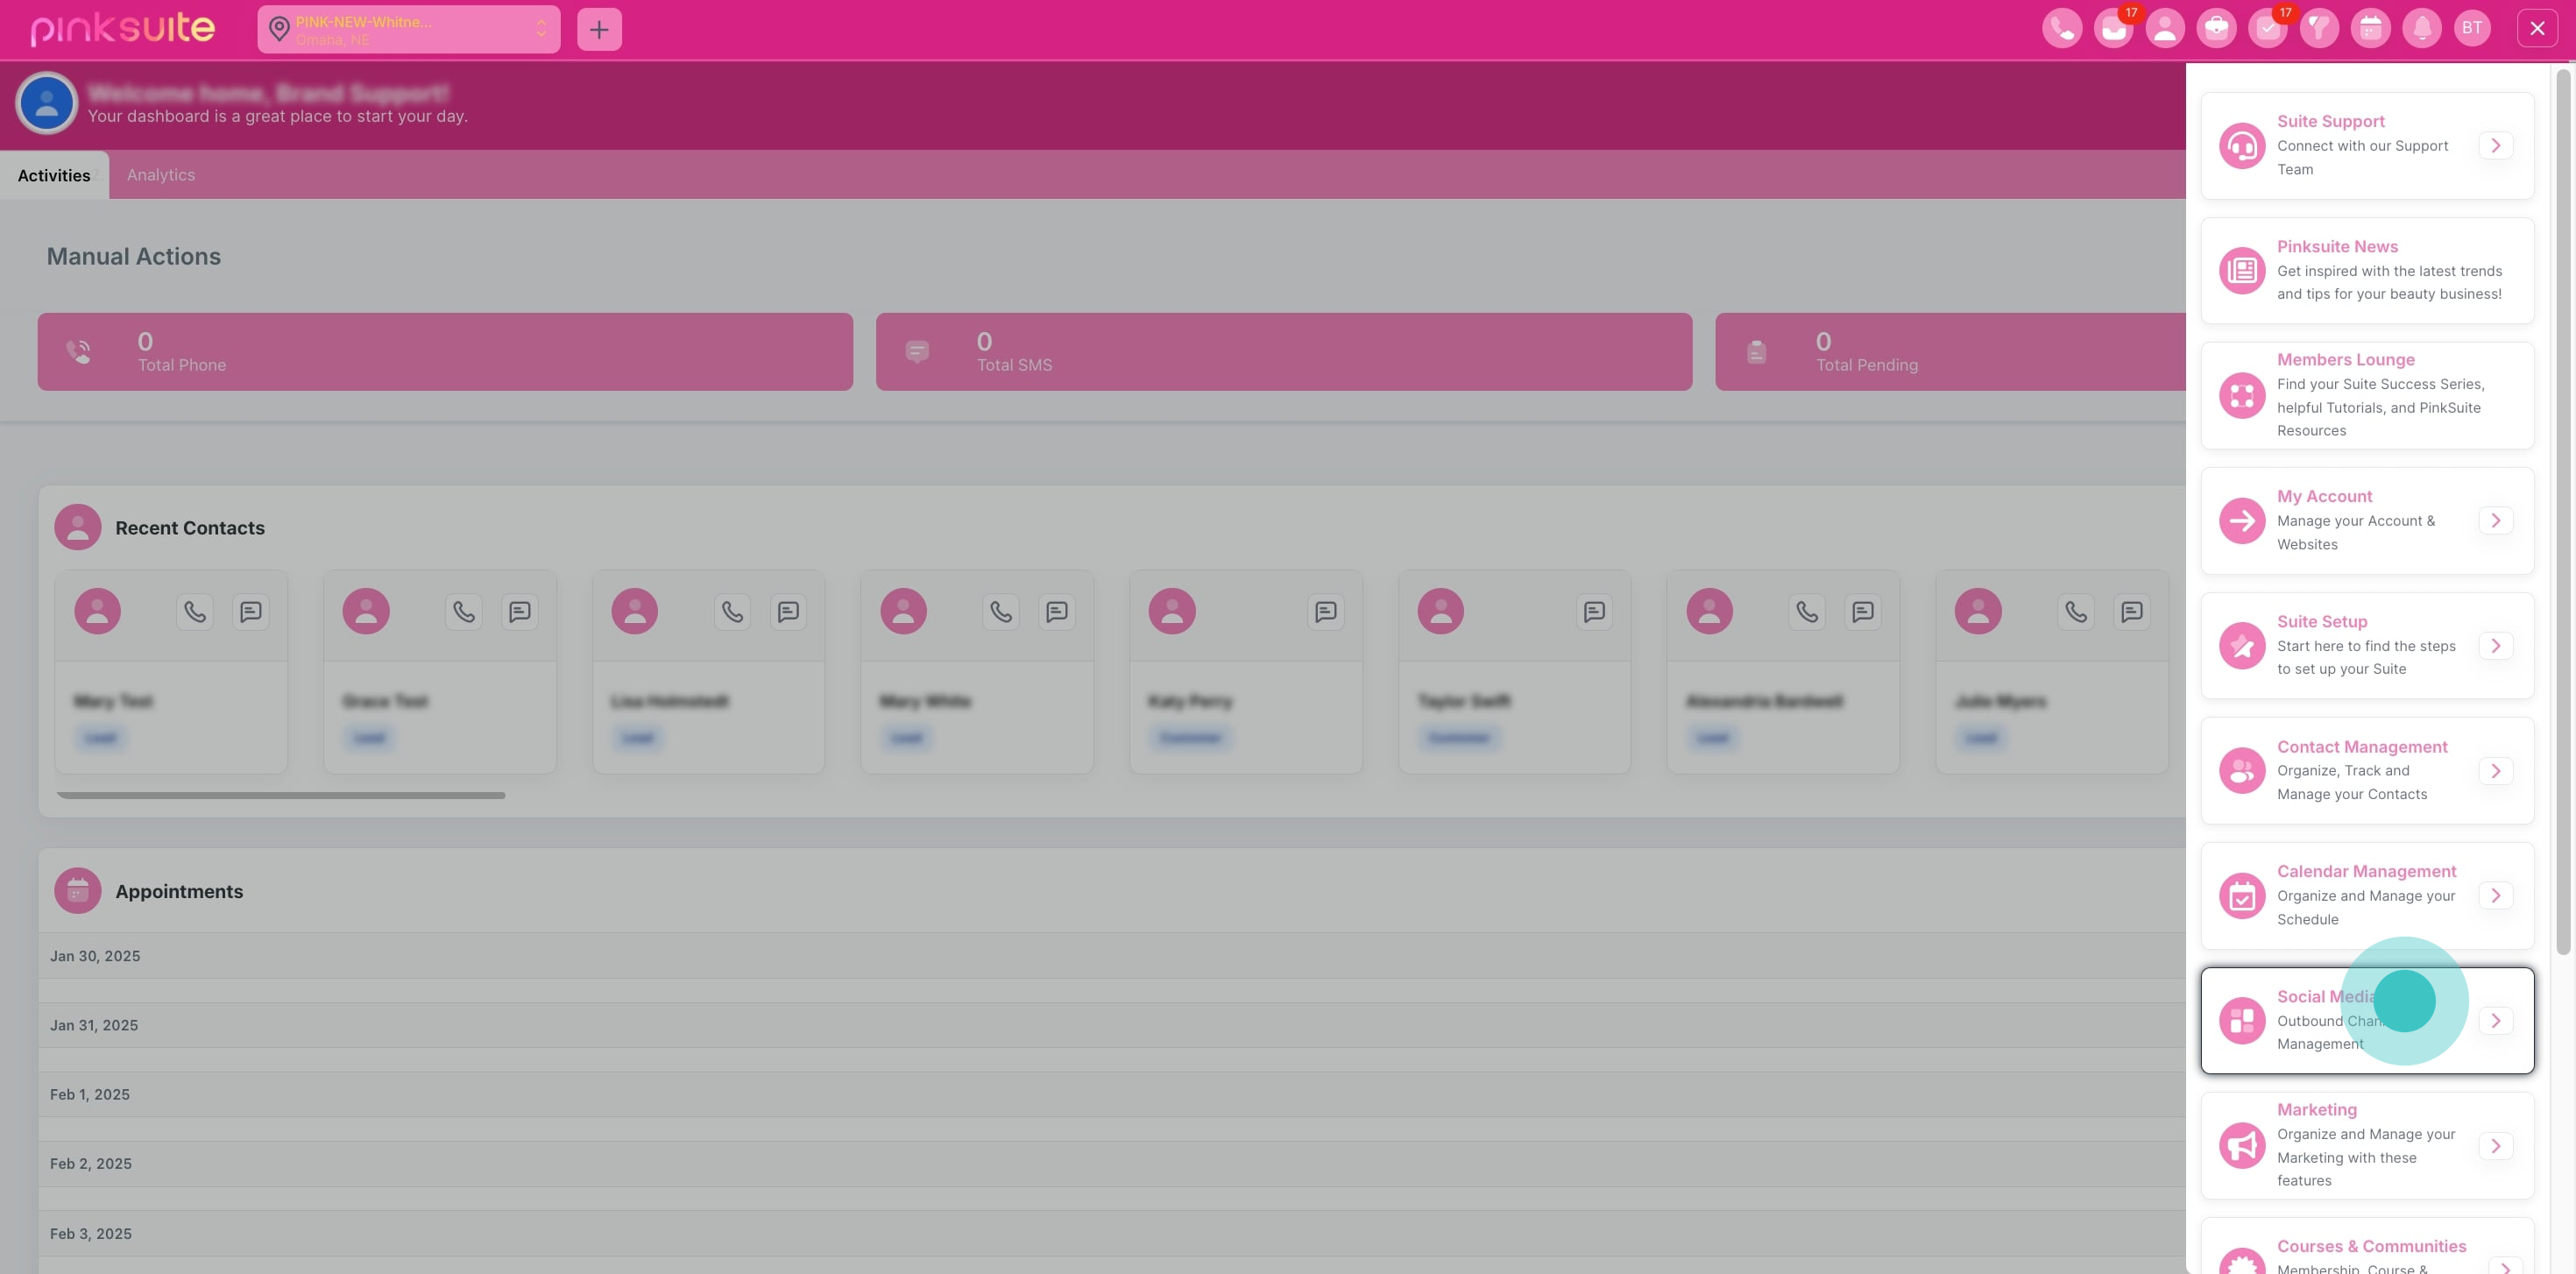
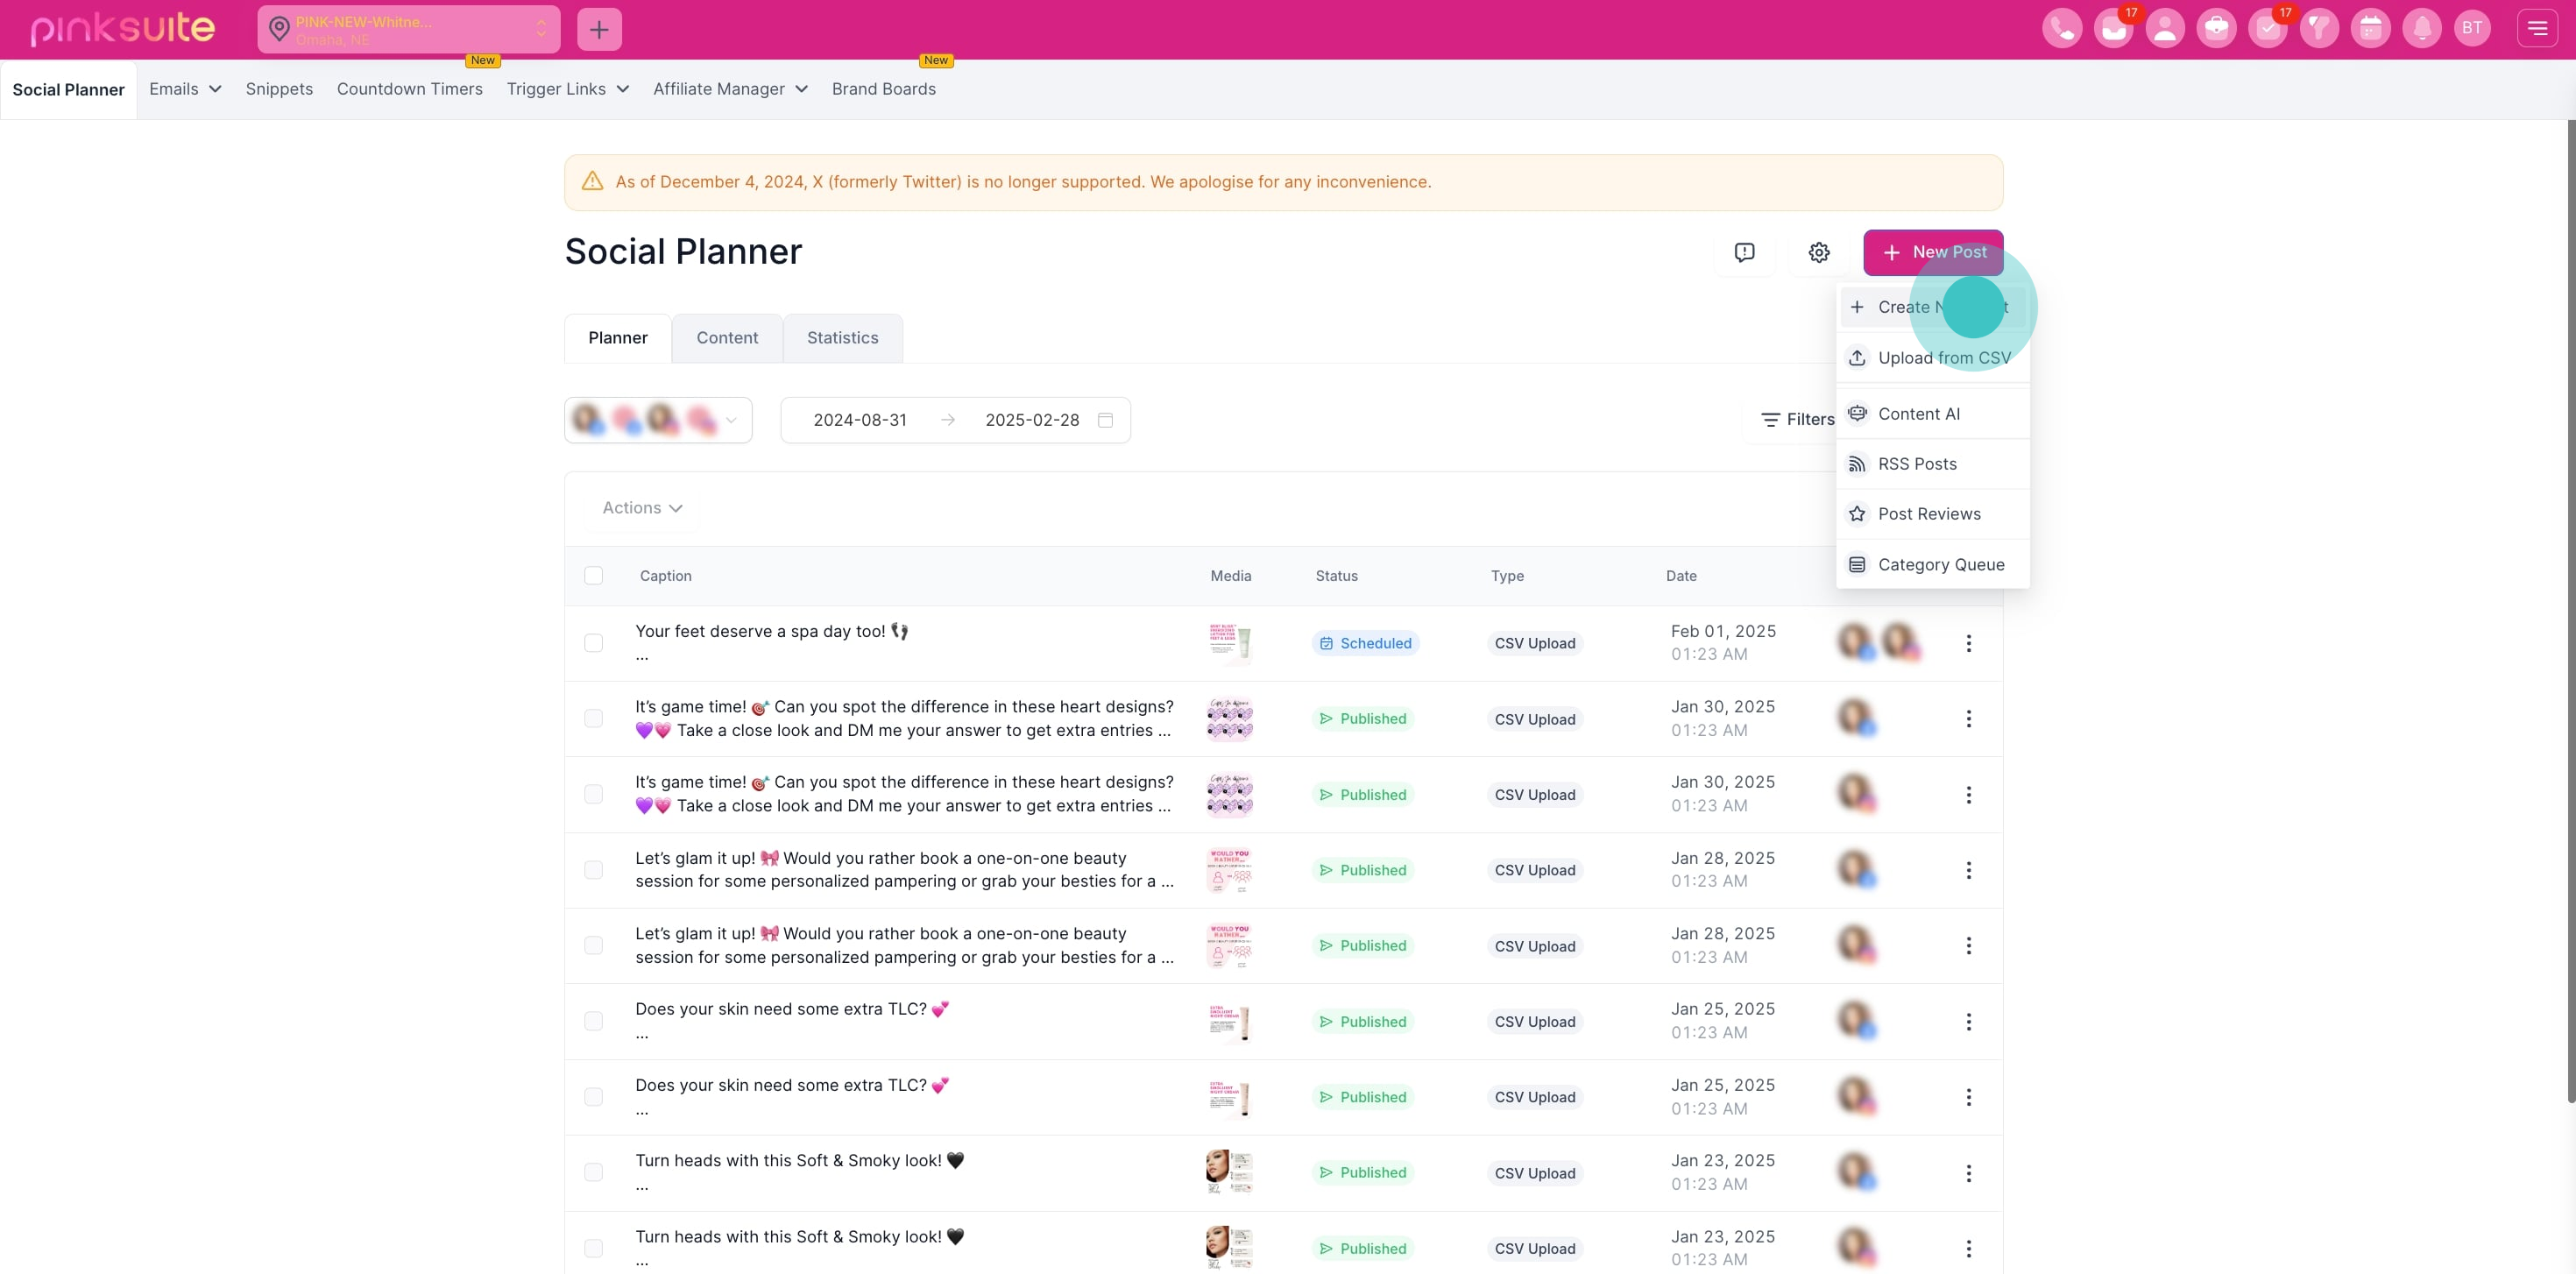
2. Now, choose the 'Social Media' option.
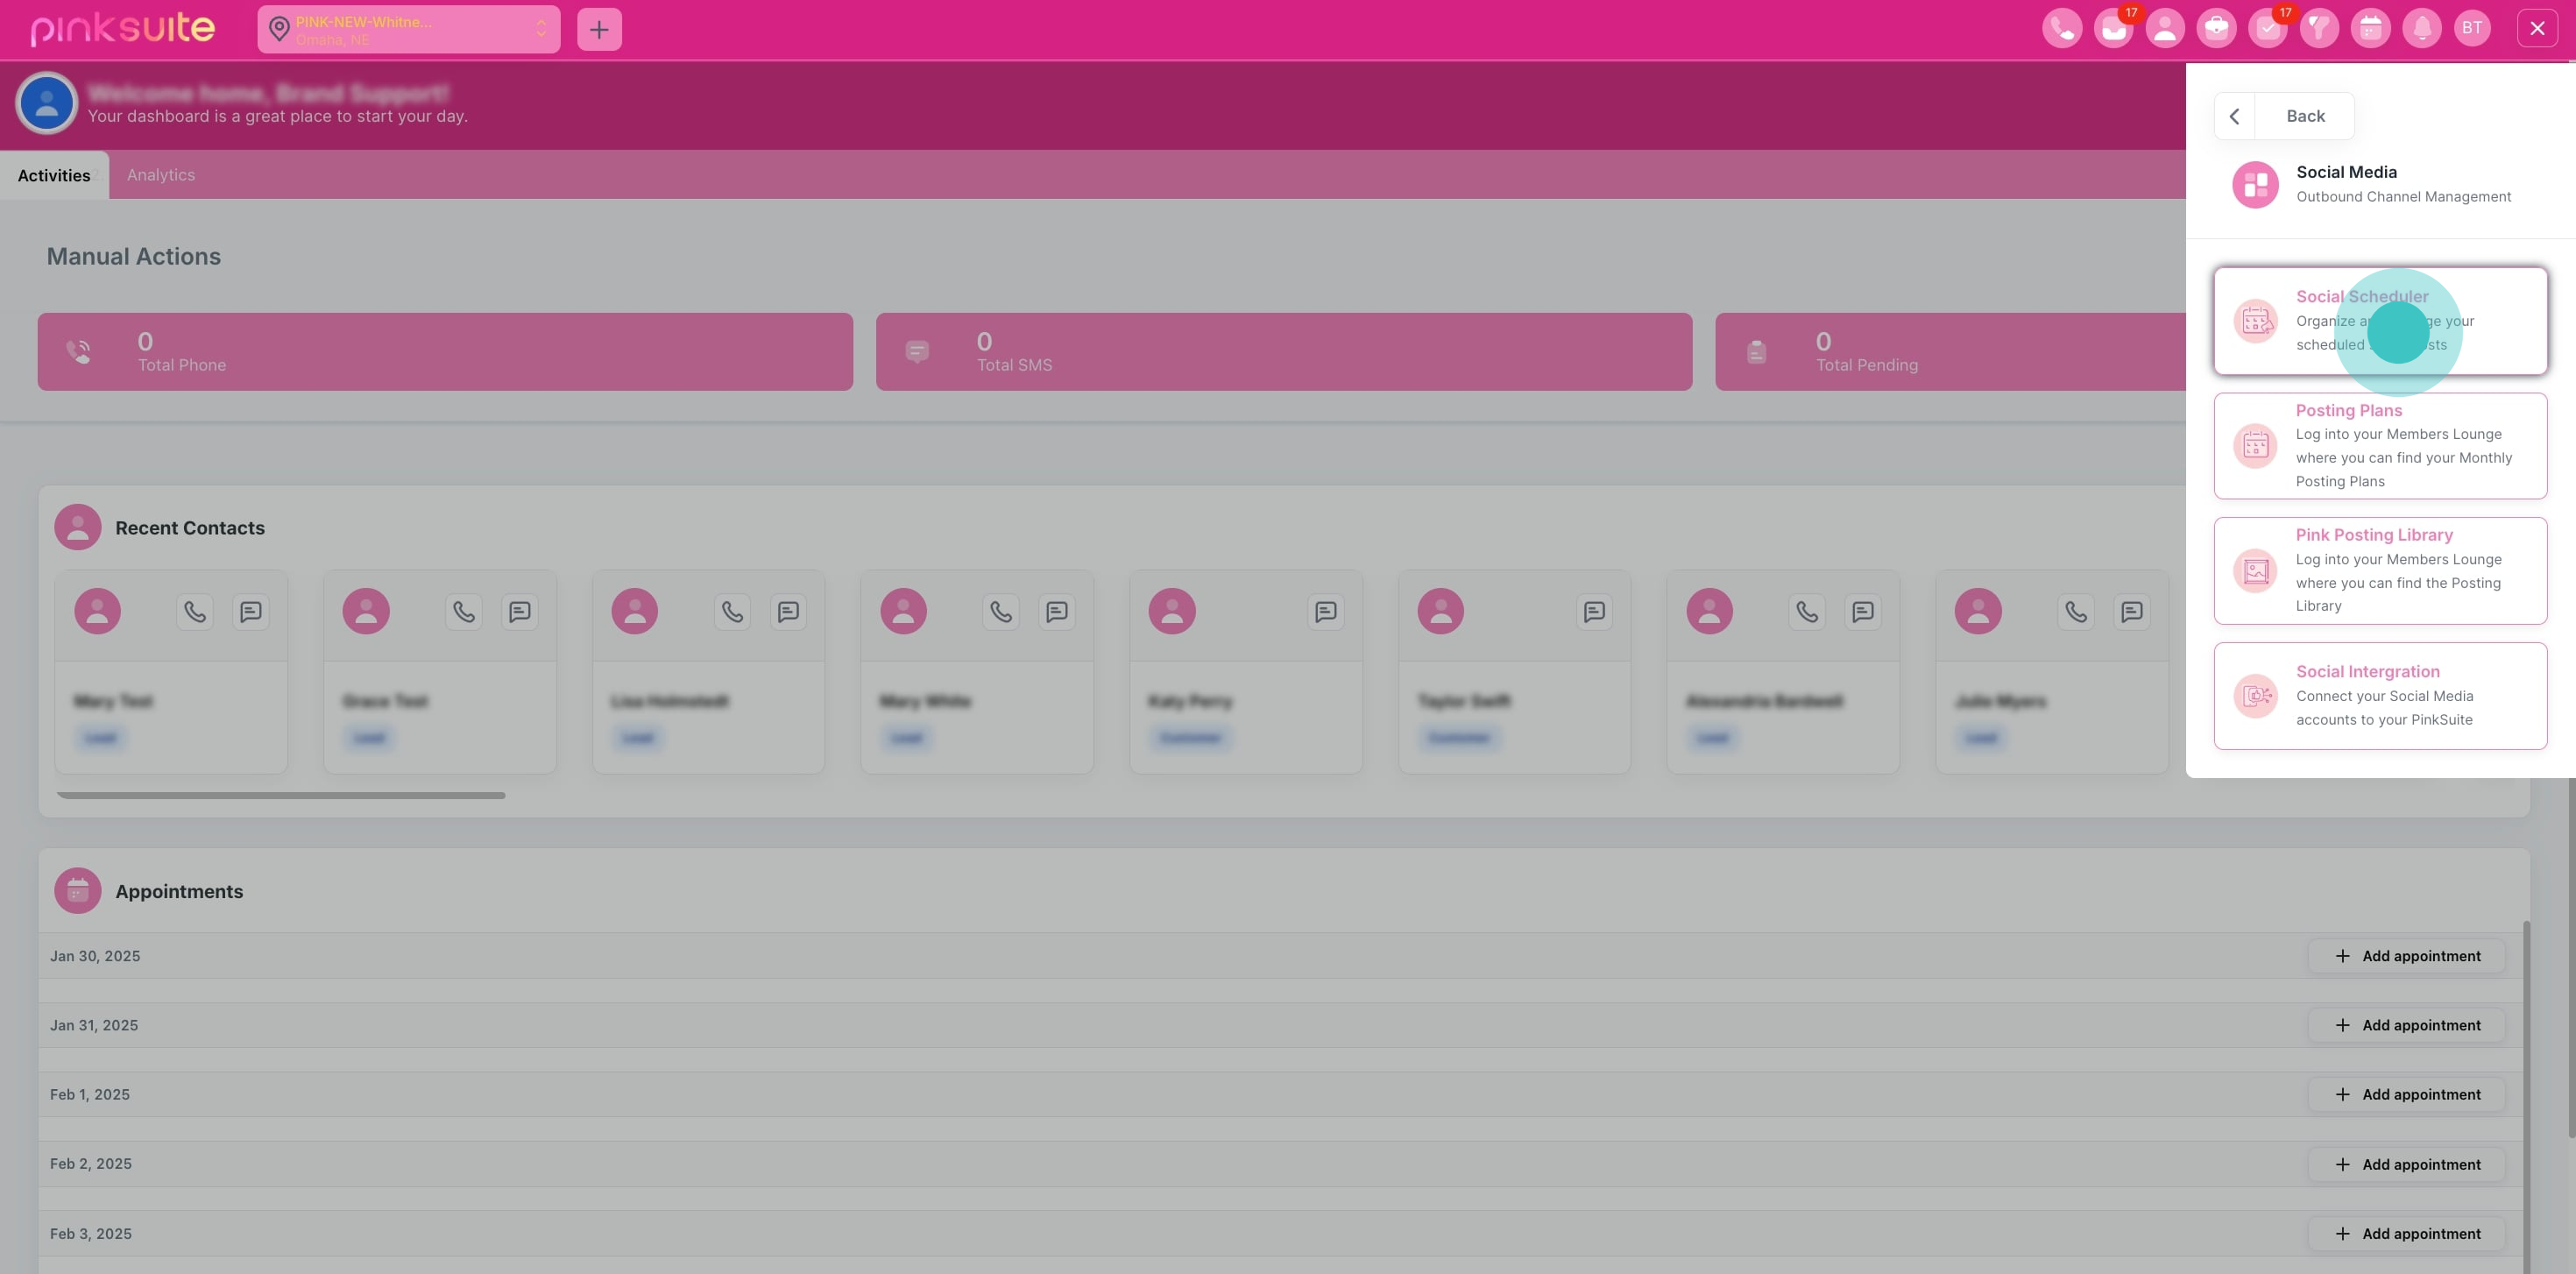
3. Next, select 'Social Scheduler' to organize posts.
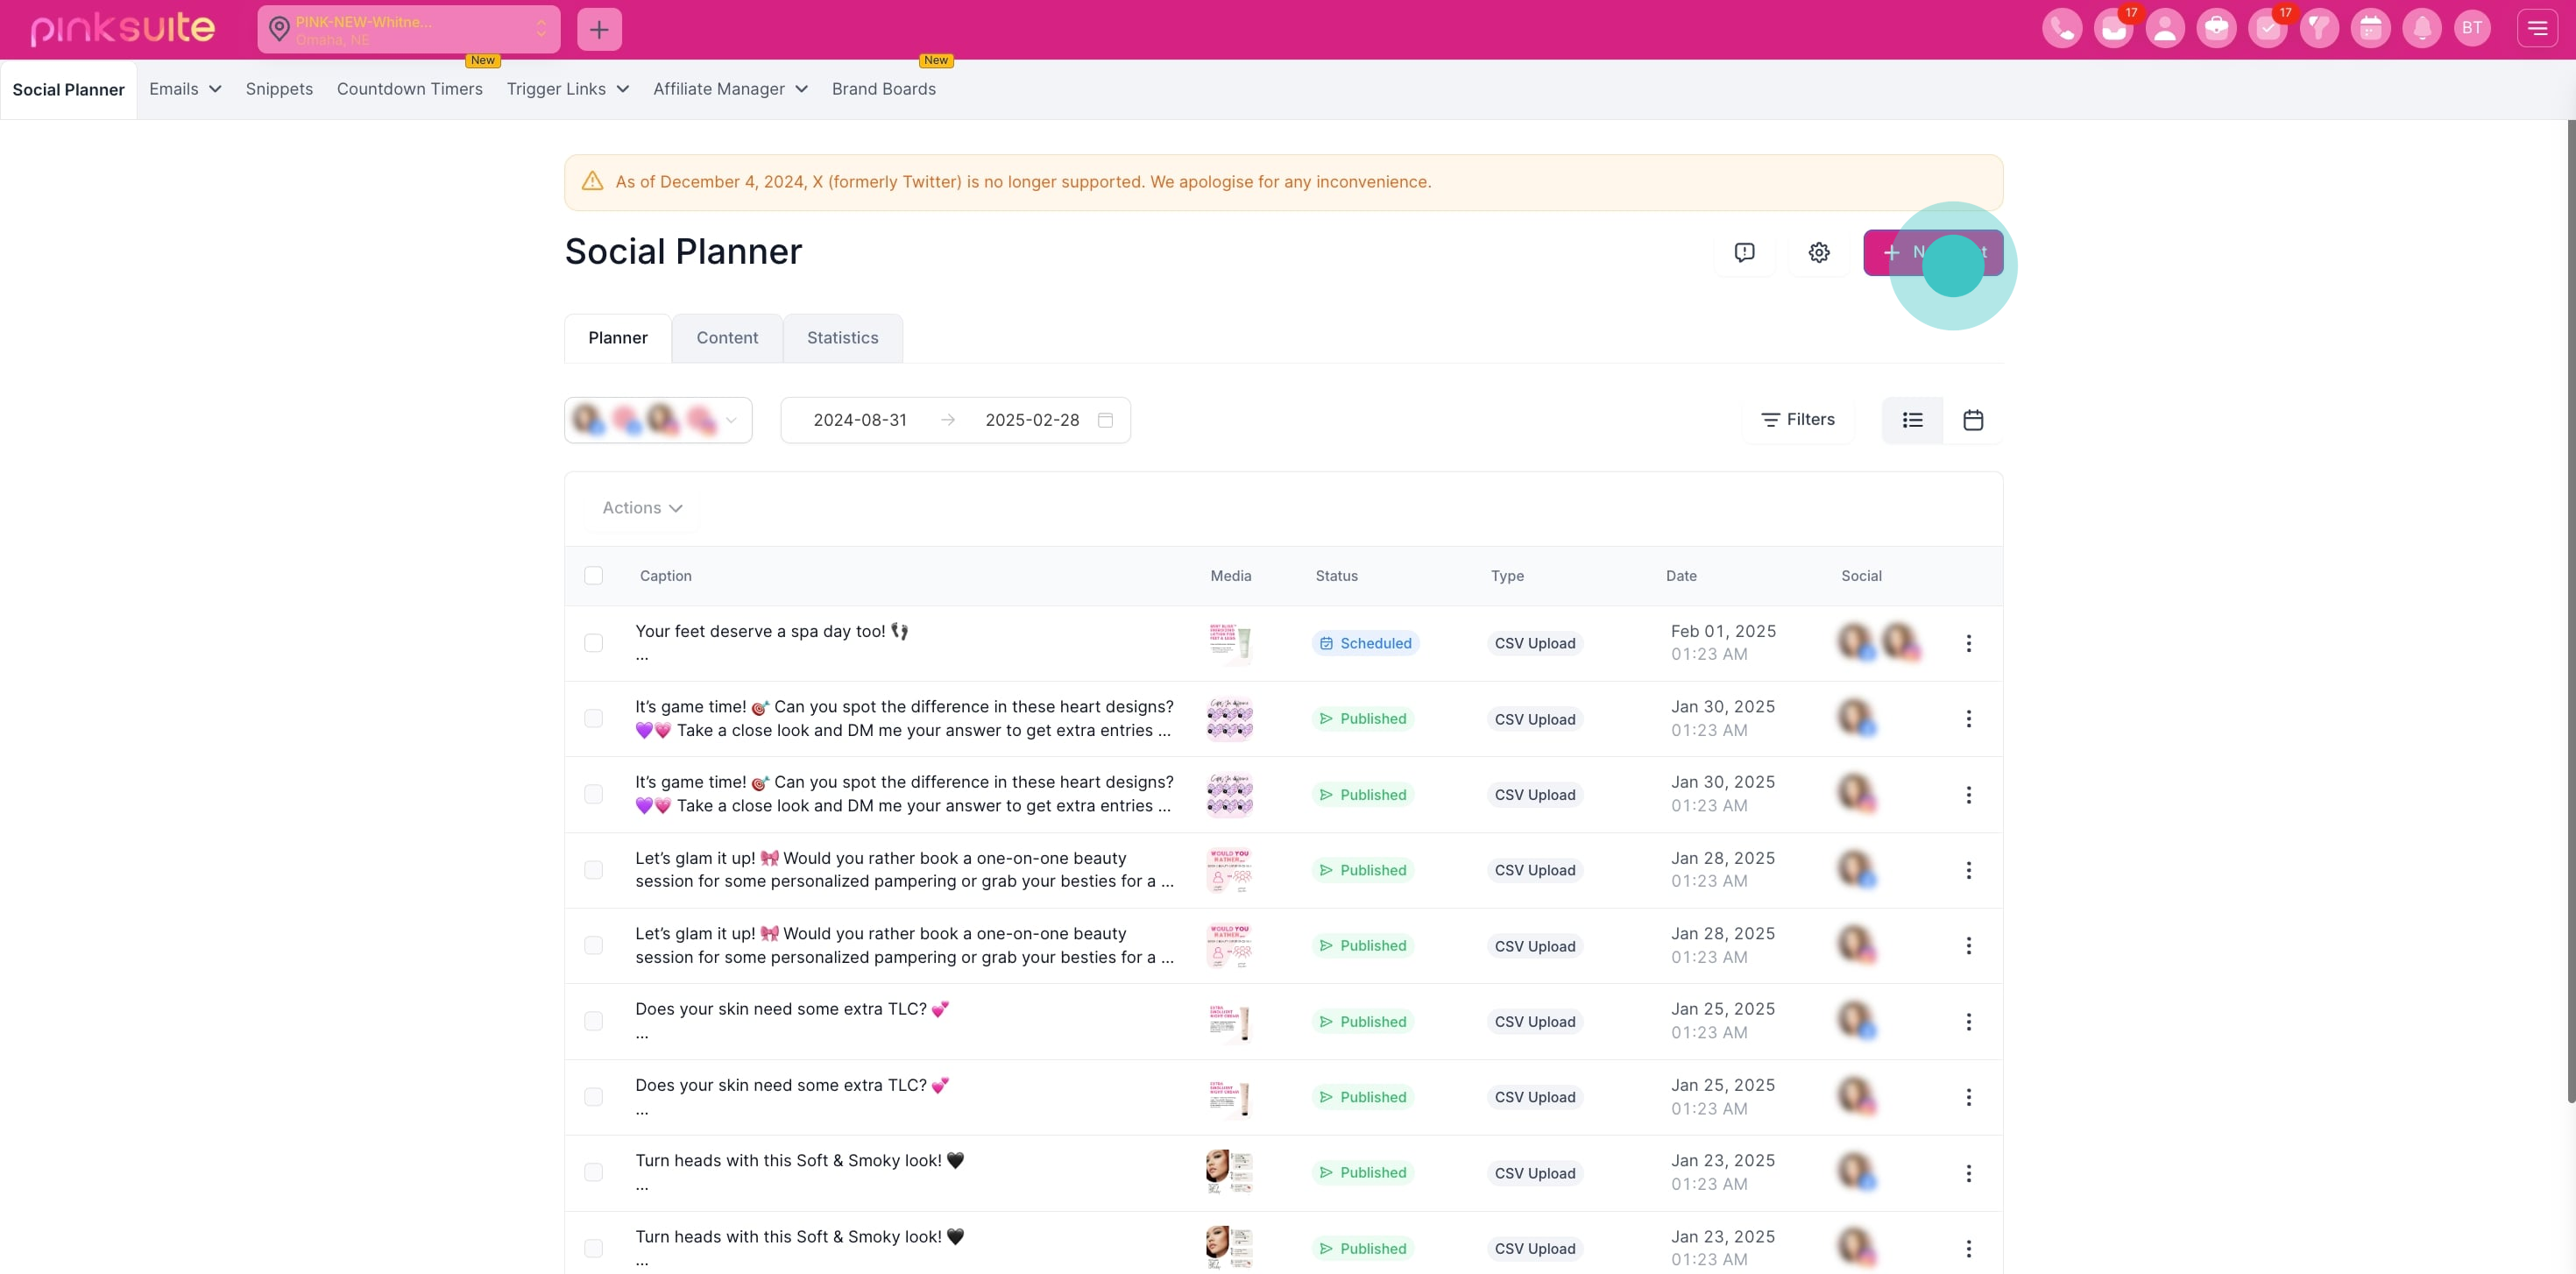
4. Then, click 'New Post' to start creating.
5. Continue by selecting 'Create New Post.'
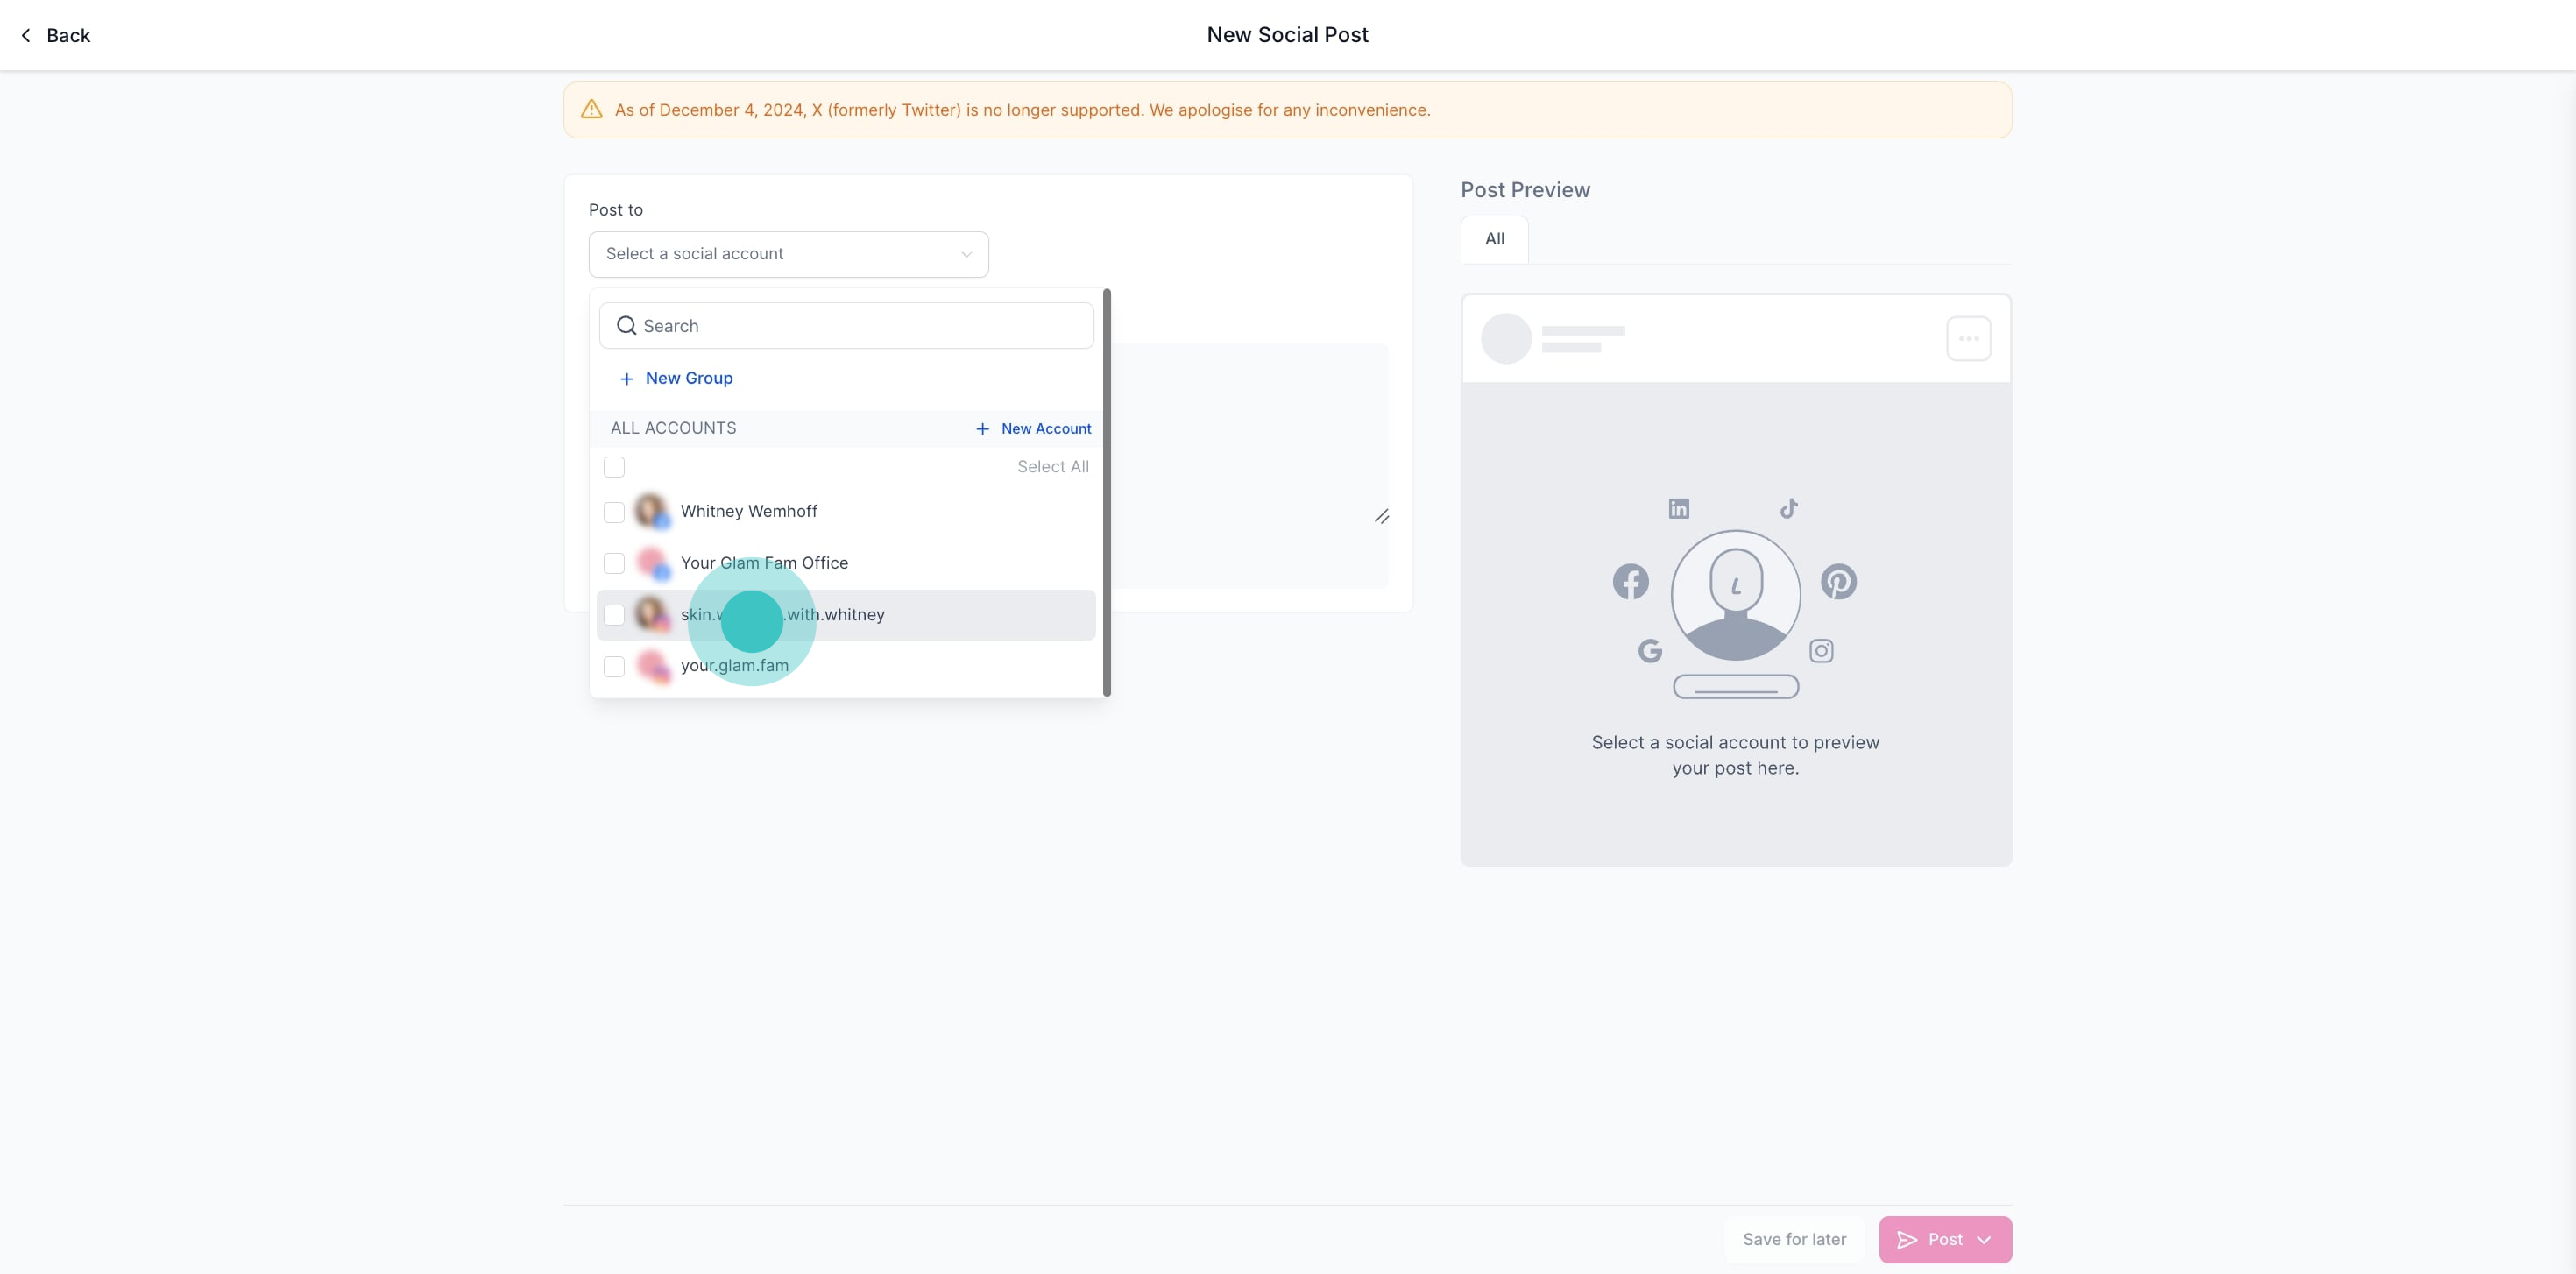
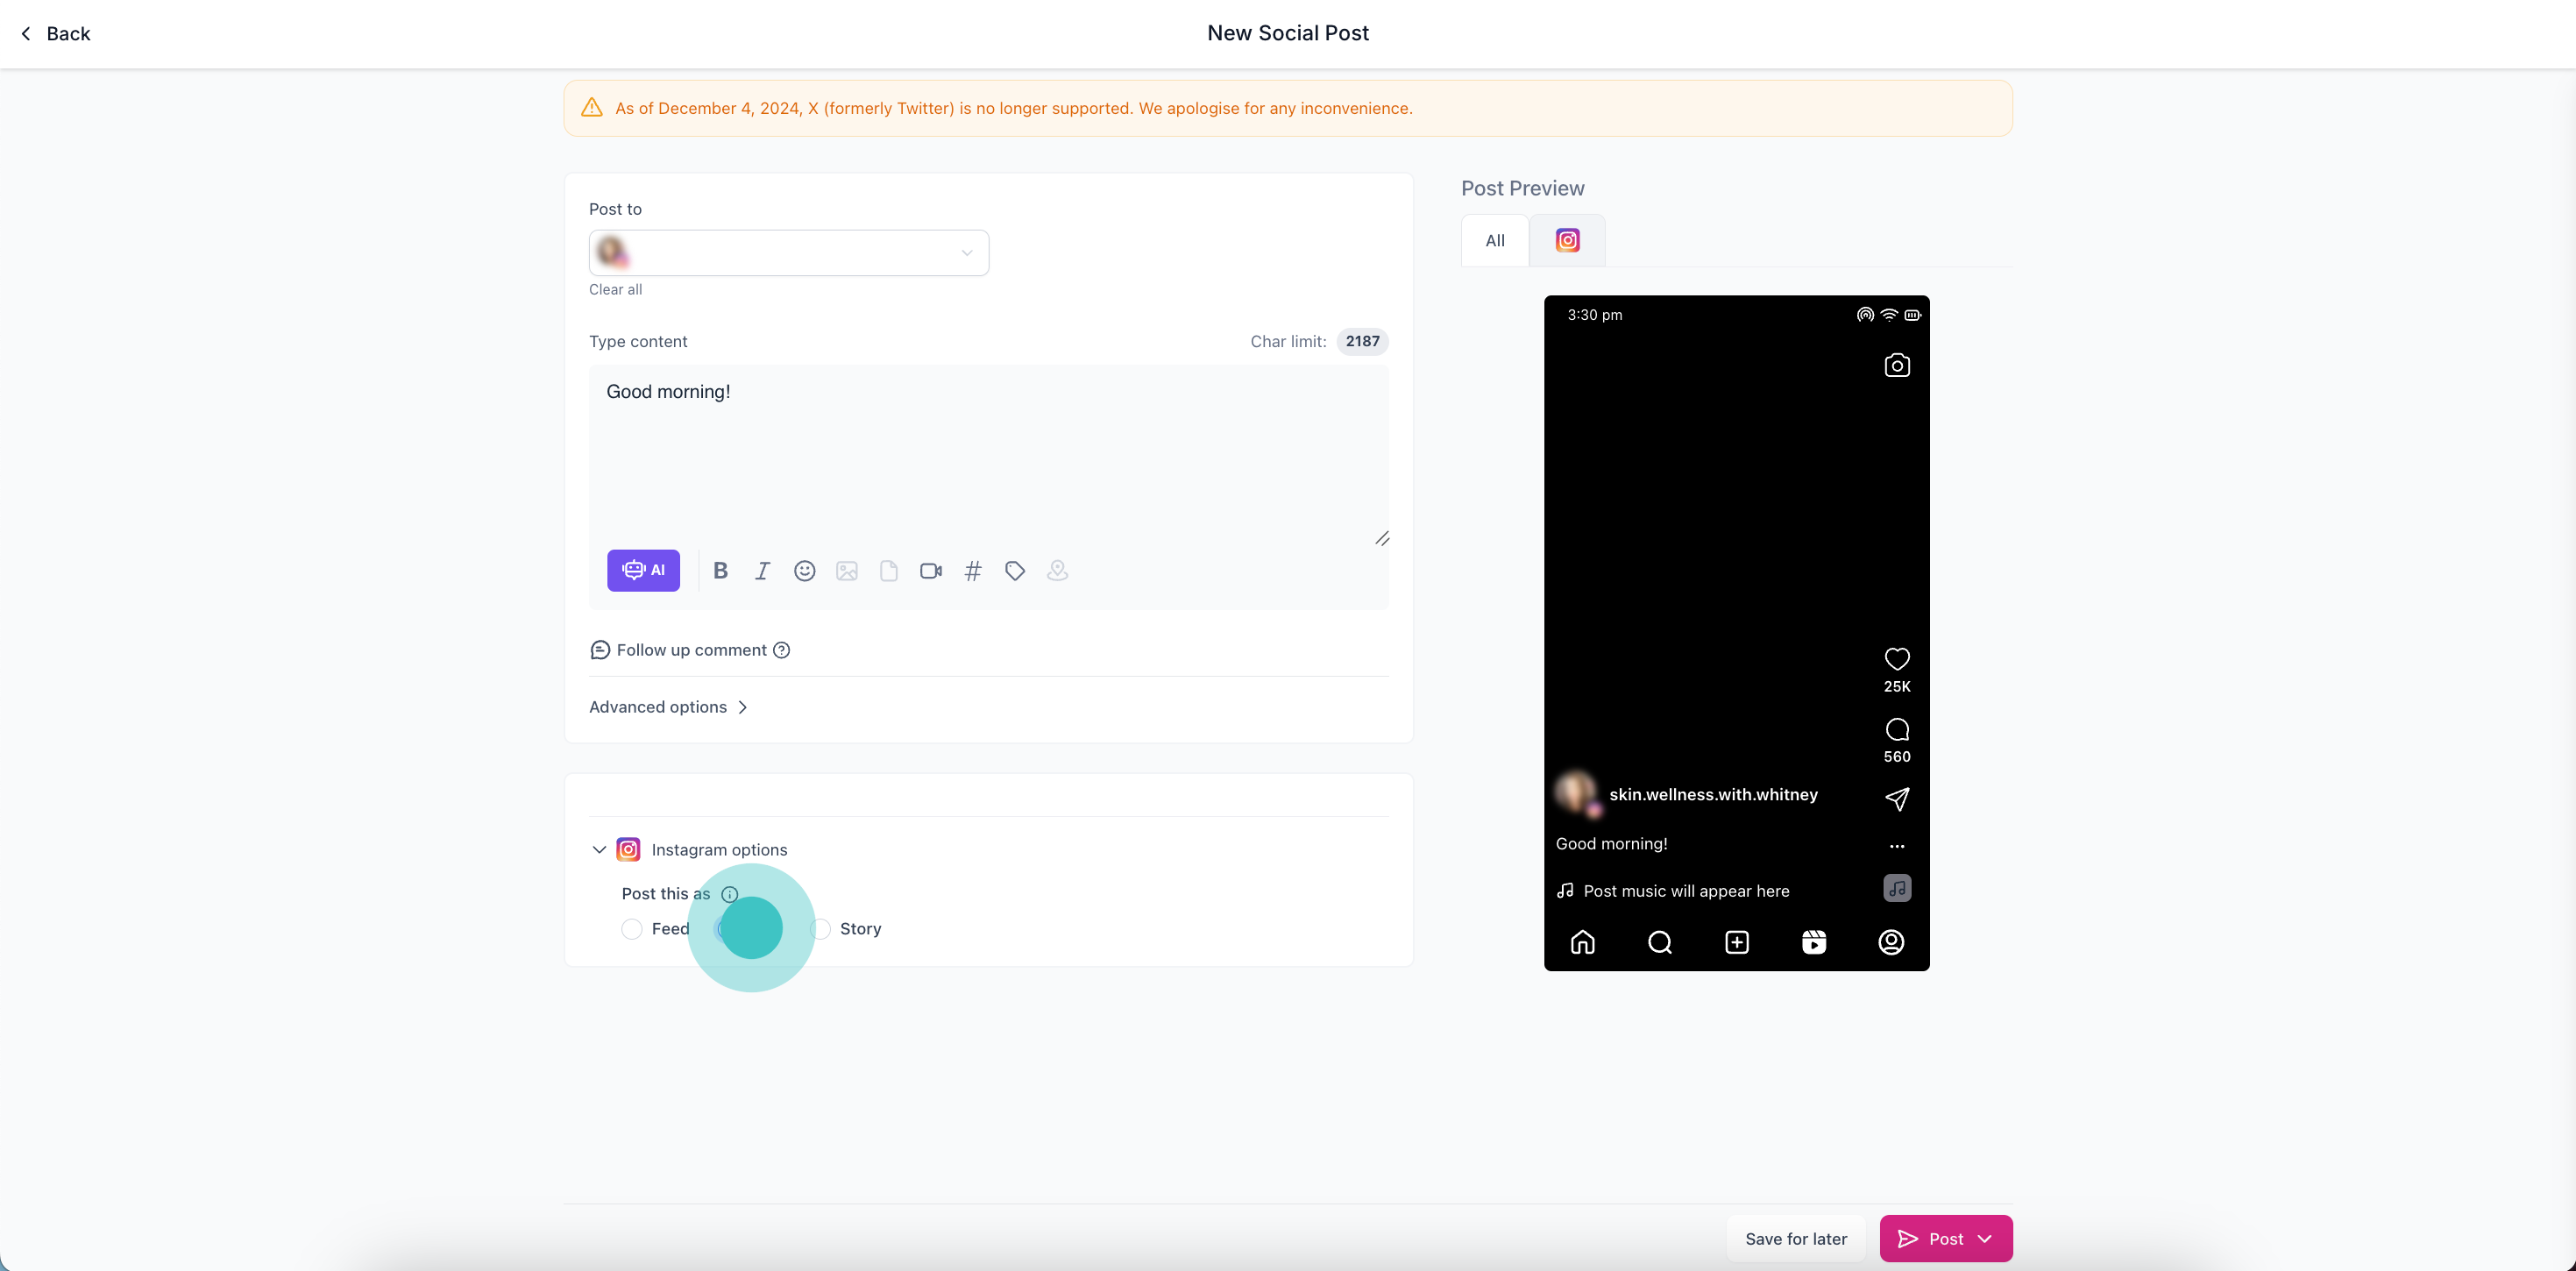
6. Afterwards, pick the appropriate Instagram account.
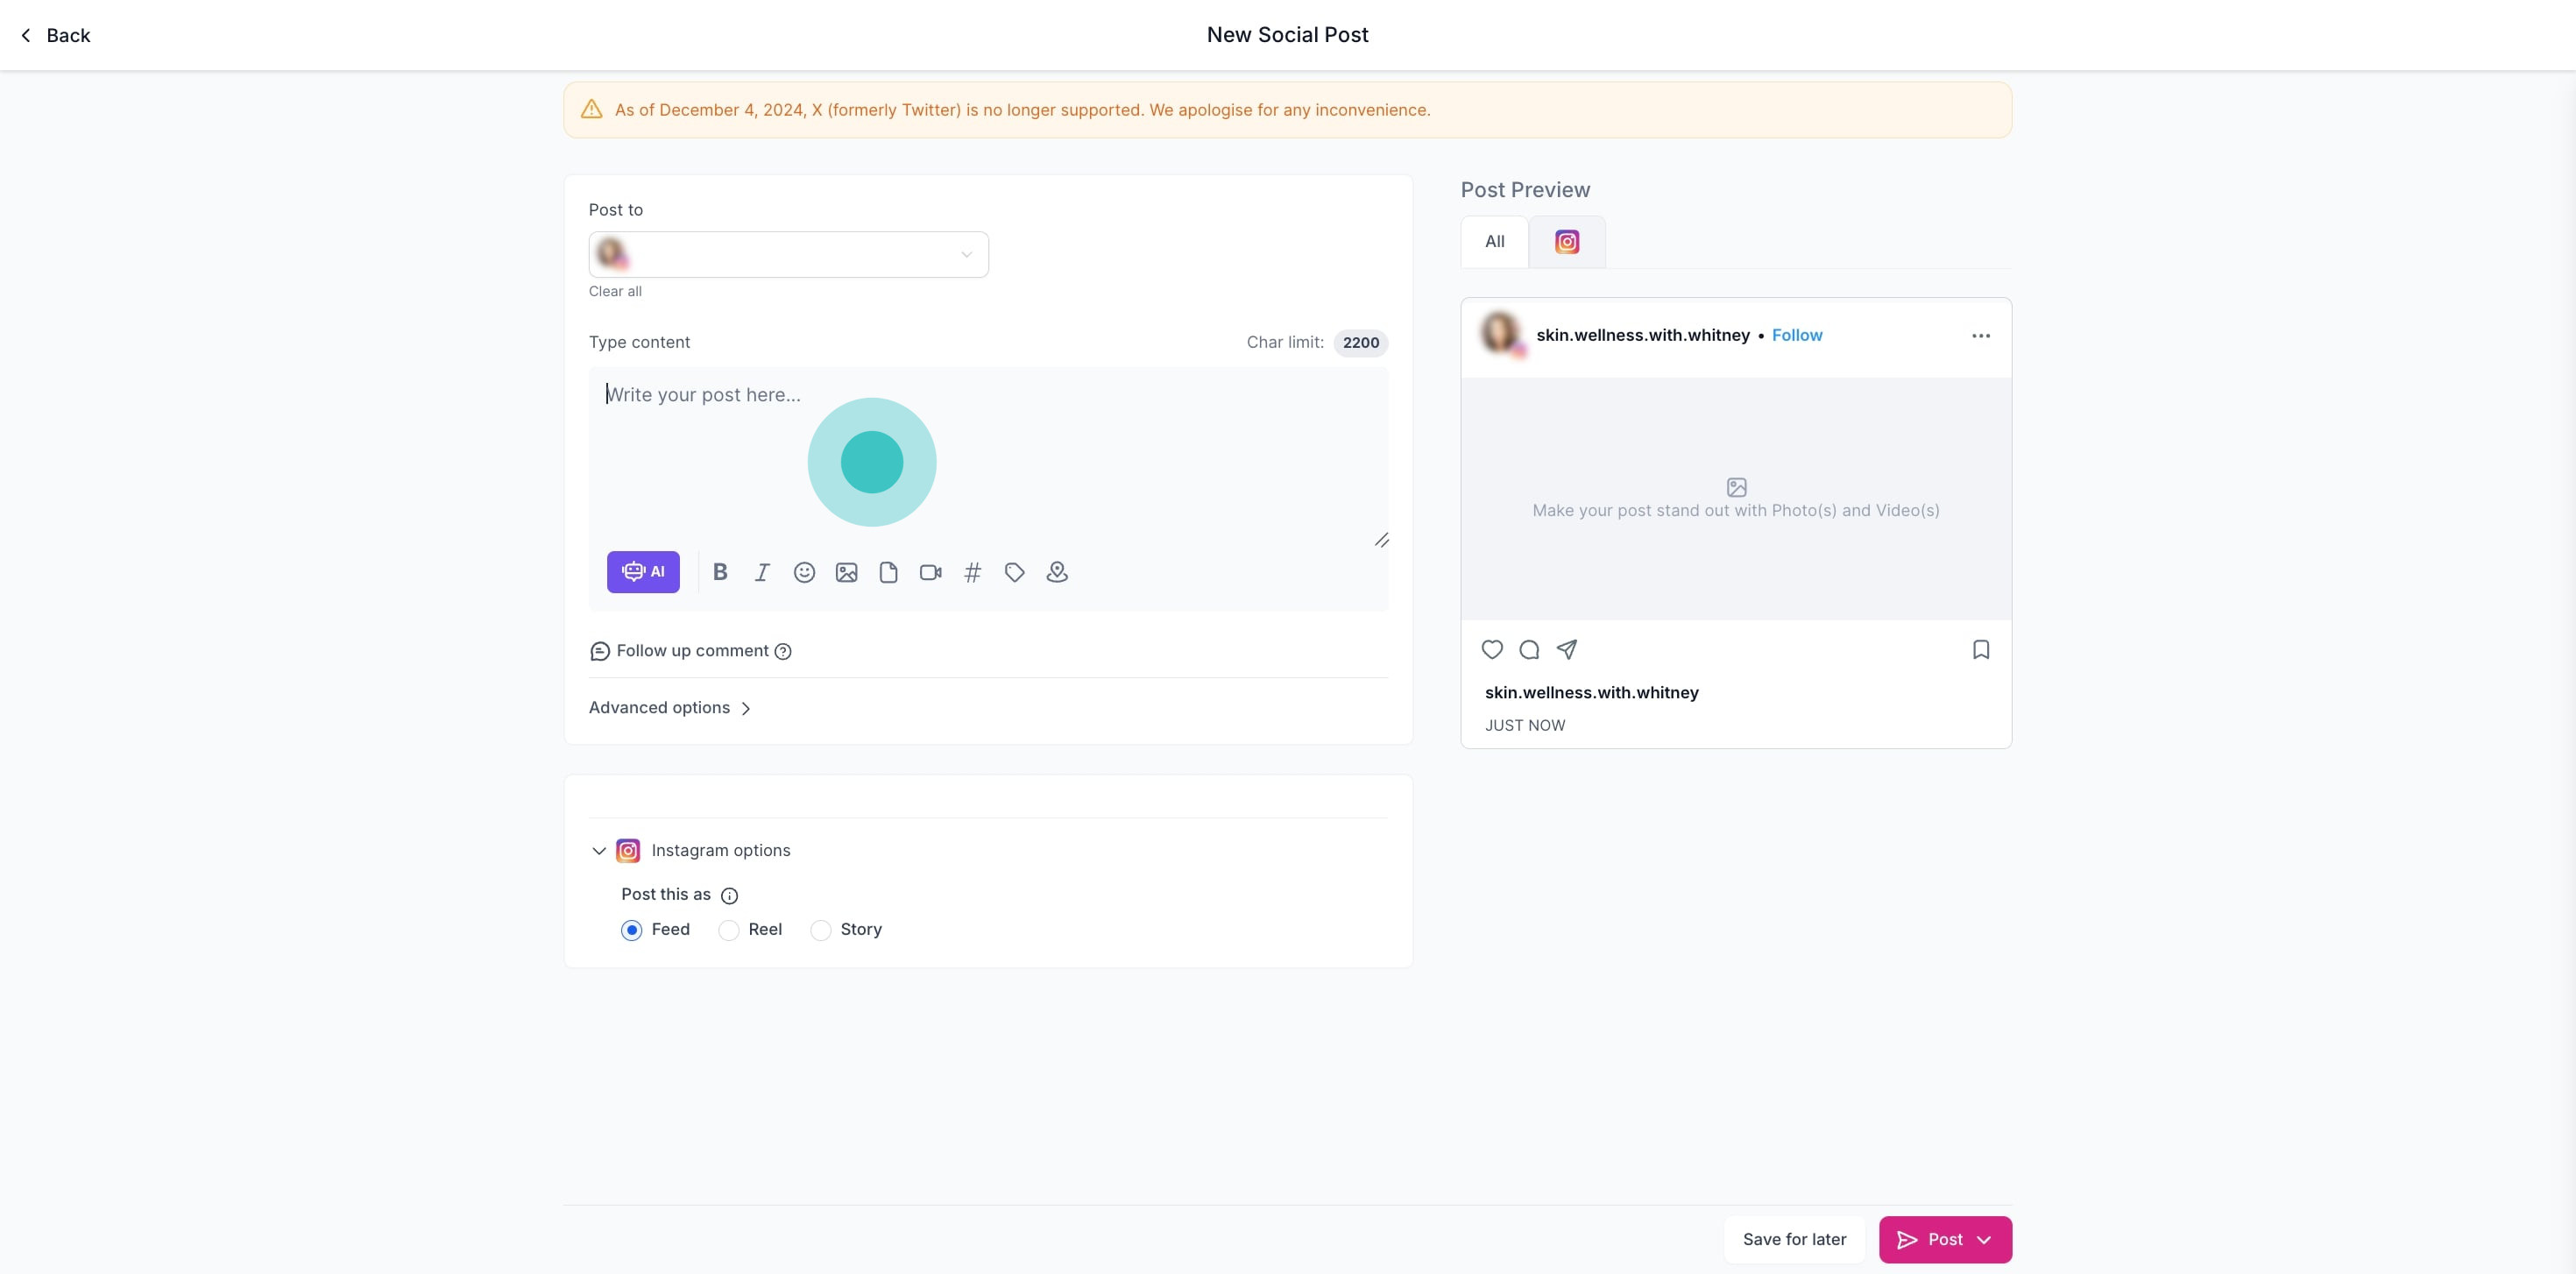
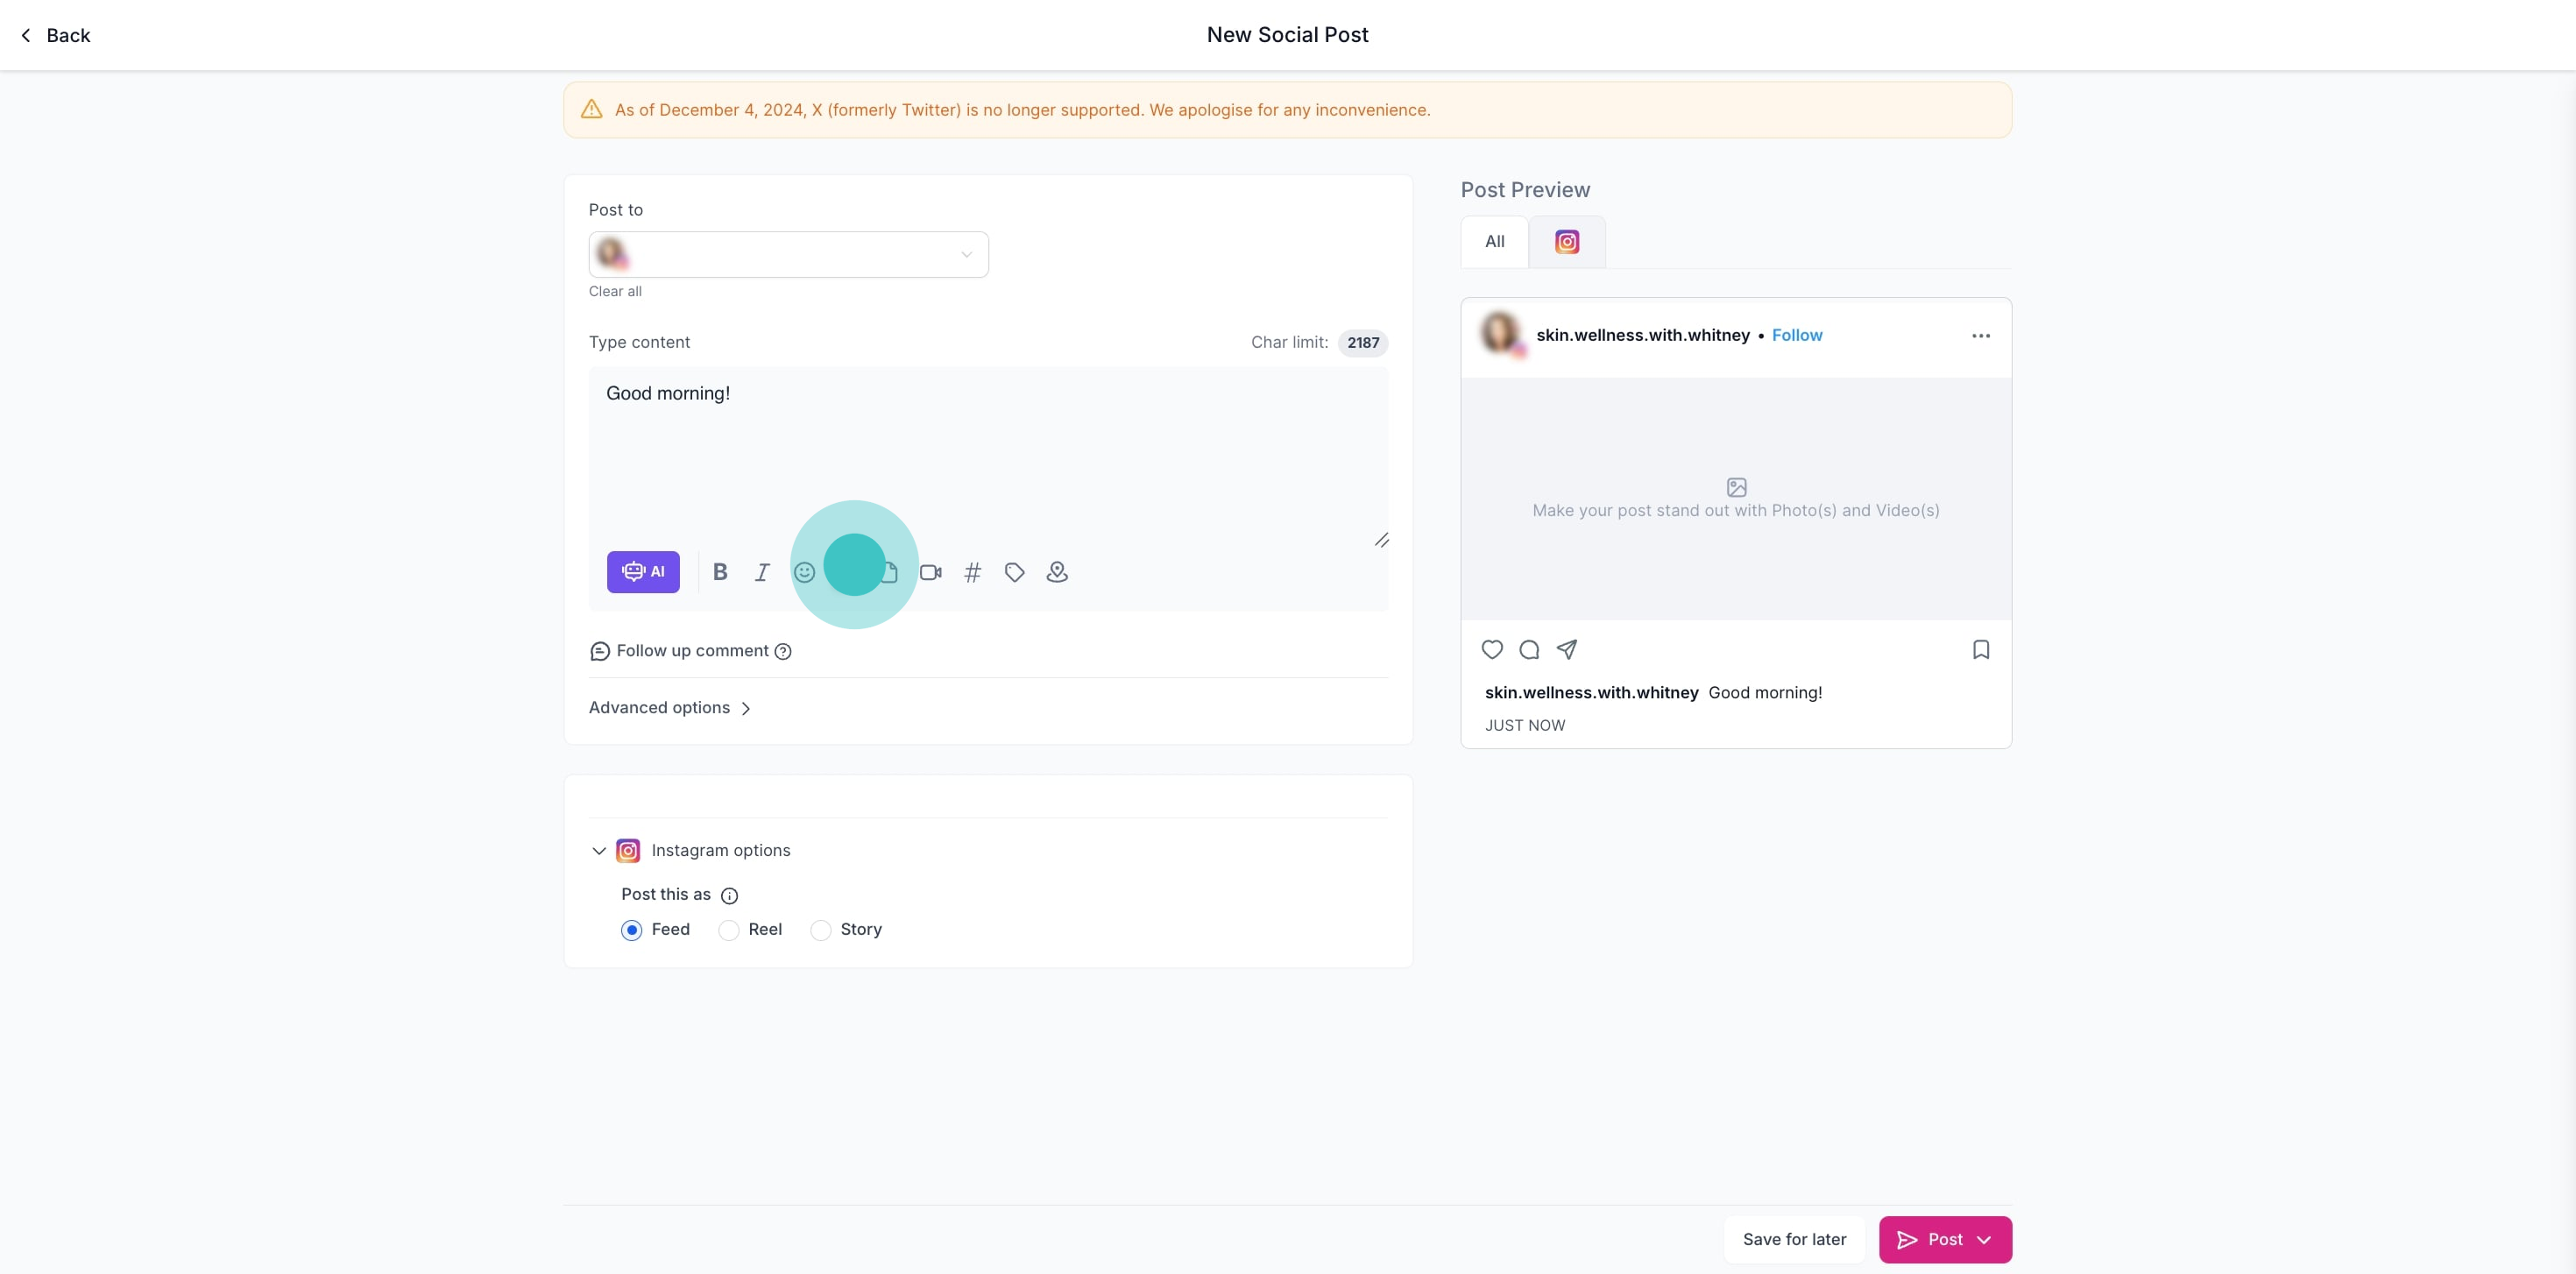
7. Begin typing your content in the space provided.
8. Use the tools available to enhance your post.
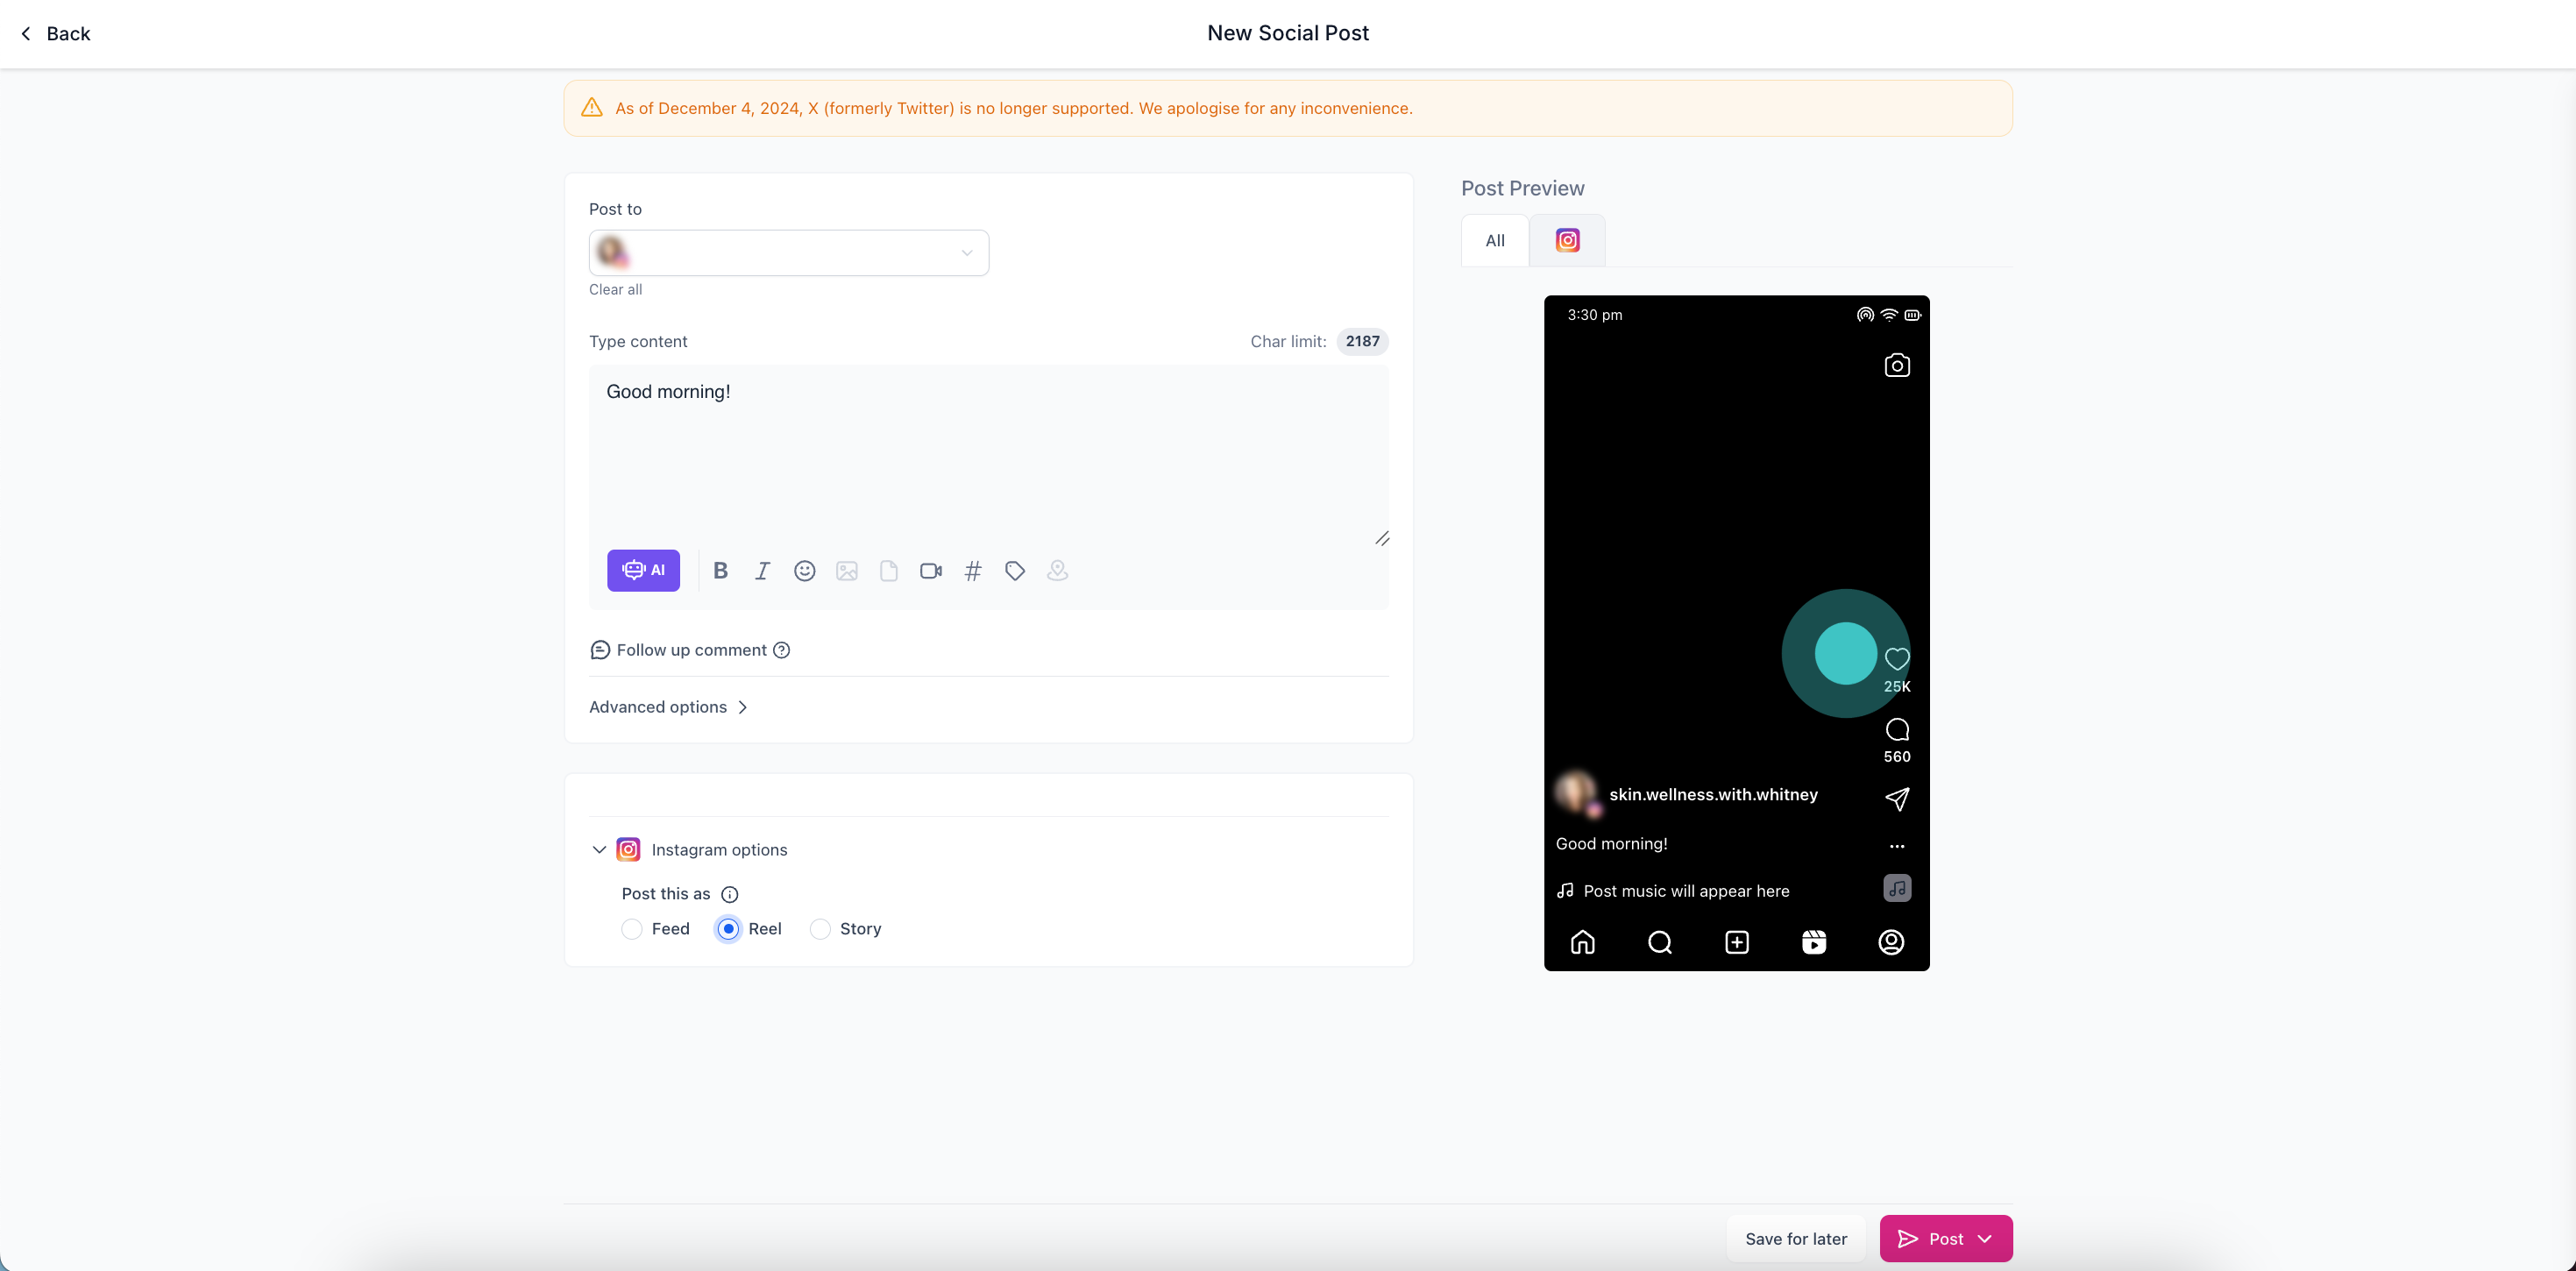
9. Decide if posting as a feed, reel, or story.
10. Let's proceed with selecting 'Reel.'
11. Take a moment to preview your content.
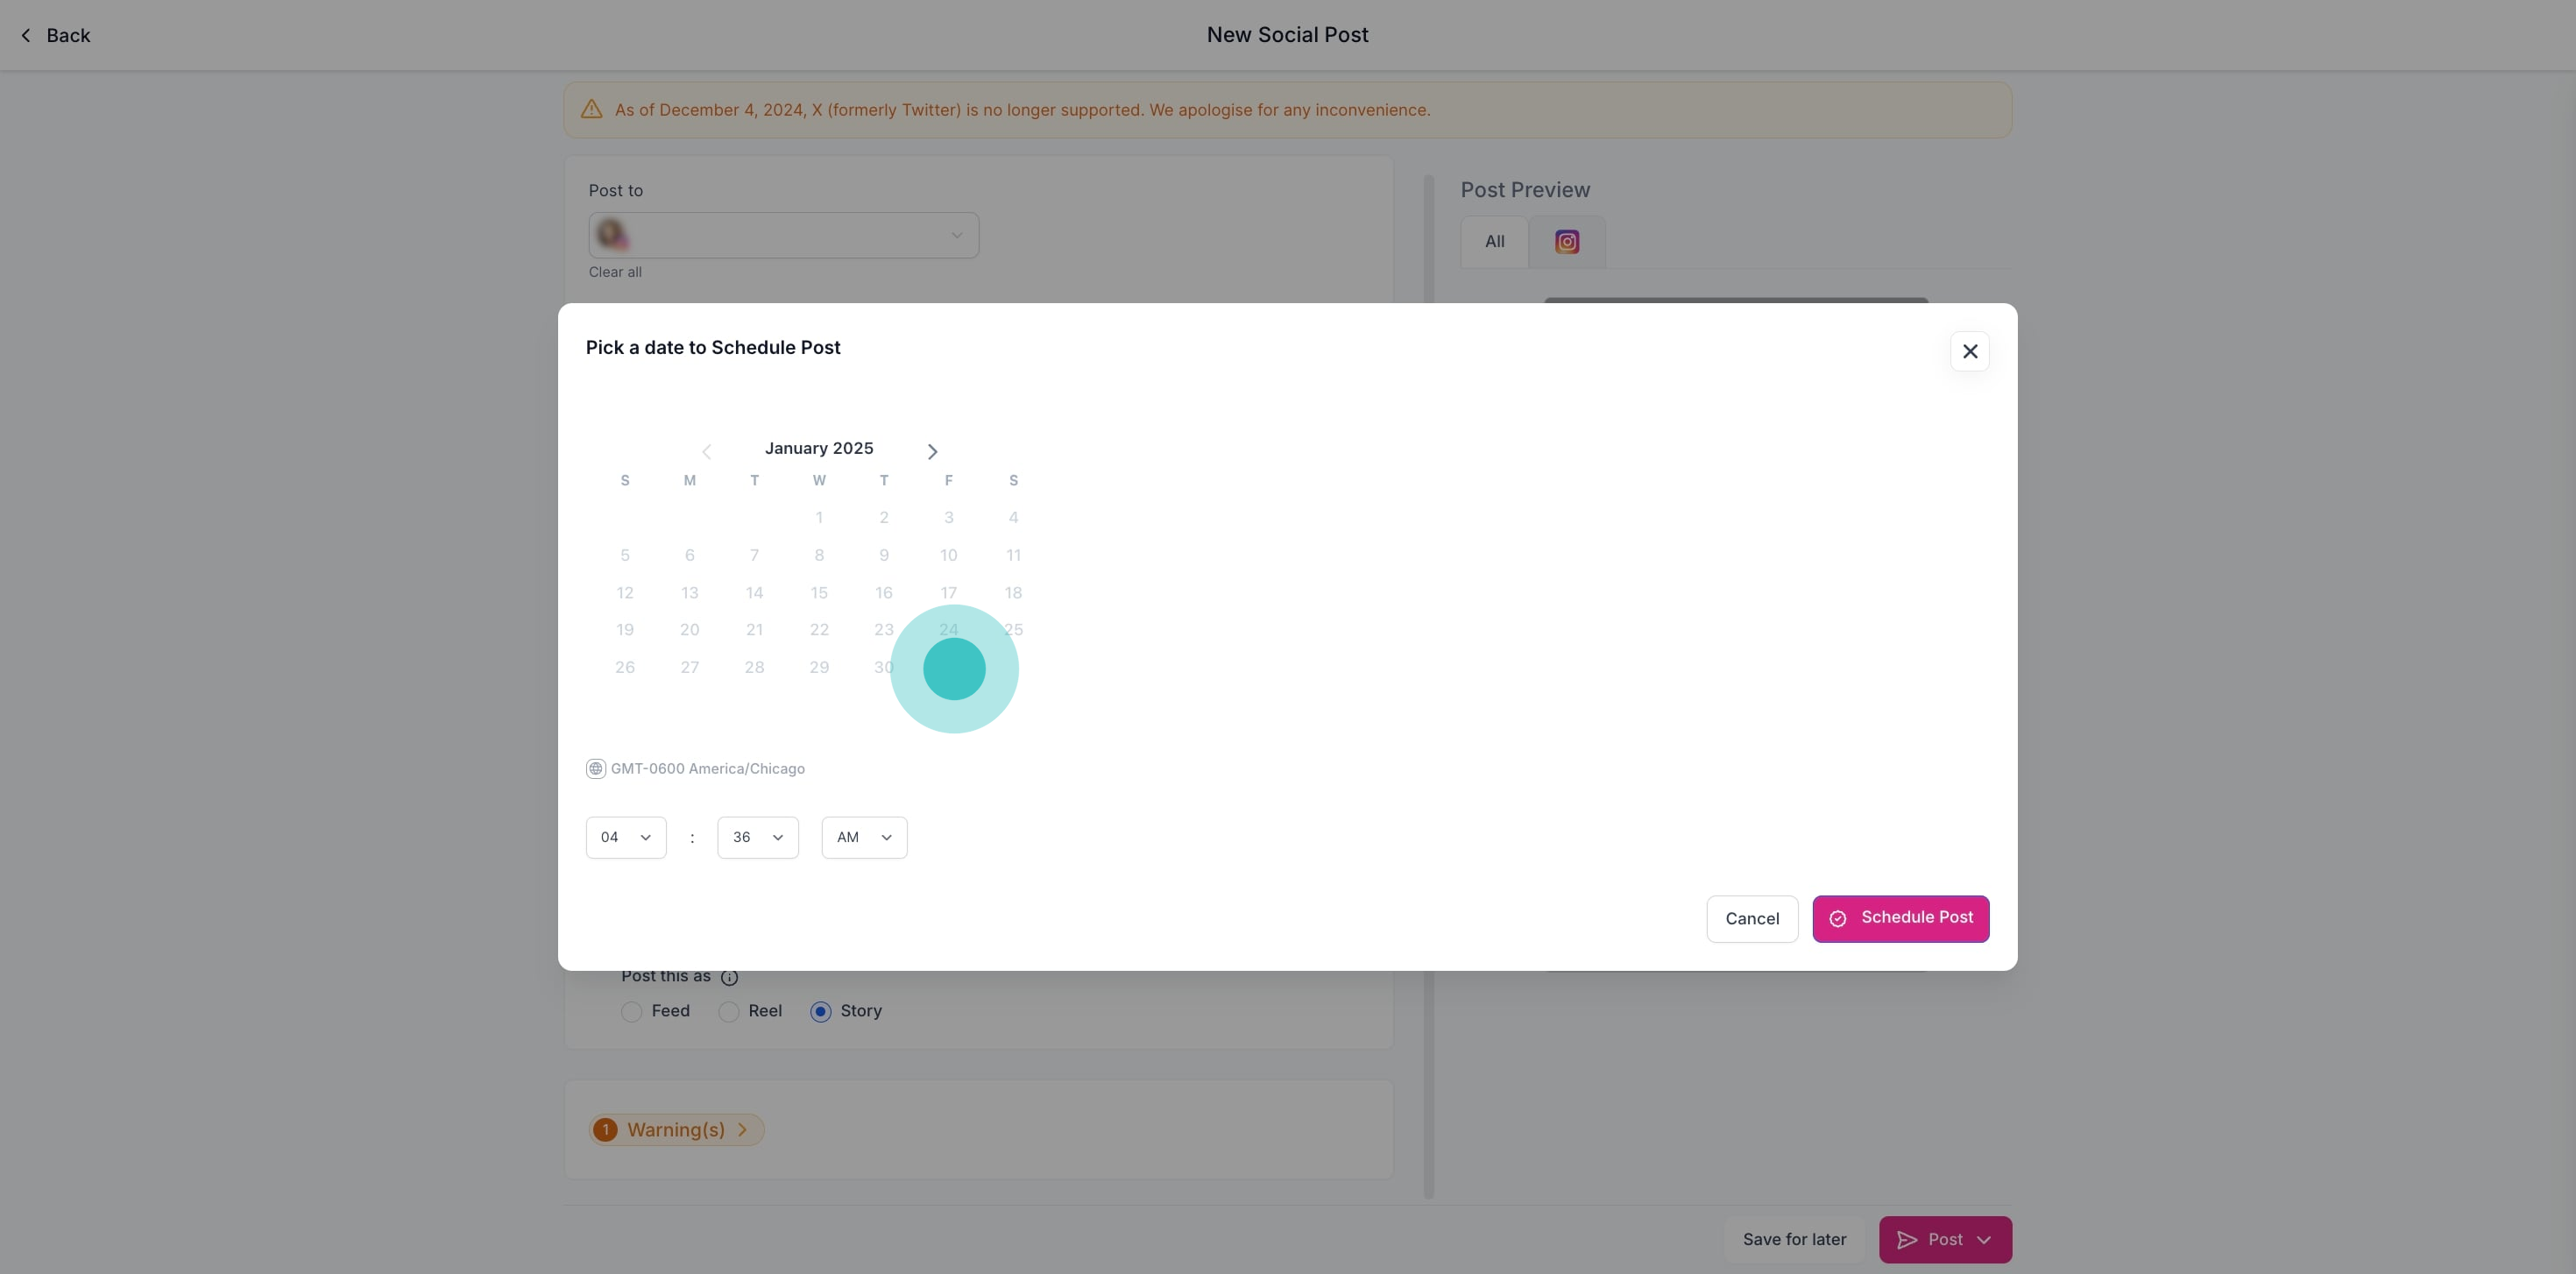
12. Expand additional settings using the arrow icon.
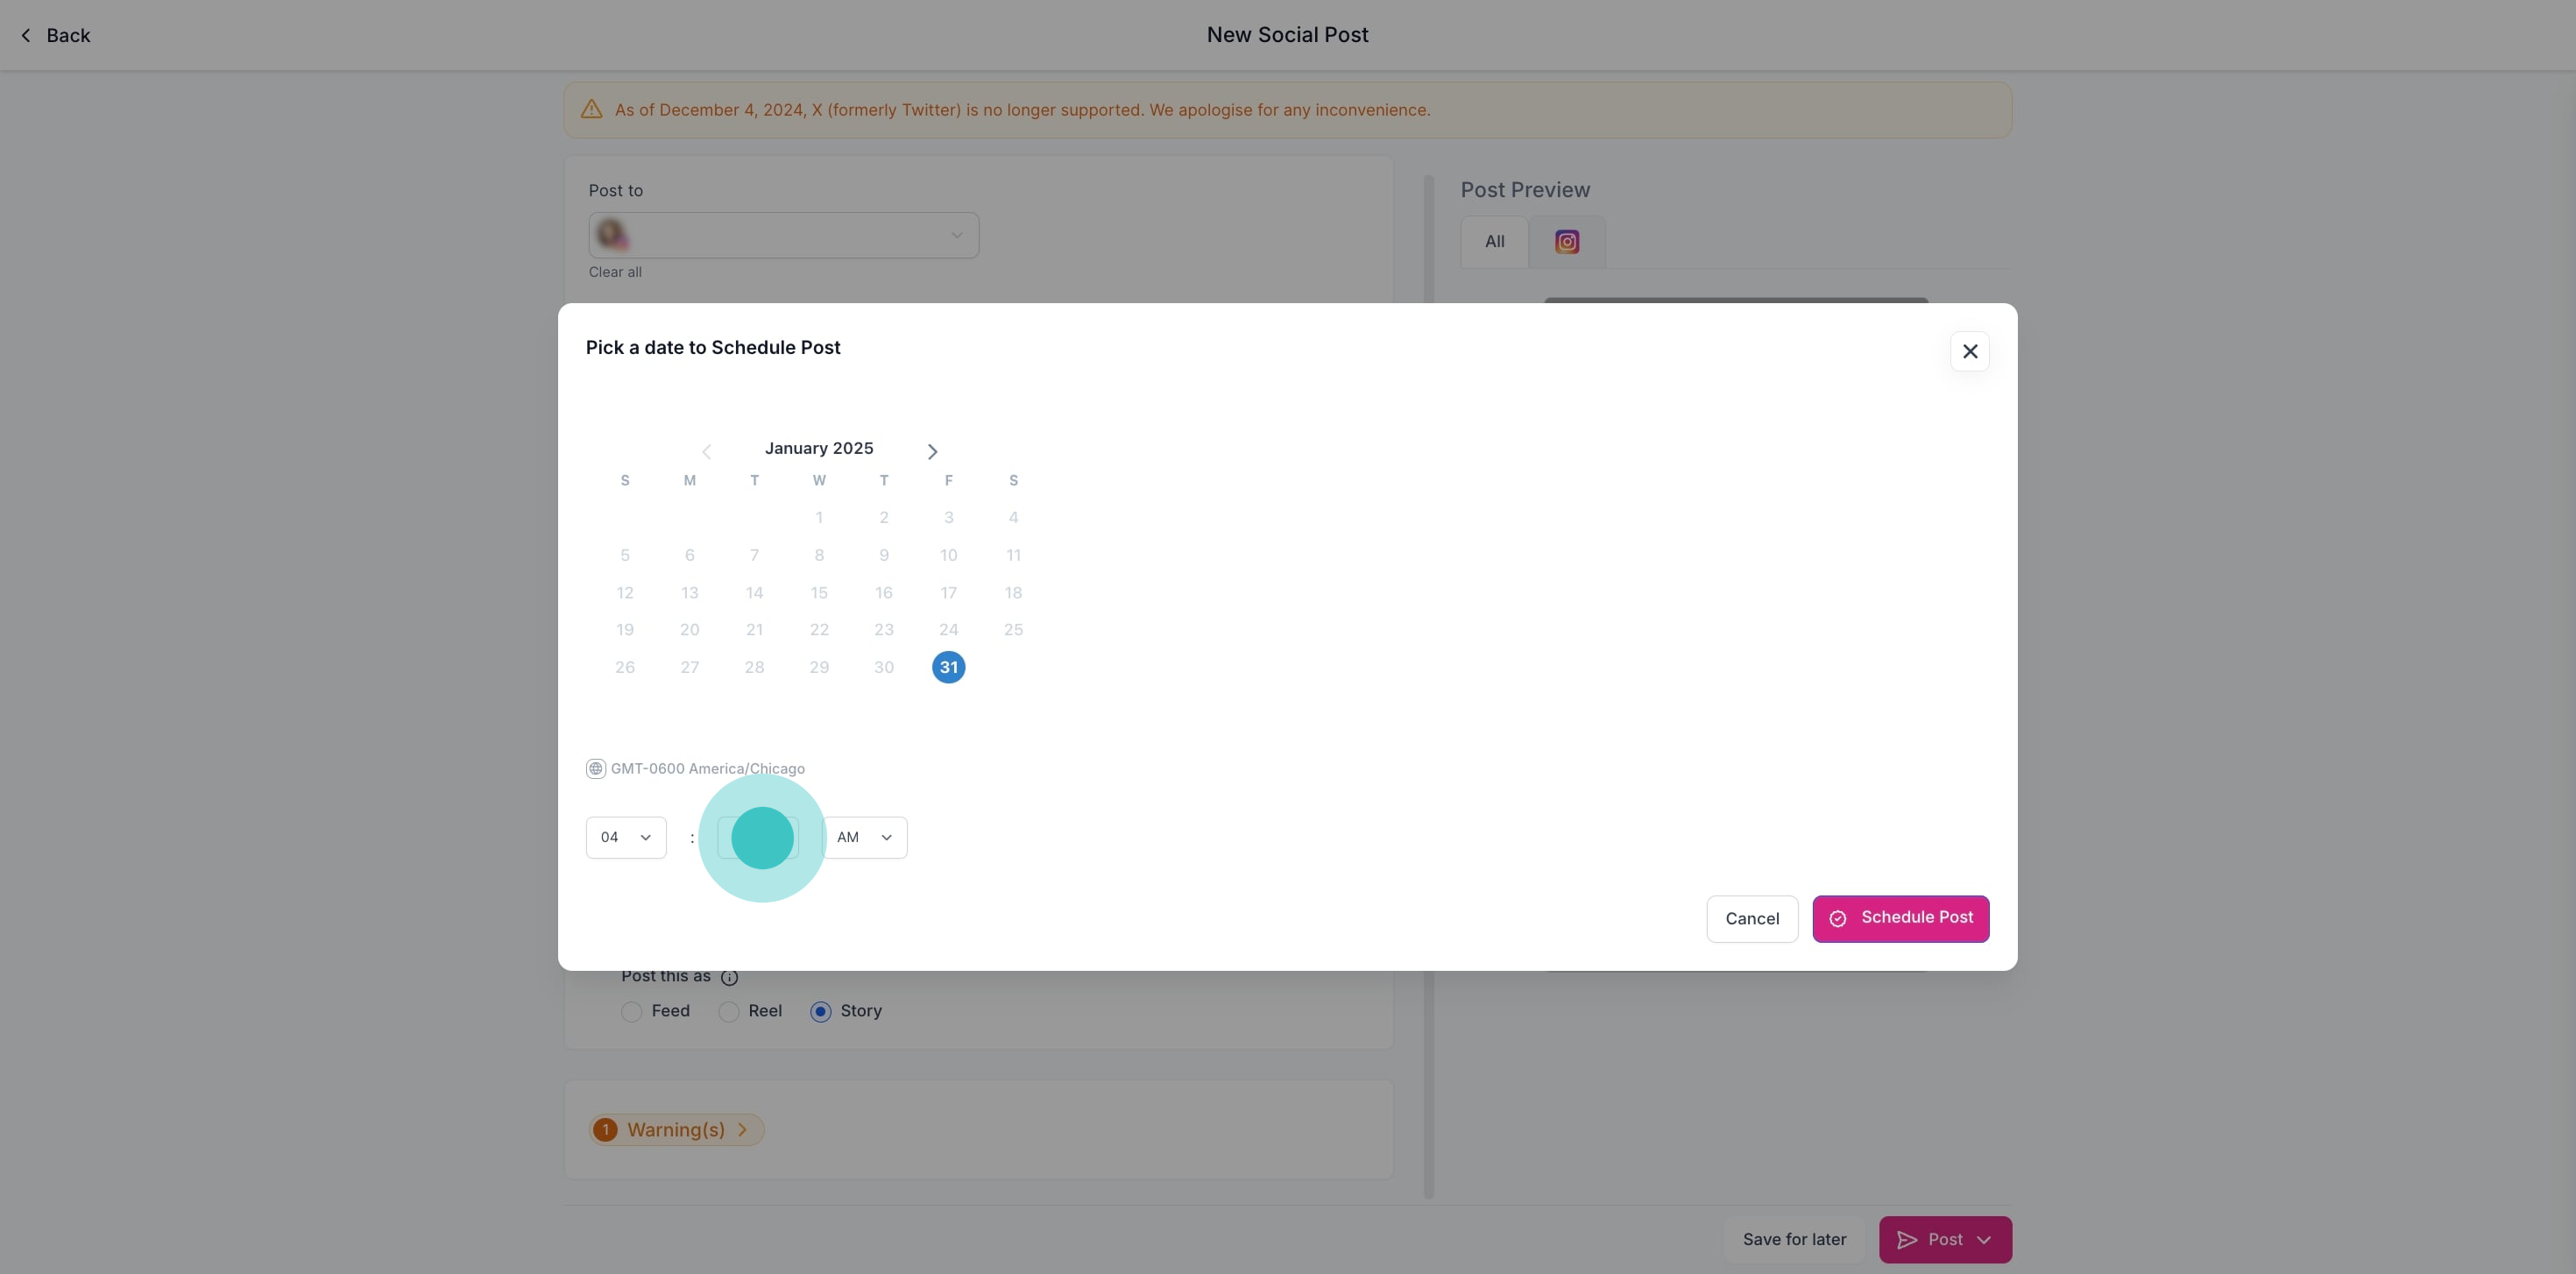
13. Pick a posting date from the calendar.
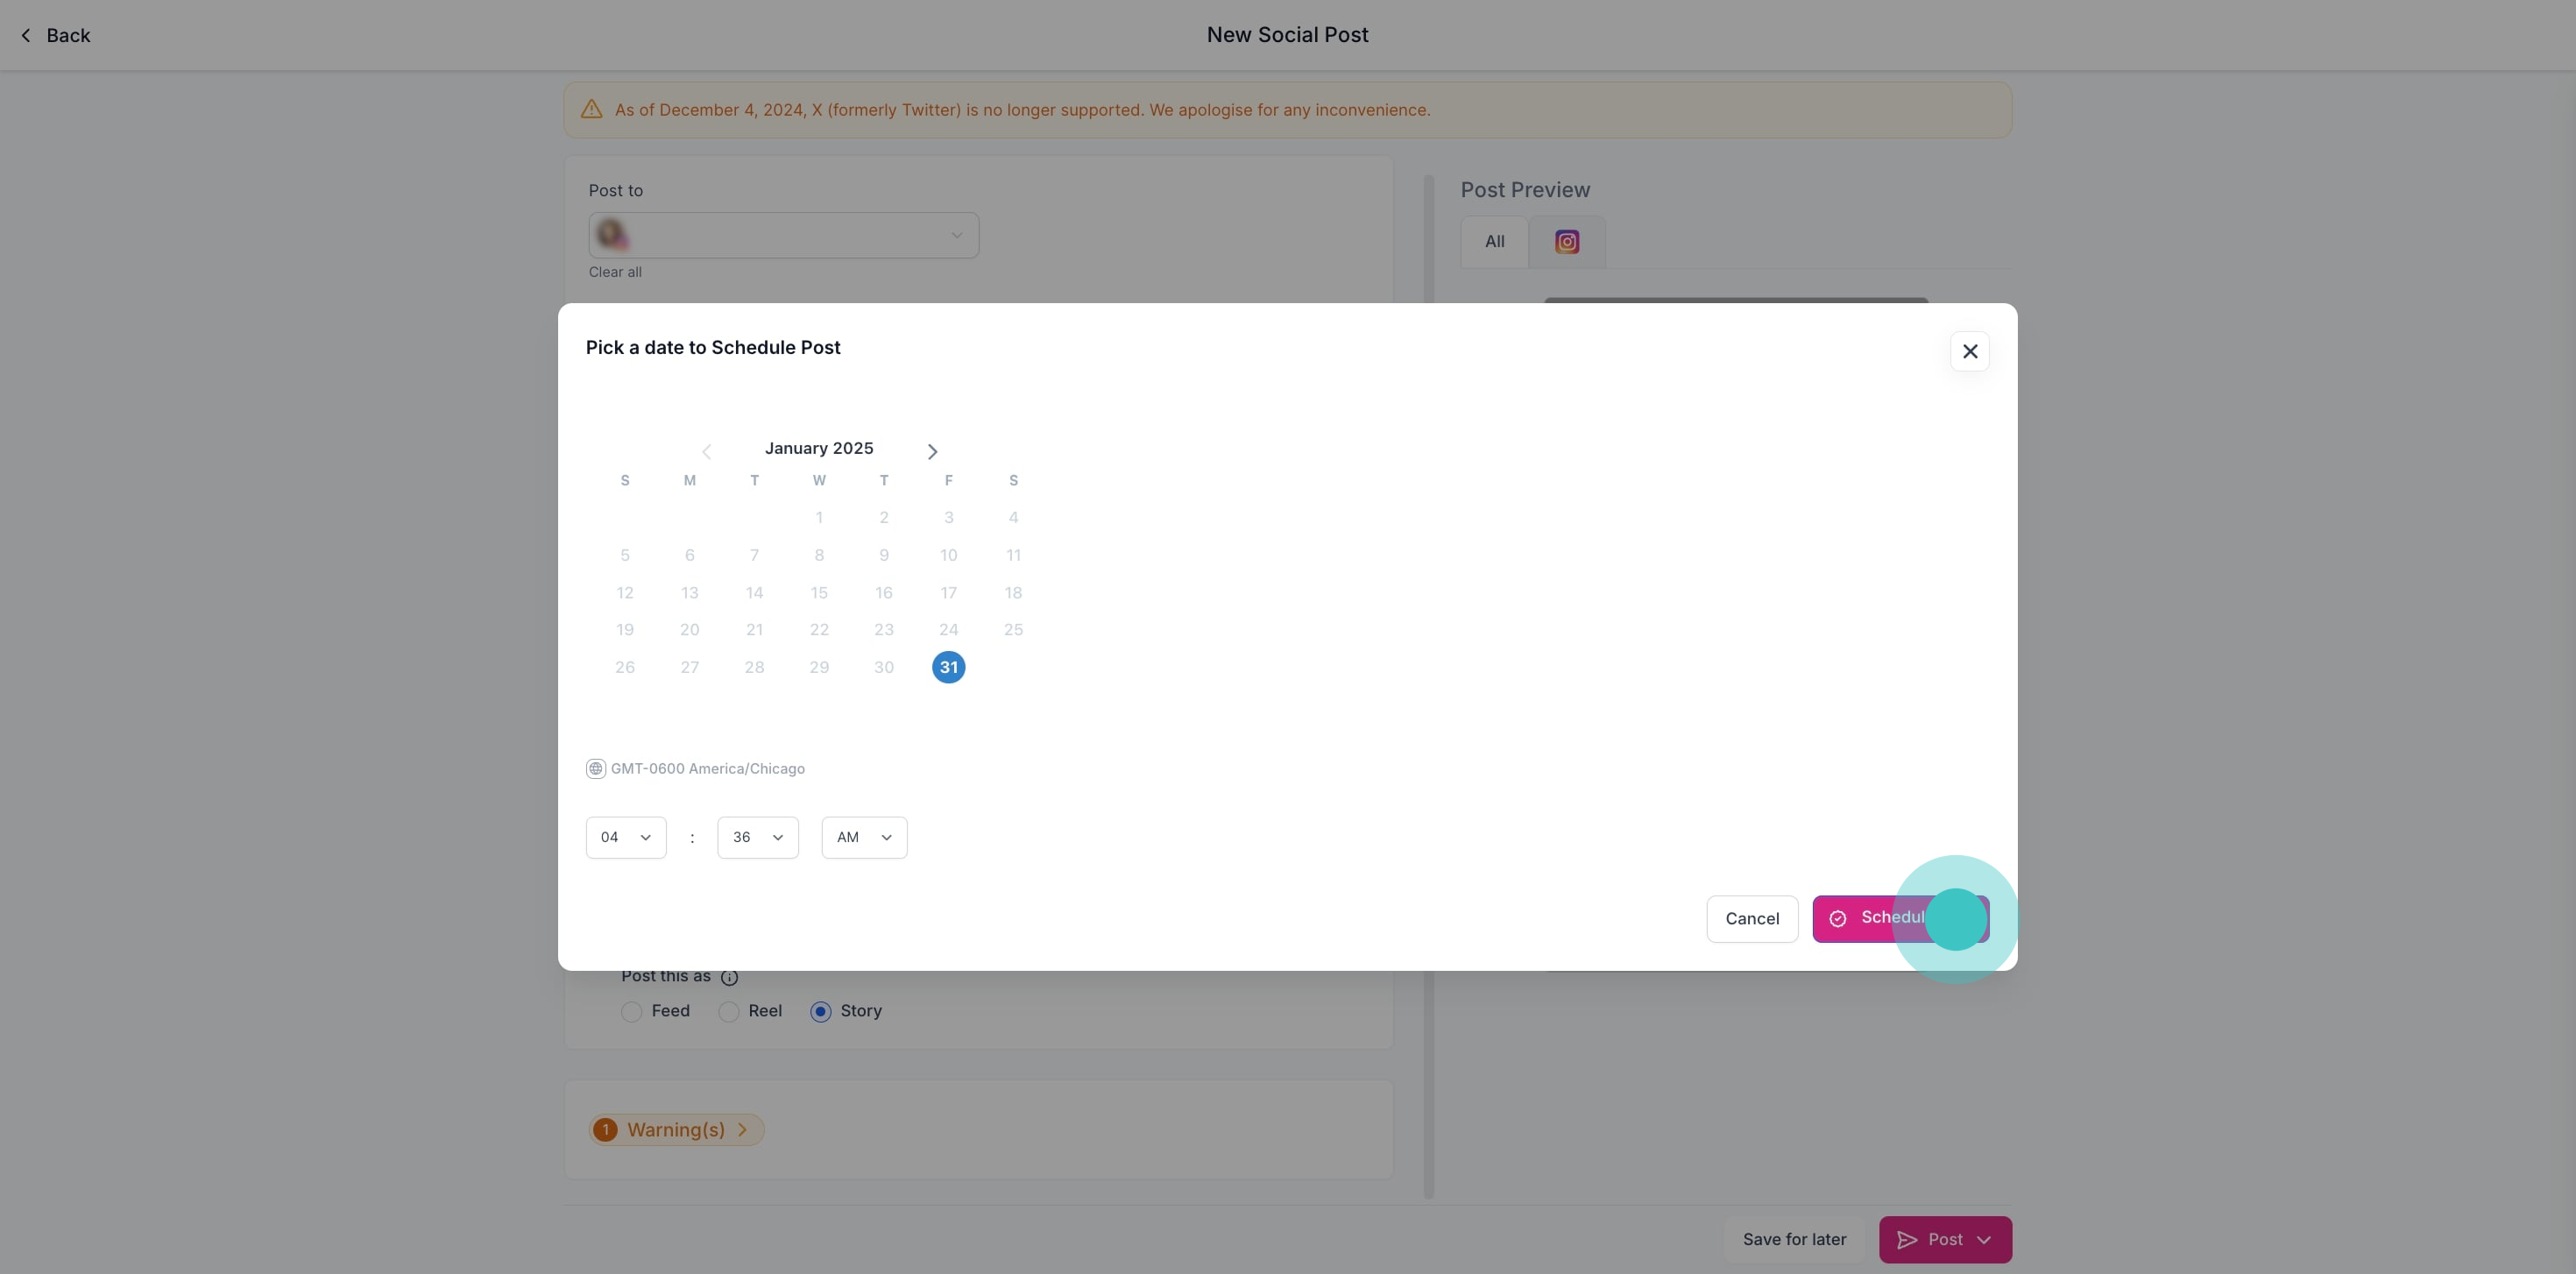
14. Set your desired posting time.
15. Finally, click 'Schedule Post' to confirm
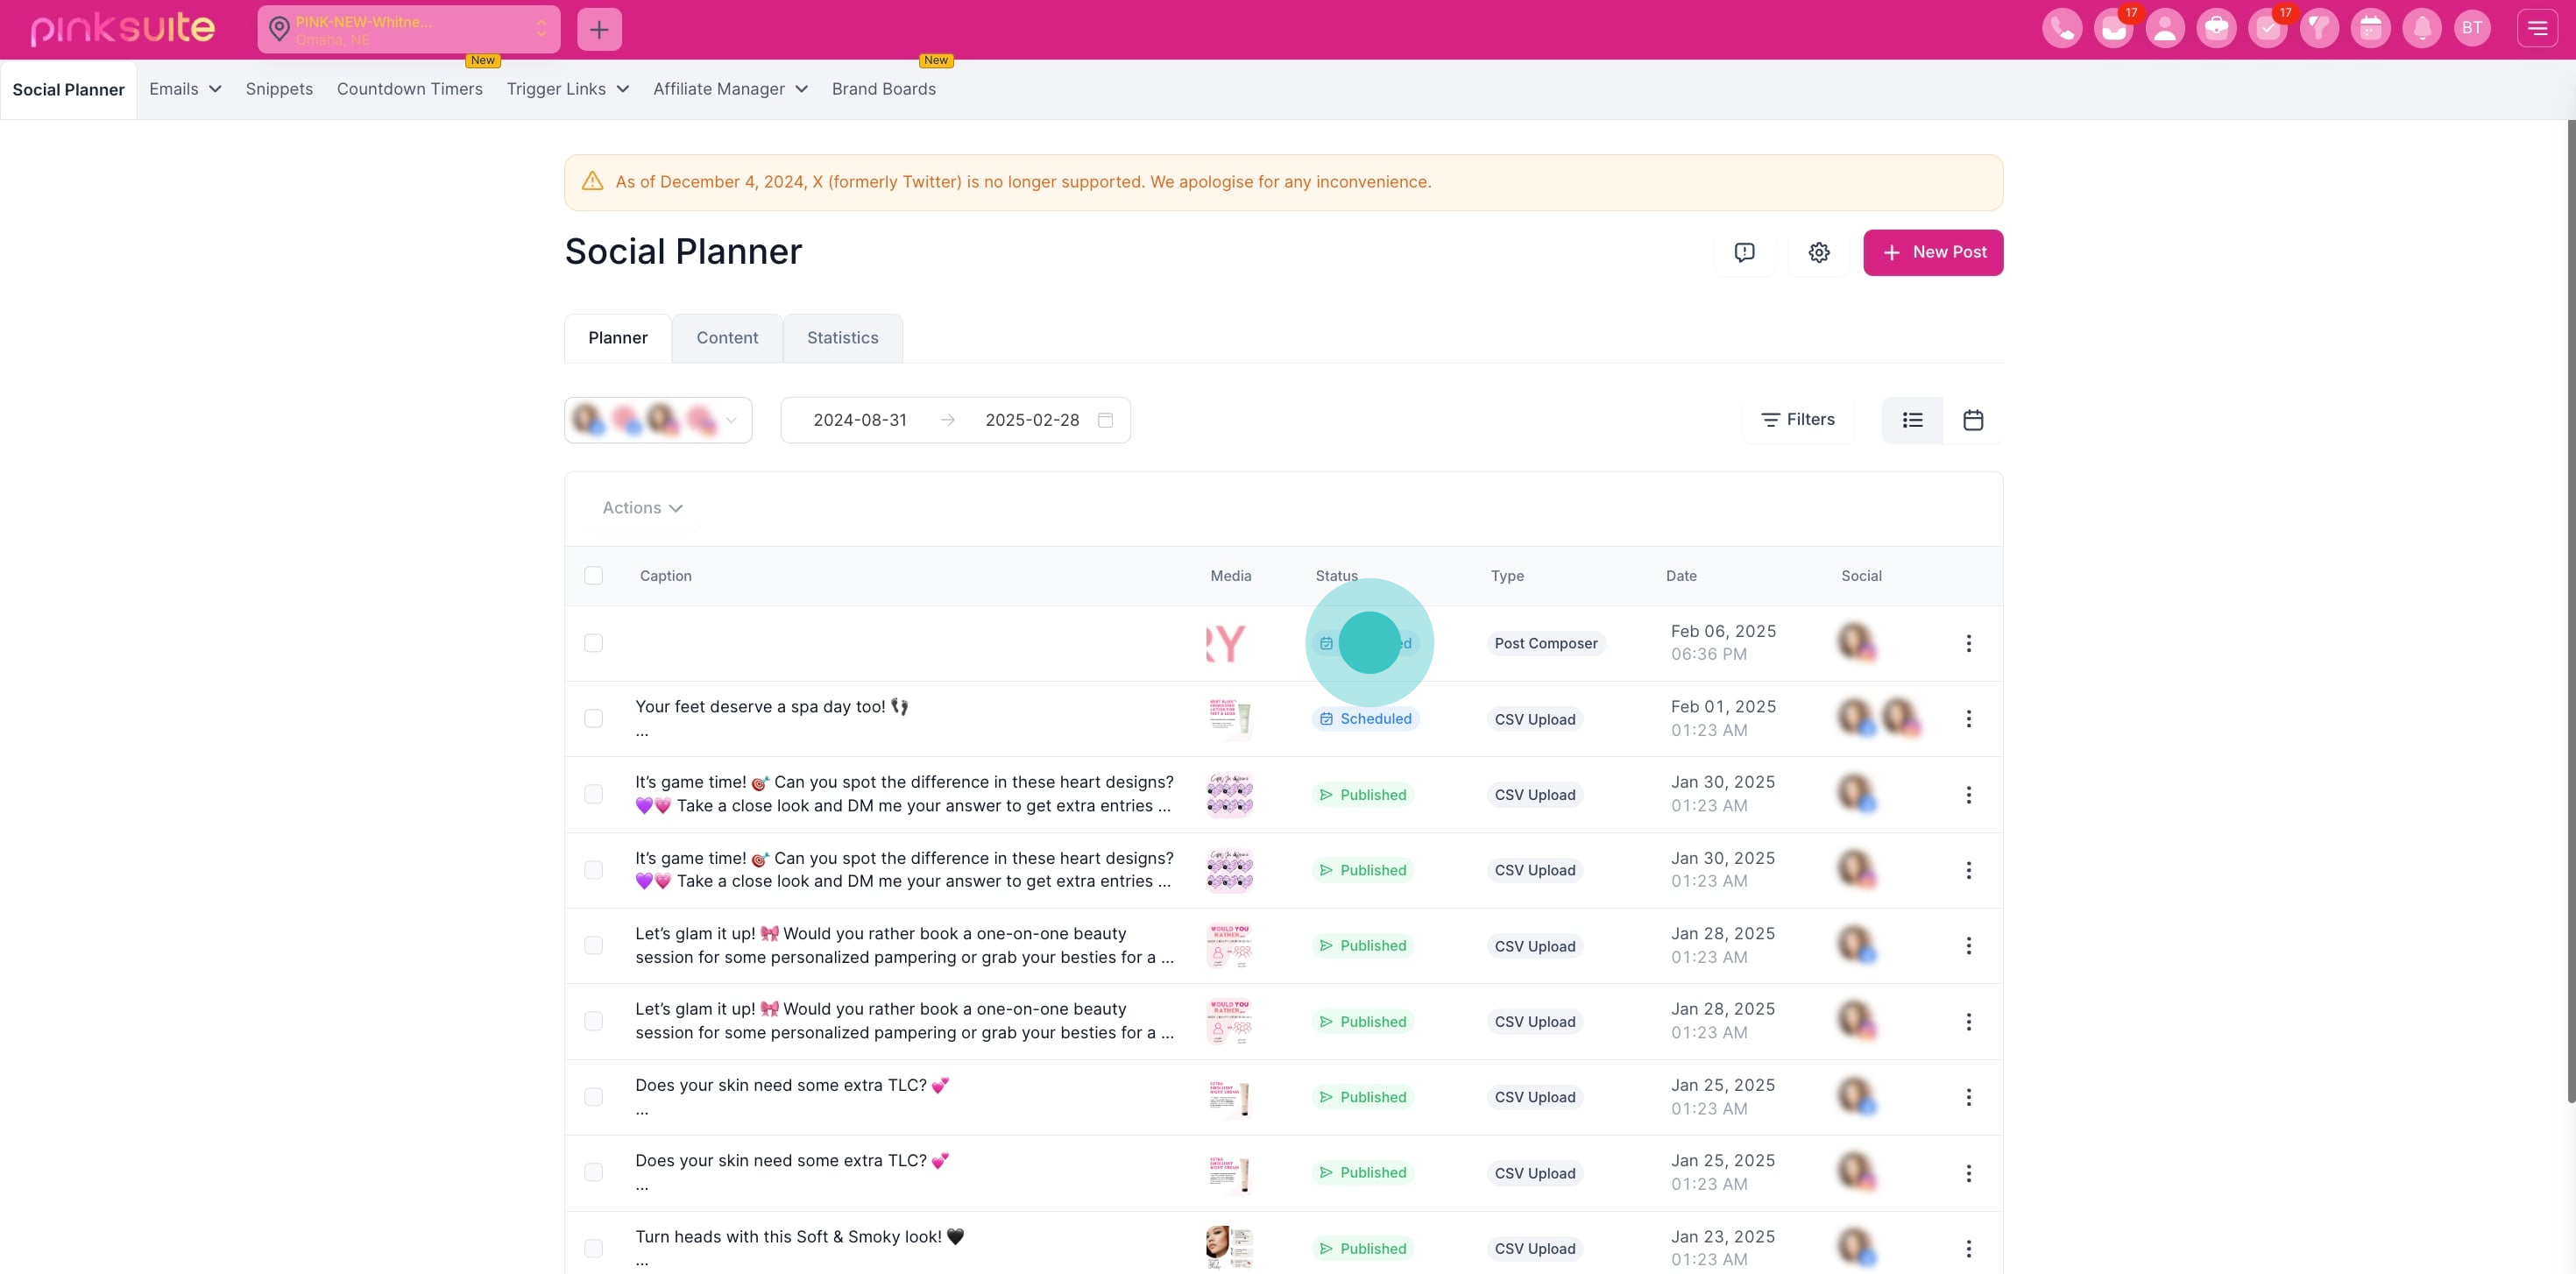
16. Check the status to ensure it's marked 'Scheduled.'
Did this answer your question?
😞
😐
😁